How To Get Rid Of A Burn Mark Inside A Microwave
Things Needed
-
Glass
-
Rag
-
Sandpaper (any grit size)
-
Microwave touch-up paint
Tip
Microwave cavity touch up paint is available online or at home improvement stores.
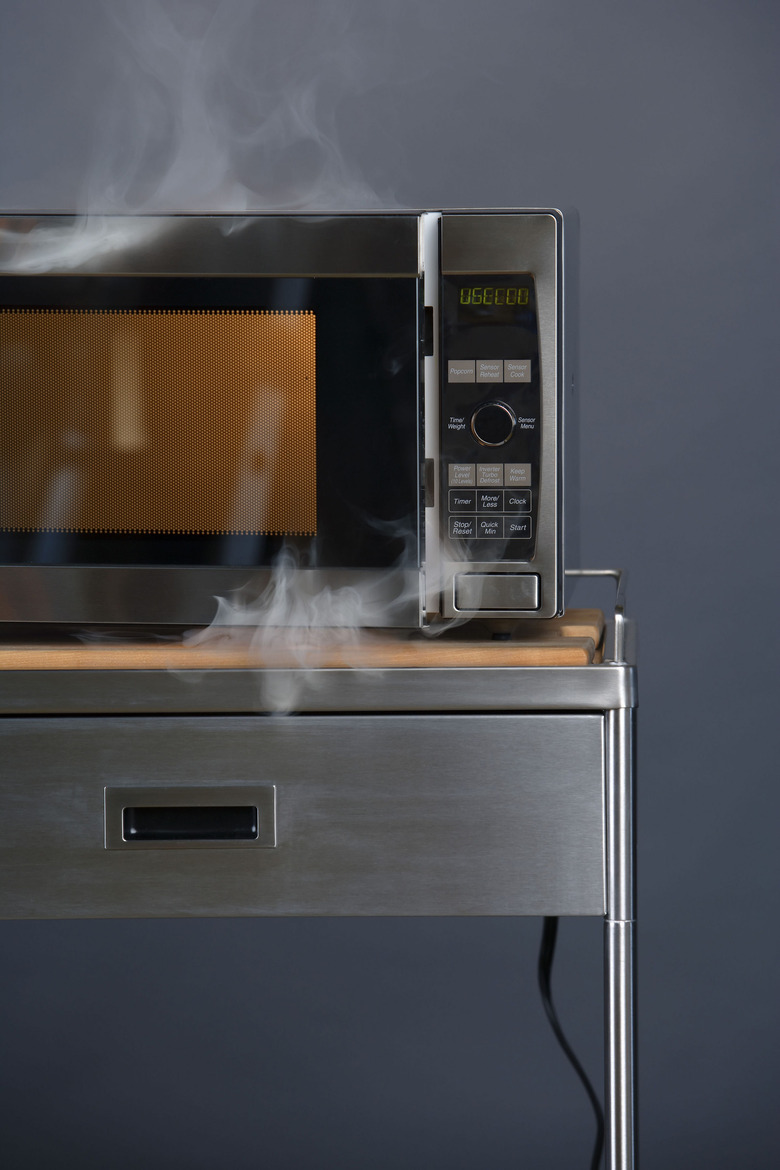
Microwave burn or scorch marks are often caused by food or liquid that burns inside the cavity, or by nonmicrowavable material such as foil that has been heated inside the microwave. These materials can cause arcing inside a microwave unit, which will leave burn marks. You can remove most burn marks inside a microwave cavity, but you can't clean burn marks that have settled on the wave guide; the only recourse for ridding the microwave of a wave guide stain is to replace the wave guide. If there are any burn holes in the cavity, you'll have to replace the unit or have a technician repair it.
Step 1
Fill a microwave-safe cup or bowl with 1 cup of water and 1 tsp. of vinegar.
Step 2
Place the cup or bowl in the microwave, and cook on high for 5 to 10 minutes.
Step 3
Wipe down all food and debris from the interior of the microwave with a damp cloth.
Step 4
Remove the glass turntable tray from the microwave.
Step 5
Scrub the burn mark inside the microwave with sandpaper.
Step 6
Wipe away all sandpaper particles, dust and debris from inside the microwave with a damp cloth.
Step 7
Open the windows to ensure ventilation.
Step 8
Remove the top from the microwave cavity touch up paint, and use the included applicator brush to paint over the burn mark.
