How To Troubleshoot A KitchenAid That Does Not Work In All Gears
Things Needed
-
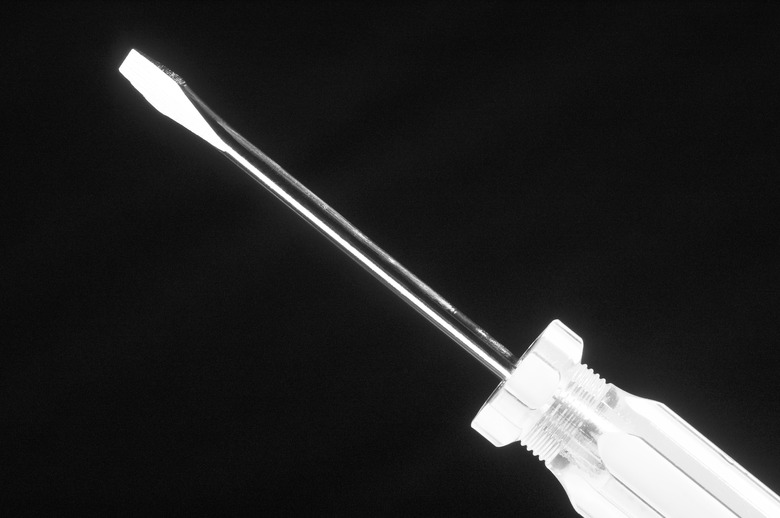
Phillips screwdriver, small, #0
-
Medium blade screwdriver
-
11/32" wrench
-
Paper towels/clean up rags
-
Two small soldering or old toothbrushes (for cleaning)
Tip
Download the KitchenAid Service manual at Mending Shed.com. It provides detailed photos to accompany the instructions. A strobograph, a speed tool, is also available to test mixer speeds and make speed adjustments. This attaches through the front attachment hub. It works with all KitchenAid stand mixers.
Your workhorse KitchenAid mixer no longer shifts smoothly from low speeds to high. There's a straightforward adjustment for this, but it requires some adjustment to the motor. The governor or the phase control board causes speed control difficulties; you will need to make adjustments whenever you put a new operating part in a Kitchenaid stand mixer. With a few standard tools, anyone with the initiative can troubleshoot a KitchenAid mixer and make all the gears work like new.
Step 1
Remove the back cover by removing the small Phillips screw at the top of the back cover.
Step 2
Place a rag or cloth over the spring to keep it from moving.
Step 3
Plug in the mixer.
Step 4
Move the switch lever to "Stir." This may or may not start the motor.
Step 5
Turn the two adjusting screws counterclockwise evenly until the planetary turns approximately 60 times per minute.
Step 6
Test the planetary by holding a right hand finger lightly across the beater shaft. Count how many times the shaft touches the finger in 15 seconds.
Step 7
Turn the two adjusting screws until the shaft brushes the finger 15 times in 15 seconds.
Step 8
Lock the two lock nuts using an 11/32" wrench. Check the speed again.
Step 9
Make further adjustments, if necessary, without loosening the lock nuts on the control board. Unscrew the two adjusting screws.
Step 10
Move the planetary to speed 6. At this speed, the planetary should turn 180 times per minute. Check speed as you did for the first speed. The planetary will brush your finger 15 times in 5 seconds if the speed is correct.
Step 11
Turn the adjustment screw at the bottom of the control plate if the speed is less than 15 times in 5 seconds.
Step 12
Check the revolutions again. Keep adjusting the screw at the bottom until the correct speed is reached. You don't need to lock down this screw.
Step 13
Test all speeds from "Stir" to #10. If "Stir" and #6 speeds are properly adjusted, the other speeds should be correct automatically. If you notice a definite change in speed between #8 and #10, you have adjusted the mixer speeds correctly.
Step 14
Replace the back cover and screw in the back cover screw.
