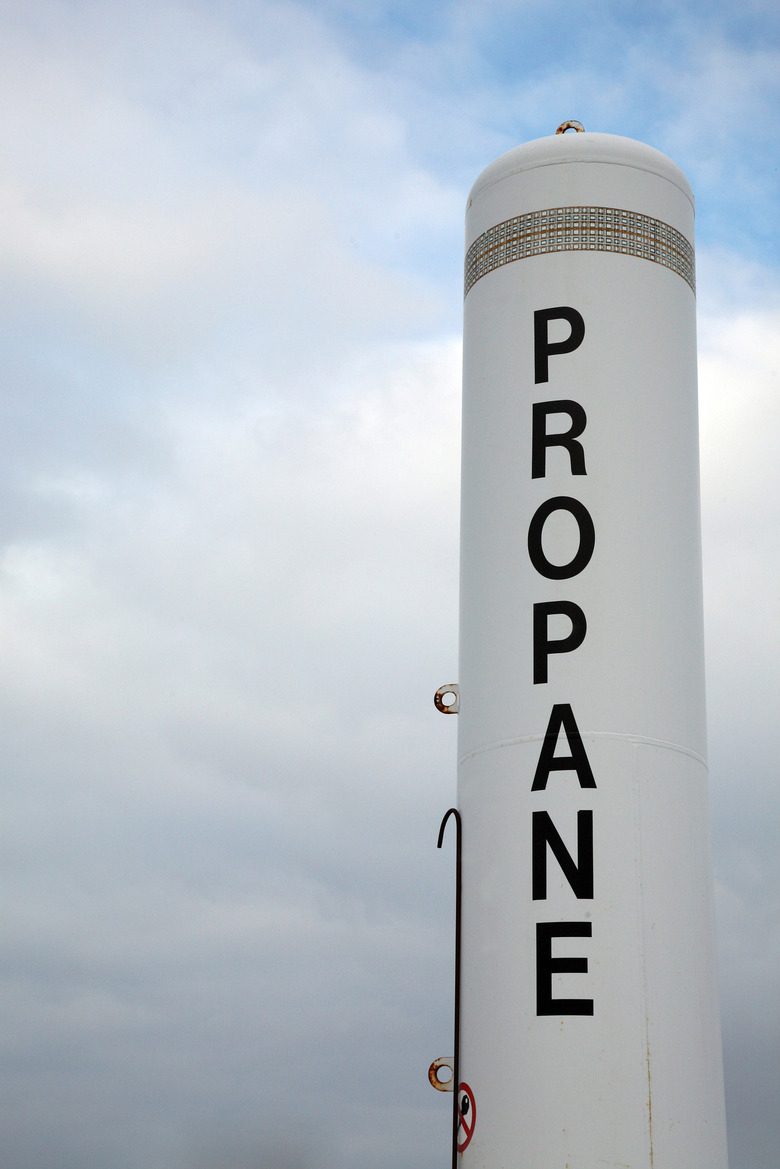
How To Change From Natural Gas To Propane
Things Needed
-
Propane gas conversion kit
-
Flathead and Phillips screwdrivers
-
Thread sealant
-
Noncorrosive leak detection solution
-
Test gauge with 1/8 inch NPT connection
Tip
Conversion to propane may also require adding or modifying appliance vents. Contact a qualified professional to inspect your modifications to determine whether additional venting is required.
Warning
These instructions are a general guide only. Do not attempt to install a natural gas to propane conversion kit unless you are qualified to do so.
Some states require that conversion kits be installed only by a licensed professional. Check your state's laws regarding converting from natural gas to propane.
Local and state laws may require that a furnace or furnace alterations and repairs be performed only by a qualified person. Do not attempt to alter your furnace unless your experience fits the definition of a "qualified person" in your state.
Remember to place the gas conversion label in your kit on top of the newly converted control valve and on the manifold.
Converting a gas appliance, such as a furnace, from natural gas to propane requires technical skill and knowledge of gas-burning appliances. You can convert some appliances, but others are designed to burn only natural gas. If you can safely convert an appliance or furnace, then switching to propane as a fuel source requires some appliance modification, including replacing parts using a conversion kit.
Convert Furnace
Step 1
Turn off the gas supply and disconnect the electrical power to the furnace. Remove the screws holding the burner access door and then remove the door. Disconnect all the electrical wires attached to the natural gas control valve.
Step 2
Remove the rollout switch and the flame sensor wires attached to the control valve, and slide out the manifold pipe to access the gas control valve. Unscrew the regulator adjustment cap and remove the pressure regulator adjustment screw and the spring in the gas control valve.
Step 3
Install the new spring in the control valve. Screw the new pressure regulator adjusting screw in the place where you removed the old one. Screw the pressure regulator adjusting screw until it is even with the surface of the control valve.
Step 4
Turn the regulator screw clockwise 11 turns and install a new "O" ring into the new adjustment cap included with the kit. Remove the orifices from the manifold and install the new orifices from your kit. Remove the screws that attach the burner assembly to the flue panel.
Step 5
Slide the burner assembly from the compartment and be careful to support the opening inlet plate on the burner. Remove the two screws that hold the air shield in place. Put the spoiler screws from the kit into each burner and screw them down until the screw heads are even with the surface of the burner.
Step 6
Replace the top air shield and then replace the burner assembly. Reattach the manifold pipe to the burner. Reconnect all the electrical wires to the gas control valve, the rollout switch and the flame sensor. Replace the burner access door.
Attach Gas Connections
Step 1
Install the outdoor propane gas supply to the gas supply line. Install a manual gas shutoff valve on the line with a test gauge installed upstream from the shutoff valve. Connect the propane gas supply to the furnace and use thread sealant to seal the pipe connections.
Step 2
Verify that the manual shutoff valve is in the "Off" position. Remove the inlet pressure tap on the control valve and install a 1/8 inch NPT connector to attach the pressure gauge. Turn on the gas supply by switching the manual shutoff to the "On" position.
Step 3
Reconnect the electricity to the furnace. Turn up the thermostat until the furnace burners ignite. Check the gas pressure to make sure that the minimum pressure is 11 inches of water column. Turn off the electricity to the furnace and turn the main gas shutoff valve to the "Off" position. Remove the pressure gauge tube and the hose connector on the main gas line.
Step 4
Replace the pressure tap on the gas control valve and turn the gas shutoff valve to the "On" position. Test all gas supply pipe connections using a foaming leak-detecting solution. Turn off the gas and tighten or seal any joints where bubbles form on the pipe, which indicates a leak.
Adjust Input Rate
Step 1
Turn off the electricity to the furnace. Remove the burner access door using the screwdriver and move the gas control to the "Off" position using your hand. Remove the outlet pressure plug on the gas valve.
Step 2
Connect the pressure gauge to the 1/8 inch NPT outlet tap and wait at least 5 minutes. Turn the gas control to the "on" position and turn on the electricity to the furnace. Turn the thermostat up until the furnace ignites.
Step 3
Make sure that the pressure reading is 10 inches water column pressure. Turn off the electricity to the furnace to adjust the manifold pressure, if the gauge shows less than or more than 10 inches water column pressure.
Step 4
Remove the cap on the gas control valve to expose the regulator adjuster screw. Turn the screw clockwise to increase pressure and counterclockwise to decrease gas pressure. Turn off the gas control before disconnecting the pressure gauge.
Step 5
Replace the tap plugs and regulator cap on the gas valve. Turn the gas control back to the "On" position and replace the burner access door. Turn the thermostat up until the furnace ignites to test the operation. Turn the thermostat back to the desired setting when proper operation is verified.
