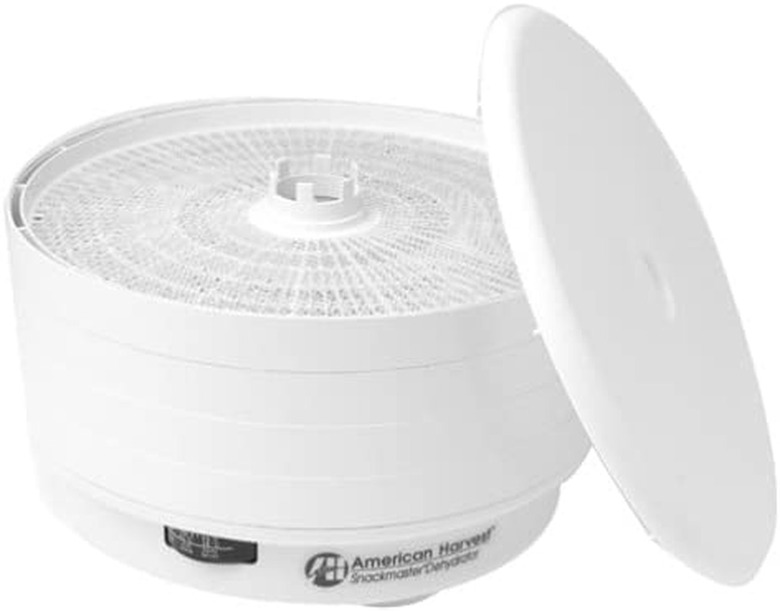
American Harvest Snackmaster Dehydrator Instructions
We may receive a commission on purchases made from links.
Humans have used food drying for preservation for centuries, harnessing the sun's heat and the air's movement to dehydrate food to see them through long seasons without. Whether it's indigenous people drying fish or Mediterranean inhabitants dehydrating their tomatoes and peppers during the autumn harvest, it's a long, slow process to do through Mother Nature. With a dehydrator like the Nesco American Harvest Snackmaster Dehydrator, you can preserve your harvest in a fraction of the time and with more precision for peak flavor than a conventional oven can provide.
Some Dehydrator Basics
Some Dehydrator Basics
While this is the "Snackmaster," dream bigger for this appliance. From making jerky to dehydrating veggies for winter soups or making fruit roll-ups for snacks, there's so much you can do.
When dehydrating food, flavors become concentrated. Terrific when you use the best, freshest foods you can buy — not so terrific when foods are past their best. Choose great produce and remove any blemishes before drying. Pick herbs before they blossom. Always dehydrate at their peak, not on their decline.
Never overlap anything or it'll take twice as long to dry. And never cram food into each rack, because you need air circulation. Things will go more quickly if nothing touches and air can do its thing.
Using Your American Harvest Snackmaster
Using Your American Harvest Snackmaster
It's highly recommended that you read the manual, which can be downloaded online, as it's jam-packed with helpful information about all things dehydration. From vitamin loss at higher temperatures to drying halved fruit skin-side down to prevent drips and flavor muddling, it's all there in the book. But once you know the art and science of dehydration, operating it is straightforward.
1. Get the Dehydrator Ready to Go
Wash the trays before use. If by hand, soak them for several minutes and wash with a sponge or soft cloth. Never use anything abrasive for cleaning the trays, or it could damage them. The dishwasher is perfectly safe, but never run them through a drying cycle. Using the top rack is recommended for dishwashers.
2. Position the Dehydrator
Depending on what you're drying, there'll be odors, a hum, and it could take a couple of days. Find a place you can run the dehydrator for the duration of drying without moving it or unplugging it. It's best to be a couple inches away from any walls and on a completely level surface, to ensure even drying throughout.
3. Prepare Foods for Dehydrating
From flowers to fish and fruit and everything in between, clean and prepare them as you wish or as the Nesco American Harvest Snackmaster Dehydrator manual suggests. Anything you wash, allow to dry. Then portion everything as you like — sliced thin, cut into sticks or medallions, broken into chunks, and so on.
4. Load the Snackmaster Trays
Space out all the pieces so there's air movement around all sides. Each tray should have a single, well-spaced layer of items for drying out with zero overlap. "Less is more" for drying efficiency and speed; even if some trays are empty, always use at least four trays in the machine during drying. (Never add anything until a batch is finished dehydrating, even if space is available, as it will affect timing and quality.) This is true for any dehydrator, from Ronco to Mother Nature — always a single, spacious layer.
5. Begin the Drying Process
Consult the manual for correct temperatures and drying times for specific foods or projects. In general, fruit is in the 130- to 140-degree Fahrenheit range to protect nutritional value, while meats and fish should be cranked to the max to reduce spoilage. As for herbs for cooking, dry them at 90 degrees to preserve their delicate flavors. How long? It depends on many factors, but the manual can help.
6. Finish Up and Package Your Items
Monitor your foods. They'll sweat for a while, then begin to shrink and dry. When they're at the point you're looking for, it's highly recommended that you vacuum-pack them immediately, especially tomatoes, to retain maximum freshness.
All done? Clean the dehydrator trays and get started on your next project. If storing the Snackmaster, be sure to use the cover to keep it dust-free for the best results.
