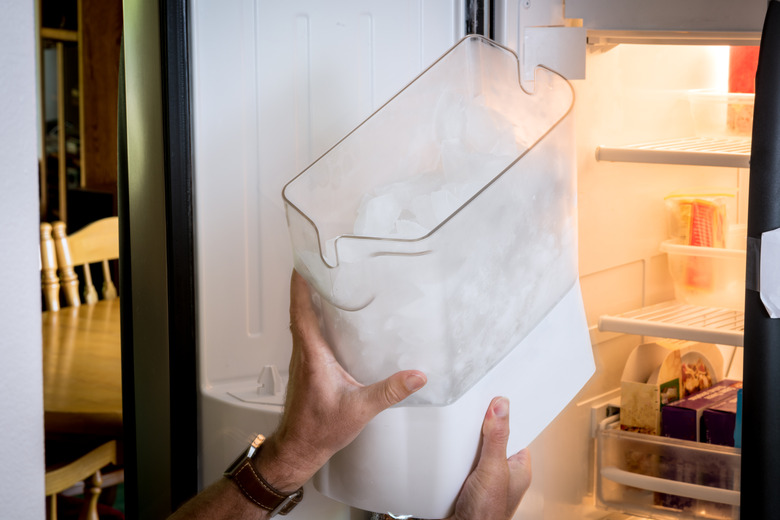
How To Remove A Whirlpool Ice Maker
An ice machine on the fritz is a pain. Finding and fixing the problem can be a breeze. Whirlpool ice maker removal to replace or repair is a fairly easy process if done methodically and with the right tools.
Tip
Always unplug a refrigerator before removing an ice maker.
Ice Maker Not Working
Ice Maker Not Working
If the Whirlpool bottom freezer ice maker is not working, then it could be a simple fix. Common problems can be corrected by checking the water lines that lead to the machine and the levers and mechanical parts that connect to the ice maker, according to Home Tips.
If it isn't creating ice, then it could be due to a few things. Ice cubes can get stuck in the ejector arm, the machine can get inadvertently shut off if it has been jostled by little hands looking for after-school snacks or the water filter located in the main refrigerator compartment may need to be changed.
Preparing the Ice Maker
Preparing the Ice Maker
Before you begin to troubleshoot or entirely remove the ice maker, there are a few things to do. Simple troubleshooting doesn't require much preparation. However, if you have to handle the electrical or pull the ice maker from its nest in the appliance's interior, then you should put some safety precautions, and towels, in place.
Unplug the refrigerator and shut off the water supply cut-off valve for the water line that is attached to the back of the appliance. The valve is typically located behind the refrigerator or under the sink, according to Sears Parts Direct. Place perishable food items in a cooler if you expect to be working on the appliance for more than an hour or so.
Have towels ready to soak up bits of ice that will melt as you work, which can cause slippery work spaces. A flathead and Phillips screwdriver may be needed to remove screws from the housing. Prepare a clean and clutter-free workspace to place the old ice maker and any parts so that you can clearly locate them when needed if you plan to repair the ice maker.
Whirlpool Ice Maker Removal
Whirlpool Ice Maker Removal
After troubleshooting the ice maker and finding it still doesn't work to your satisfaction, then removing it entirely or replacing it are good options. To remove the ice maker from the freezer, begin by taping the flipper cover shut and take off the front cover of the ice maker.
Open the plastic cover located in the front of the ice maker and slide the cover to the left. On the right side of the cover, push up to release the plastic pin from the bracket. Pry the pin from the bracket with a flathead screwdriver and pull off the cover completely and tape the flipper shut.
Just beneath the ice maker module is a screw in the right corner. Remove that with a ¼-inch nut driver and remove the cover. Push in the tab on the left side of the ice maker to release it and slide it forward. Release the locking tab on the wire harness plug with a flathead screwdriver and pull it from the plug to completely remove the ice maker from the freezer compartment.
