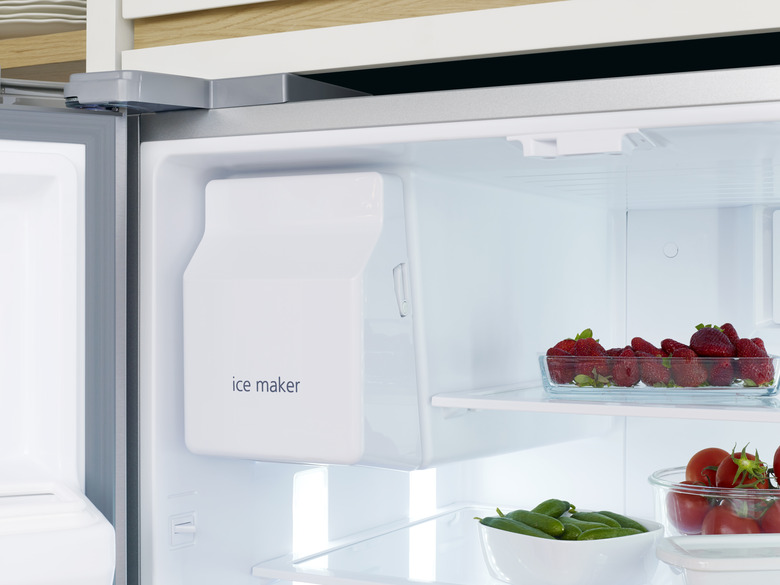
How To Remove The Icemaker From A Maytag
Fresh ice is often an afterthought, until the ice machine refuses to pop out ice or spits out foul smelling and tasting frozen water. If the Maytag ice maker won't make ice or makes loud noises as it attempts to create frozen cubes, you may need to do some investigating to find the cause. For serious issues, the Maytag ice maker may need to be removed entirely. The Maytag ice maker removal process is fairly simple if you complete the process in order.
Tip
Removing a Maytag ice maker can help you find and fix issues with the machine and is fairly simple to do.
Prepare to Remove Ice Maker
Prepare to Remove Ice Maker
When working with electrical appliances, have tools and safety precautions in place before you begin to ensure your personal safety as well as that of the machine. Stopping in the middle of a project with wires dangling or heavy parts half attached to the appliance can create a dangerous situation or further damage the Maytag ice maker.
Always unplug the appliance before working on any electrical issues. The plug is typically behind the refrigerator so you may need to safely remove it from where it is nestled in the kitchen. An ice maker repair requires a few tools to complete the removal process. These include:
- Phillips head screwdriver
- Hex head tool
- Flat head screwdriver
- Towels
- Plastic utensil
Troubleshooting a Broken Ice Maker
Troubleshooting a Broken Ice Maker
Before going through the trouble of removing the ice maker, check that it is not jammed. The ejector arm of the ice maker can get clogged with ice, according to Maytag. Remove the ice buildup with a plastic utensil to resolve the issue.
A water filter that is old and filled with hard water deposits can reduce the water flow to the ice maker and cause it to create small ice cubes or prevent it from making any ice at all. Replace the water filter and see if that fixes the issue with the ice maker. Repair Clinic recommends that the water filter should be replaced every six months to keep the ice cubes tasting fresh and the water flowing liberally into the ice maker.
Check that the ice maker is turned on by simply lowering the wire shutoff arm. Move the arm upward to turn the ice maker off.
Maytag Ice Maker Removal
Maytag Ice Maker Removal
Put clean towels on a counter or floor to place the parts you'll be removing from the freezer. Open the freezer compartment and take out any removable parts, such as the ice bucket and chiller shelf, and wipe up spilled water or chip away frozen puddles.
Remove the front panel of the Maytag ice maker by gently prying it away from the body of the machine or removing any screws that hold it in place. With a Phillips head screwdriver or a Hex head tool, loosen the screws until they come away from the mounting bracket.
Lift the ice maker up from the mounting screws and unplug the machine from the back of the freezer compartment where it connects to the refrigerator. Remove the water supply tube that runs from the back of the freezer compartment. Completely pull the ice maker from the freezer compartment.
