How To Adjust A Washing Machine Water Level Switch
Things Needed
-
Screwdriver
-
Putty knife
-
Multitester
-
Scissors
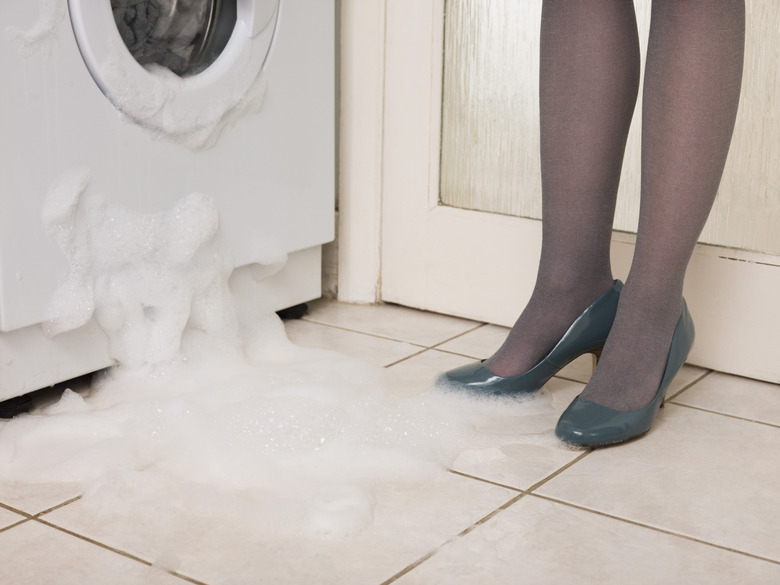
Washing machines fill with water during the wash cycle. To prevent overflowing, or too much water from entering the tub of the machine during the wash cycle, a water level switch is installed. The water level switch is connected to the console with a tube running down into the machine. When the water reaches a certain level in the tube, the machine stops filling. If you are having troubles with the water level in your machine, adjust the water level switch.
Step 1
Unplug the unit from the wall.
Step 2
Remove the screws from the control panel. Slide a putty knife underneath the control panel on each side to depress the holding clips. Push the control panel back.
Step 3
Find the back of the water level switch. You will see a tube running down from the switch.
Step 4
Remove the screws from the back of the machine and pull off the back panel.
Step 5
Pull the wires off the water level switch to expose the connectors. Set a multimeter, a device used to test electrical current, to the X1 setting. Touch one probe to the first connector and the other probe to one of the two others. Test in pairs. You should always receive a reading of infinity or zero. Otherwise, remove the switch and replace.
Step 6
Follow the tube down the outer tub. Shorten the tube with a pair of scissors to adjust the final water height of the tub.
