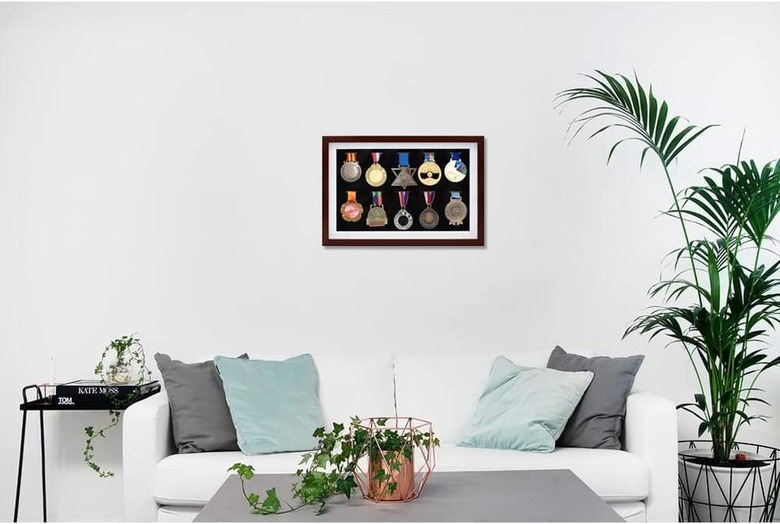
How To Mount Medals And Photos In A Shadow Box
We may receive a commission on purchases made from links.
Military veterans often like to commemorate their time in the service by putting their medals, photos, and more in a shadow box. Sometimes the retired service member prefers to arrange these mementos, while in other cases, the veteran's family may put together a shadow box on behalf of their loved one. Setting up a custom shadow box arrangement is a simple process. In fact, the most challenging part might be deciding what to include and how to arrange the contents.
What to Include in a Shadow Box
What to Include in a Shadow Box
You may already know which medals and photos you would like to include in your shadow box, but you may also want to add other items. Many military memory shadow boxes contain flags, some hold a knife or a bullet, and larger boxes may even contain part of the soldier's uniform. The important thing is to include items that have a special place in the memory of the individual veteran.
The most common items in shadow boxes are medals, patches, pins, and stripes. You may also want to add a flag, dog tags, or important letters. Beyond that, you can include any number of items. What you choose should be as unique as the individual they belong to. A military dog handler may want to have a leash and collar in their shadow box. A soldier who was saved from sniper fire by a can of C rations may even choose to add the can.
How to Arrange the Items
How to Arrange the Items
Just as the items in the shadow box should be uniquely based on the individual, the arrangement of the items should be as well. One rule applied to almost all military shadow boxes is that the items should be grouped by type. While most people arrange items in rows, they may also be put in a diagonal line beside a folded flag or in a circle around a larger item like a photo. When medals are displayed in rows, those designating the highest honors should be placed at the top.
Tip
One of the most important things to pay attention to when arranging items in a shadow box is the spacing. The spacing around the edges should be the same, and the spacing between items should be the same.
To find an arrangement that works for your box, group the items by type and arrange them on a piece of paper the same size as your shadow box. Experimenting with different setups will allow you to see what layout looks best and makes the most sense. When you find an arrangement you like, take a picture, even if you want to experiment with the design a little more. This way, you can compare the looks you like the best before choosing the final layout.
Assembling the Shadow Box
Assembling the Shadow Box
Use a ruler to ensure even spacing when securing items in the shadow box. Push items with pins directly into the box's backing. To secure photos, place double-sided tape on the back of the image and fasten it down. For larger items without pins, cut a piece of the hook side of self-adhesive Velcro to discretely fit behind the item and glue it in place. Cut a corresponding piece of the eye side and fasten it to the box before securing the object in place.
