How To Clean Photographs
We may receive a commission on purchases made from links.
Dust happens in the strangest places, including atop photographs. Since old photos in particular are delicate, extra care must be taken when removing dust or cleaning up substances that spilled or otherwise left marks on them. Clean such photos with the gentlest methods possible, and if there's ever reason to believe cleaning might damage any photograph, scan it first to ensure you'll still have a copy.
Gently Remove Dust
Gently Remove Dust
Whether the photos are grungy or just need a little TLC, removing dust is the first step in cleaning them if they've been out of a sealed container or envelope for a while. Otherwise, any dust on them could scratch or smear as you perform other cleaning methods on the images. Wear lint-free gloves while handling the photos, as this also helps prevent fingerprints from marring the images.
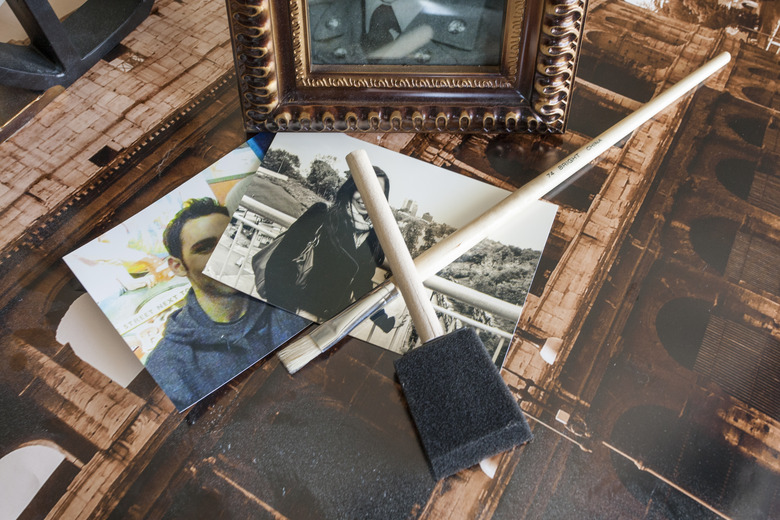
Prepare the work area by setting a lint-free cloth, such as a tea towel, on a table and then set the photos on it individually as you work. Use an ultra-soft brush, such as a makeup brush, to gently sweep the dust off the surface using as little pressure as possible. Hold down the edge of the photo as you do so to keep it still.
Remove Fingerprint Smudges
Remove Fingerprint Smudges
Fingerprints sometimes leave behind body oils that might mar the photos, and they might even show up if you scan your photos later. As with removing dust, wear lint-free gloves when de-fingerprinting your photos. Use a soft microfiber cloth to buff those fingerprints off the surface of each photograph.
Wipe as gently as possible, as it shouldn't take much effort to remove standard fingerprints. If the fingerprints have other materials on them, such as greasy food, the cloth works well if the spots are fresh but may not remove dried matter. Buff slightly harder or use the edge of a piece of card stock or a plastic gift card to gently chip away at harder material only if the photo paper is durable enough to handle it. Don't press too hard or you may scratch the actual image.
Removing Mucky Dirt
Removing Mucky Dirt
If you've rescued your favorite photos from a flooded basement, there's a good chance there's a dirty film on them if they've been submerged. Any traditionally printed photos or silver halide prints may be cleaned with actual water but with careful handling. Wear rubber gloves when handling these images, both to prevent fingerprints and to protect your hands from germy residue.
Set a couple of disposable baking pans on your work surface and add 1 inch of distilled water to each pan. Place the dirt-riddled photos in one pan, spreading them out so they don't sit on top of one another. If the pan is small, only treat one or two photos at a time. After the images sit for a few minutes to loosen the dirt, brush them gently with a soft, natural-bristle brush while they're still in the water. Move the cleaned photos to the pan of clean distilled water.
It's OK to let the cleaned photos sit for up to 30 minutes in the water. After you've removed them, set them on a window screen or similar meshlike material that allows airflow to both sides. Allow the photos to dry completely on the screen or set them face up on plain white paper towels to absorb any water trapped in the paper.
