How To Improve Living In A Single Wide Trailer
Things Needed
-
Paint
-
Paint brushes and rollers
-
Painter's tape
-
Laminate or engineered hardwood flooring
-
Installation kit for laminate flooring
-
Dust mask
-
Gloves
Tip
Consult a professional if there are structural repairs, leaks or a pest infestation. Reuse and repurpose your existing furnishings. Recruit friends to help you.
Warning
Safety first! Use all appropriate safety gear when doing renovations. Watch out for your back and knees. Painting and installing flooring require a lot of stretching and bending. Dispose of all used materials properly, according to your local garbage company's rules.
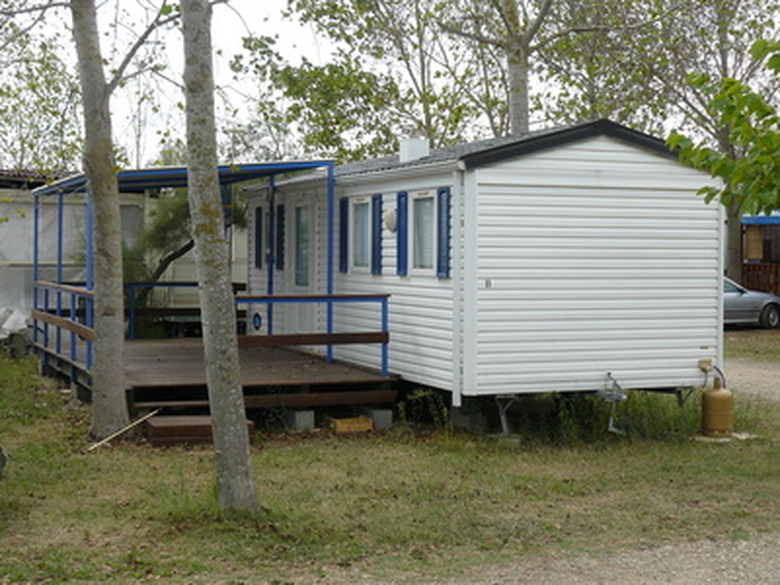
A single-wide trailer, especially an older model, is often small and outdated, with old paneling and carpets. But just because a trailer is small and old does not mean that you have to live in a dark and dingy space. Fortunately, with a little planning and work, you can make it into a modern, comfortable living space.
Paint, new floor coverings and careful selection of furniture and lighting does wonders for a small space, whether a trailer or a tiny apartment.
Plan the Renovation
Step 1
Measure every room. Width multiplied by depth equals square feet. You need to know the square footage of each room in order to buy enough paint and flooring.
Step 2
Plan a décor. Single wides almost cry out for mid-century modern, but any style works with careful space planning.
Step 3
Choose paint colors and floor coverings. Paint brightens a room or makes it cozy, depending on the colors you choose. Laminate or engineered hardwood flooring is easy to install and keep clean. Sheet vinyl flooring is easy to clean but harder to install.
Step 4
Eliminate all clutter before you begin your renovation. Clutter is the enemy of tiny spaces.
Paint Everything
Step 1
Remove the furniture from the first room. Of course, if you have not moved in yet, prep the entire home so you can move quickly from room to room. By the time you finish at the far end of the trailer, the paint in the first room is dry and ready for a second coat of paint.
Step 2
Remove light switch and outlet covers and cover outlets and switches with blue painter's tape. Use the 2-inch-wide tape because it is easier to apply and remove. Carefully tape all the windows and light fixtures. Remove the baseboards carefully if you plan to reinstall them. If you are removing the carpets, do it after painting. Otherwise, use drop cloths.
Step 3
Sand the paneling lightly. Roughing the surface slightly helps the paint stick. Spackle any nail holes. At this point, decide if you like the little grooves in the paneling, or if you prefer a smooth surface. Spackle the grooves if you hate them, then sand smooth.
Step 4
Prime and paint the room using an eggshell or satin finish. If using dark colors, have the primer tinted to match so you use fewer coats of paint. Do not forget the ceilings. Depending on your décor, paint the ceilings darker so they recede, or a light color to brighten them up. Using a roller attached to a long handle prevents a lot of bending and stooping.
Step 5
Paint the trim last, using a satin or gloss enamel.
Replace the Flooring
Step 1
Remove the carpet, padding and carpet strips. Wearing a dust mask and gloves is a good idea; carpets are filthy dirt collectors.
Step 2
Install laminate or engineered hardwood flooring according to the manufacturer's directions. Websites like IKEA.com have directions and a video demonstrating how to install flooring.
Step 3
Reinstall the baseboards or install new baseboards. Sanding, priming and painting the baseboards outside, before installation, saves a lot of time.
Redecorate
Step 1
Consult books, magazines and home improvement shows while planning your new décor. A single-wide, even with fresh paint and flooring, is still very small and requires careful space planning.
Step 2
Find appropriate furnishings. A low-slung sofa or loveseat and a couple of small side chairs help minimize the low ceilings and small space. Narrow bookcases, 8 inches deep instead of 12, help save space and hold your books equally well.
Step 3
Bring the light in. Lightweight curtains and sheers combined with lamps brighten the space. Small rooms require extra light to expand the space visually.
