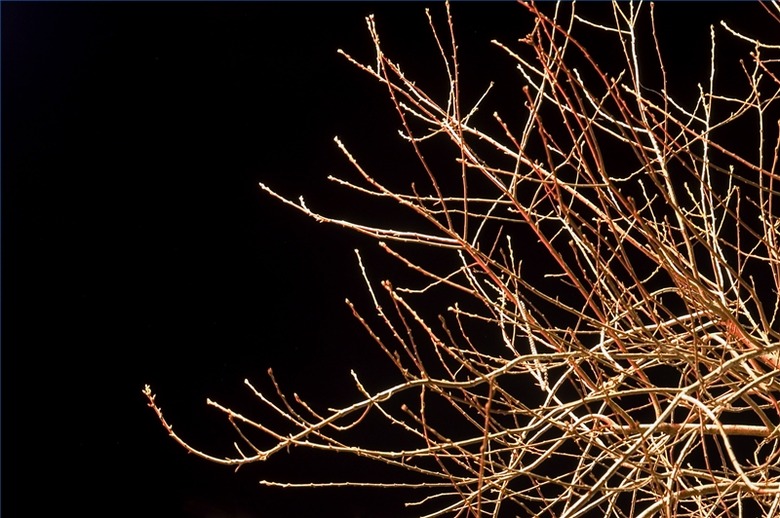
How To Dry Twigs
Things Needed
-
Shrub clippers
-
twine
-
dry well ventilated area
-
twigs
Tip
Many projects can be completed with freshly picked twigs and allowed to dry once the project is completed. Twig wreaths and similar displays are easier to complete while the twigs as young and flexible. To create interesting twists and curls, gently bend the the twig into the shape you desire and secure it with twine or wire and allow it to dry in this position.
Dried twigs are used as the base of many nature crafts. These come in as many sizes, shapes, and natural hues as you can imagine. Not only are they attractive and effective in bringing a bit of nature to your home, they are free for the taking along roadsides or in wooded area. The key to creating an attractive arrangement is to gather the twigs that suit your design while they are still young and supple and drying them yourself before using them.
Step 1
Choose twigs that are the size and shape you will need in your project. Although you can cut dried twigs to your specifications, it is much easier to gather twigs that are already the size you wish to use.
Step 2
Clip the twigs with sharp shrub clippers and stack them in a bundle.
Step 3
Create small bundles of twigs and wrap them with ordinary garden twine.
Step 4
Place the twigs in a dry, well-ventilated area to dry. You can dry them in the sun, but will want to move them when it rains. The size and moisture content of your twigs will determine drying time. Thin twigs may dry in a week or two. Larger twigs with more moisture content may take up to 2 months.
Step 5
Check for dryness by trying to bend one of the twigs. If it is still flexible, it is not dry enough. A dry twig will snap when you apply pressure.
