How To Hang A Canopy From The Ceiling Without Drilling Holes
We may receive a commission on purchases made from links.
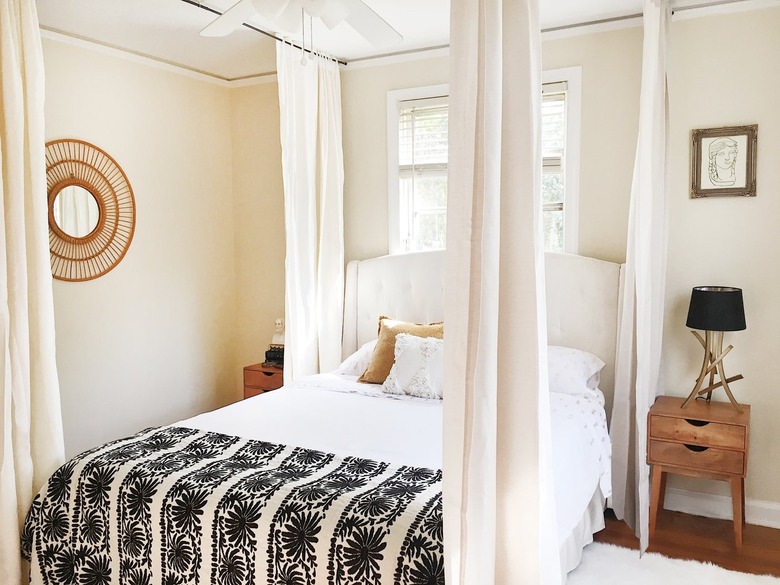
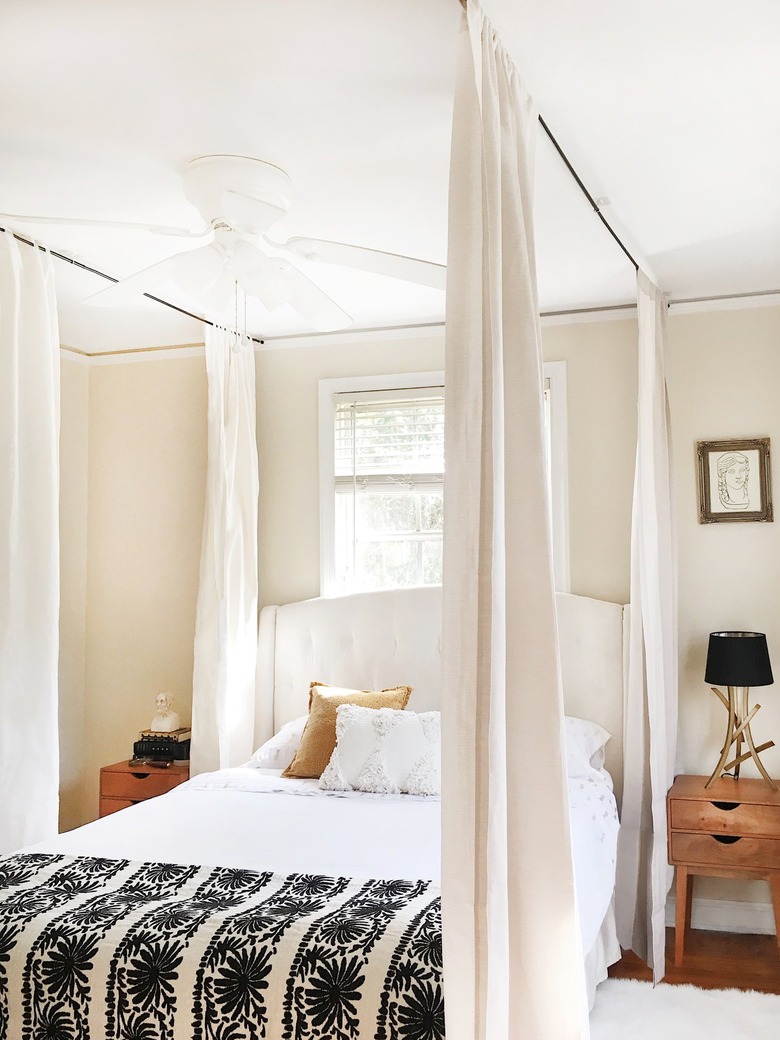
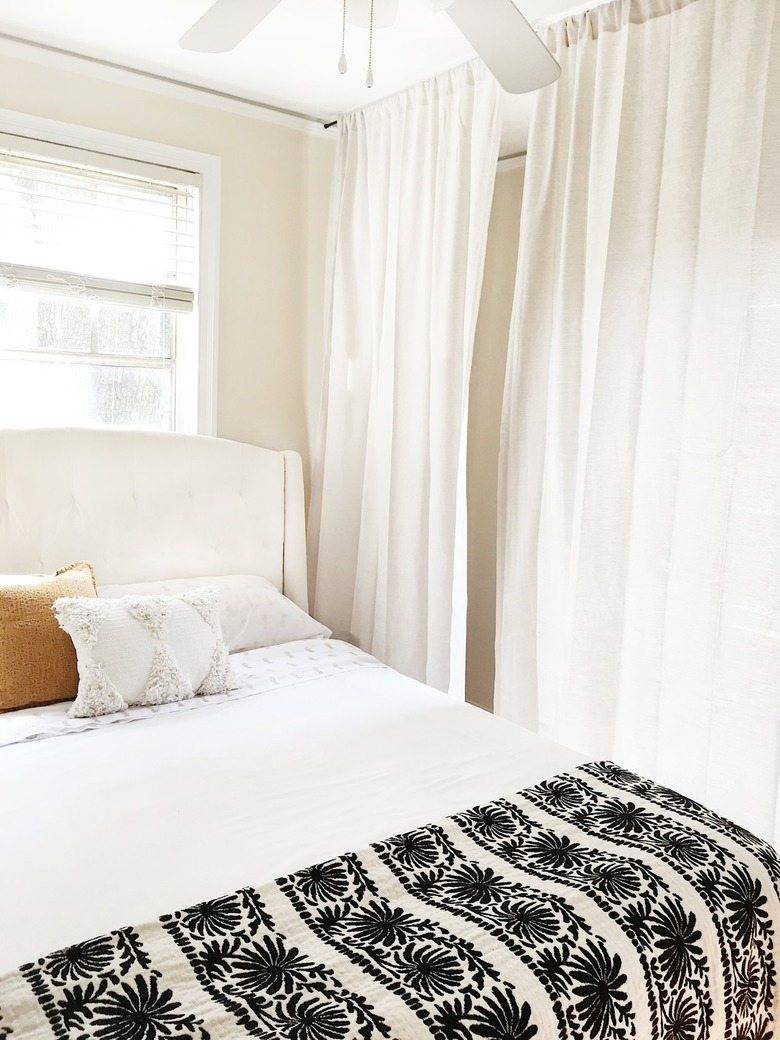
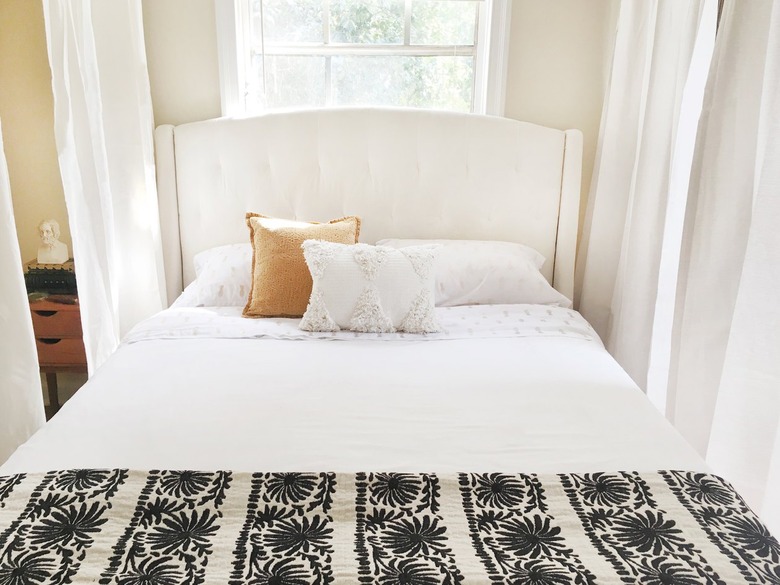
Bring luxe hotel vibes to your boudoir with a dreamy DIY bed canopy that will make every day feel like a vacay. We've got a tutorial that allows you to attach curtains to the ceiling without drilling holes. The secret for this easy DIY project? Suspend curtain rods from the ceiling with peel-and-stick hooks and drape extra-long curtains that sweep dramatically against the floor. The result is a romantic and regal canopy bed look that will have you feeling like a royal and sleeping in total style.
Things Needed
-
Pencil
-
Ladder or stepstool
-
All-purpose surface cleaner
-
Cloth or paper towels
-
Curtain rod, ( 2 )
-
Curtains or fabric
-
Putty knife (optional)
Tip
Curtains with a rod pocket sewn along the top work beautifully for a seamless four-poster bed look. However, you could also use curtains with grommets or even regular fabric paired with curtain clip rings. Also, when choosing a curtain rod, make sure it will fit inside the ceiling hooks. For reference, we used an ultra-slim rod with a diameter of 0.4375 inches.
1. Take Measurements for the Curtains and Rod
1. Take Measurements for the Curtains and Rod
You'll need to take two measurements to determine what length of curtains and curtain rods to use. First, measure the height of your room from floor to ceiling and add one or two inches — this will be the length of your curtains or fabric (the extra length is to ensure the curtains are long enough to drape against the floor).
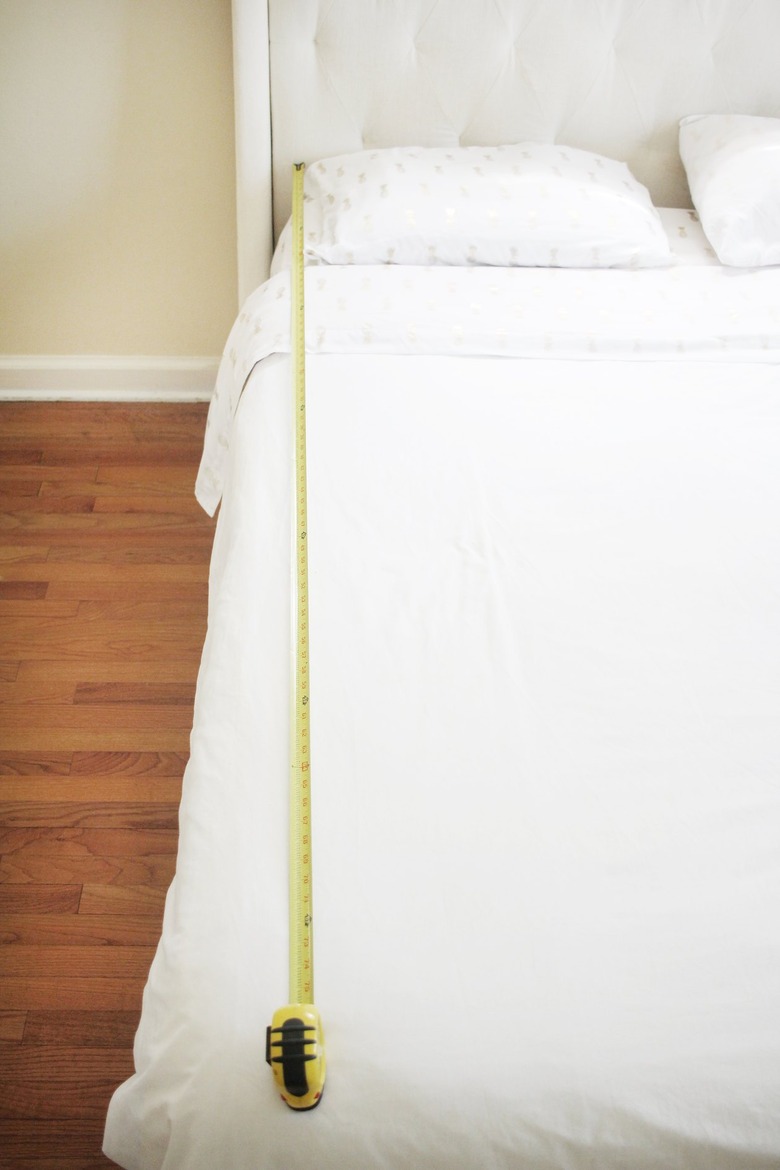
Next, measure the length of your bed and add two inches — this will be the length of your curtain rods (again, the extra two inches is to allow the curtains a bit of space to drape against your bed).
2. Mark the Corners of the Bed on the Ceiling
2. Mark the Corners of the Bed on the Ceiling
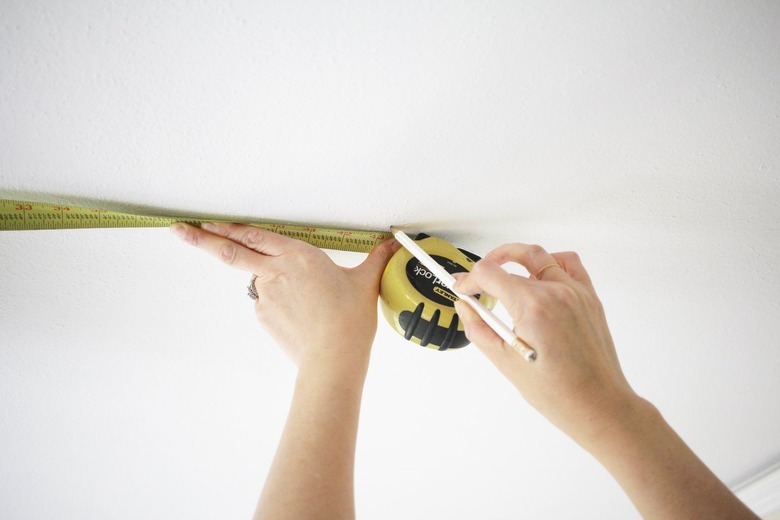
Stand on a ladder or stool (carefully, of course) and use a pencil to mark the four corners of the bed on the ceiling. Then use a tape measure and pencil to mark the midpoint between the head of the bed and foot of the bed on each side. These marks are where you will install the ceiling hooks — three along each side of the bed.
3. Clean the Installation Area
3. Clean the Installation Area
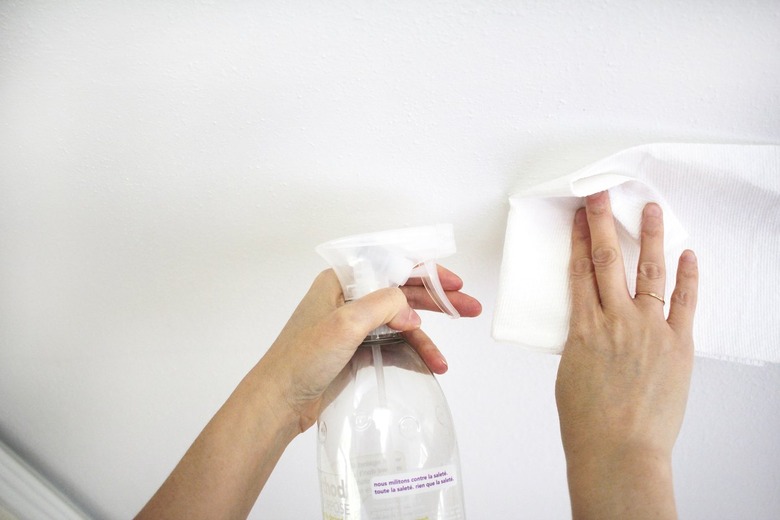
Use a lint-free cloth or paper towel and all-purpose cleaner to gently clean and wipe away any dust around the installation marks you made. Allow the area to dry thoroughly. This will help the adhesive on the hooks stick more securely to the ceiling.
Warning
If you have textured or popcorn ceilings, you'll need to scrape away the texture around the area where you'll install the adhesive hooks. A putty knife should do the trick, but be aware that houses built before 1978 may contain asbestos in ceiling textures. You may want to test for asbestos prior to scraping.
4. Install the Adhesive Ceiling Hooks
4. Install the Adhesive Ceiling Hooks
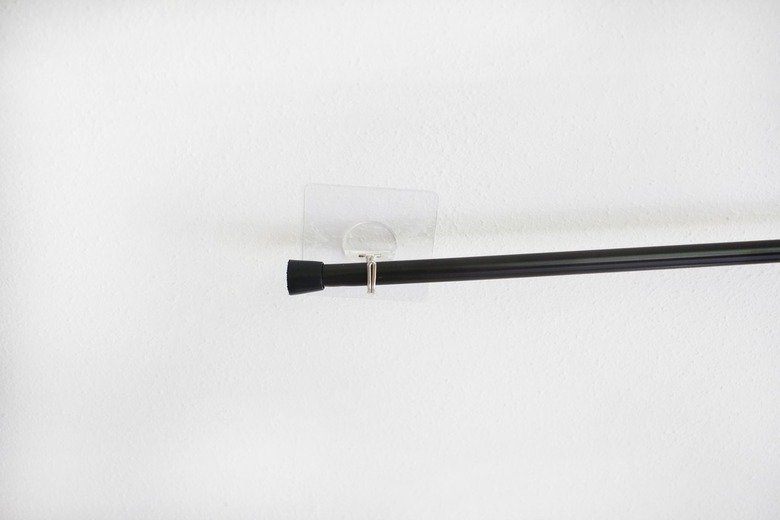
Remove the adhesive backing on each ceiling hook (following the manufacturer's directions) and press each one firmly onto the installation marks you made on the ceiling. Be sure to position them so that the hooks are all facing away from the center of the bed.
5. Install the Curtain Rod and Adjust
5. Install the Curtain Rod and Adjust
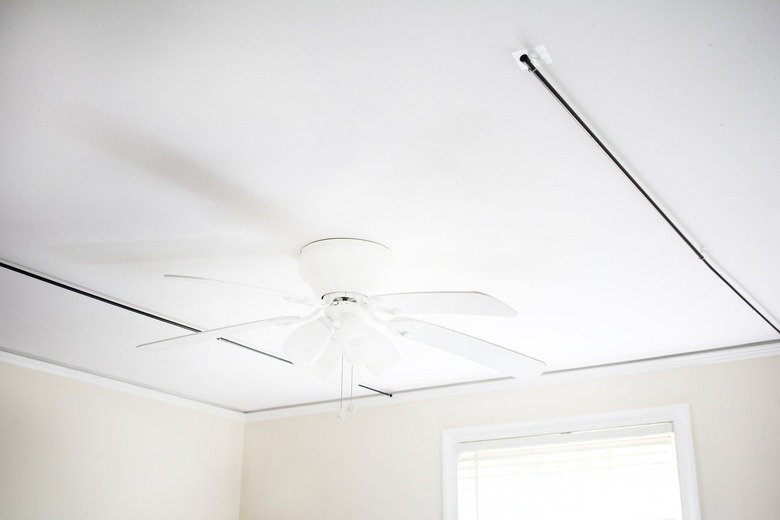
Place each rod into the hooks along the sides of the bed.
Stand back and ensure they are positioned correctly above the bed. Make any adjustments if necessary and then remove the rods.
6. Slide the Curtains Onto the Rods
6. Slide the Curtains Onto the Rods
Slide or clip the drapery or fabric onto the curtain rods and place the rods back into the hooks.
Now you have an elegant four-poster look without having to buy a brand new bed. Experiment with the style you prefer by pulling the drapes closed, tying them at the corners, or letting them fall loosely around the corners of the bed.
Love the ceiling canopy look so much that you want to try it in your kid's room, too? Try hanging a canopy tent above the bed or in a corner to create an adorable reading nook.
