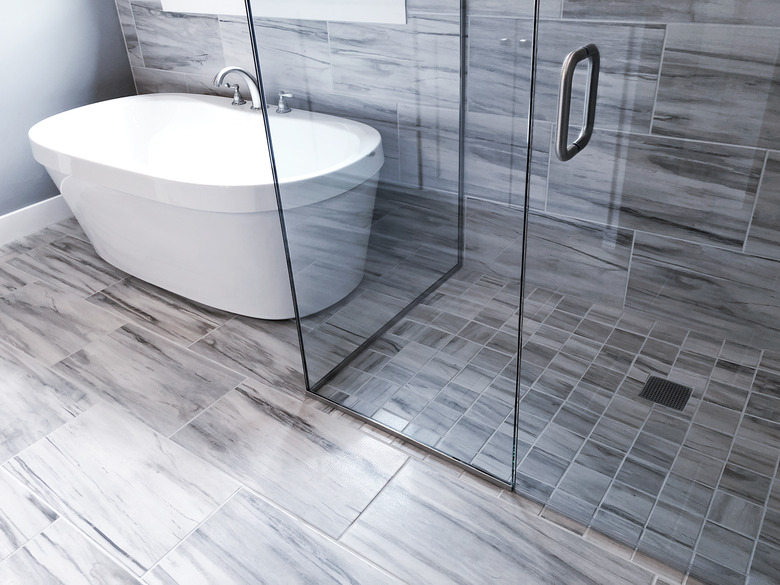
How To Install Tile On A Plastic Shower Base
Tile is an appealing material for a shower base. Not only does it look appealing, but when it is installed properly, tiles are extremely hard-wearing and long-lasting. You may wish to install tile on a plastic shower base to save some money. However, if you have a plastic shower pan, installing tile over the top can be more difficult than it may seem.
Flexible Plastic Shower Pans
Flexible Plastic Shower Pans
The first problem you'll face when considering installing tiles on a plastic shower pan is the flexibility of this base. A plastic base will not properly support the bed of mortar necessary for tile adhesion. As soon as you apply pressure to the shower base by using it, the mortar will likely crack.
As soon as the mortar is damaged, your tiles will be prone to cracking or coming loose entirely. While tiling over your existing shower base may seem like a quick fix to spruce up your shower, it's a far better idea to take a longer route and end up with a functional and attractive result.
Problems With Thinset Mortar
Problems With Thinset Mortar
Another issue you may have when trying to install tiles over your plastic shower pan is mortar adhesion. Many thinset mortars will not be able to stick to a plastic shower pan. The surface is just too smooth, and no matter how much you sand it down, it's simply not designed to stick to mortar.
If you do want to install tile on an existing shower base, you'll need to change the material of your backing. Luckily, there are Tile Redi shower pans on the market. They're designed specifically with this task in mind. Installing a Tile Redi shower pan ensures you can tile over your shower base and create a shower that's both functional and aesthetically appealing too.
The Tile Redi Shower Base
The Tile Redi Shower Base
Tile Redi shower pans are designed to replace your plastic shower tray and act as a suitable base for tiles. You'll first need to remove your old shower tray and then replace your base frame with one suited to your Tile Redi pan of choice. The Tile Redi range is extensive, so there should be one to suit your shower size and shape perfectly.
You can then line up your Tile Redi base with the drain and attach the drainage pipe. Apply the mortar and press your shower tray into place, focusing first on the area around the drain. Once the mortar has cured, you can apply your backer board and use silicone sealant to waterproof the edges.
Tiling Over Your Shower Base
Tiling Over Your Shower Base
Once your Tile Redi shower base is installed, you can apply tile to your shower tray. It's important to take time planning your tiling layout before starting so you know where each tile is supposed to go. A tile spacer can help you make sure you have an even layout.
Tile Redi recommends their Redi Poxy adhesive for this job. Spread the adhesive across the base using a 1/8 x 1/8-inch V‐notch trowel and then press the tiles into place.
Once you've completed your tiling, you'll want to seal the edges of each tile using the same silicone sealant as before. Make sure you allow adequate time for the mortar and grout to fully dry before using your shower.
