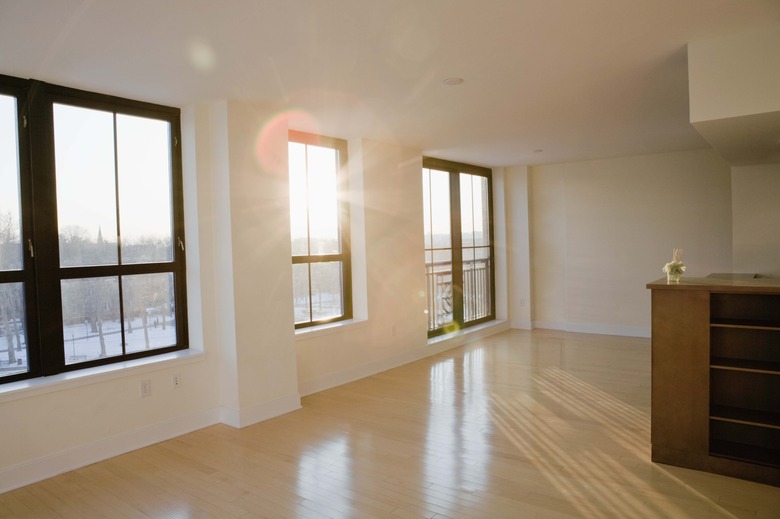
How To Make One Room Into A Studio Apartment
Things Needed
-
Paint
-
Paint supplies
-
Bed
-
2 Dressers
-
Couch
-
Coffee table
-
Mini-refrigerator
-
Hot plate
-
Microwave
-
Room dividers
Tip
To open up the space, consider using mirrors, to reflect the light, and mirrored furniture. Additionally, furniture that does not sit directly on the floor but instead has legs, which give it height, also create the illusion of space.
Make sure you utilize your closet space as well. Closet dividers extend the space and give you more "floor" space.
Warning
Be aware that a hot plate can get quite hot. If you're concerned about it burning the dresser, you might put down some ceramic tiles to protect the top of the dresser.
In today's economy, many people rent, and the spaces that they rent come in a variety of styles and sizes. One option is the single room. This can be a roommate situation, but it can also be in a boarding house or something similar. To make the most of this kind of space, tenants might consider converting it into a studio of sorts, particularly if they end up with a larger space.
Transforming One Room into a Studio
Step 1
Consider painting the room a light color if you're allowed to paint. This will open up the space and make it look bigger.
Step 2
Buy a mini-refrigerator, a hot plate and microwave.
Step 3
Consider how you'll bring a water supply in the space for cooking and washing. If the room comes with a bathroom, that's the simplest solution. If not, the house where you're renting the room will have a common kitchen area for you to use. You can get water from there, but still cook in your room if you choose.
Step 4
Decide where you want to create "spaces" in the room. In one corner, you'll want your bedroom area, in another, the kitchen and living room areas. Use room dividers and furniture to mark off each space.
Step 5
Place your bed next to the wall. This will be the bedroom area and one of the room's focal points. You'll want to "anchor" the rest of the bedroom furniture around it to create a closed off space.
Step 6
Position your dresser on one side of the bed. Use the dresser as a room divider of sorts. For example, if the next "room" over is the living room area, place the dresser in between the two spaces.
Step 7
Bring your couch into the space. While you can place it against the wall, you can also use it as a room divider by positioning it so that only one arm of the couch is against the wall. The back of the couch could be then facing either the bedroom area or kitchen.
Step 8
Add the coffee table in front of the couch. It not only emphasizes the living room area, but it can be used as a dining table of sorts if you place large pillows on the floor around it to function as seating.
Step 9
Put the second dresser against the wall in the kitchen area. This will be in your kitchen area. This dresser serves as a place for you to put your microwave and hot plate. You'll also be able to store utensils, napkins and your dishes in the drawers as well.
Step 10
Place the mini-refrigerator next to the dresser in the kitchen. This economizes the space and allows you to store additional kitchen items on top of the refrigerator.
Step 11
Think about employing room dividers if you want more structured and separate spaces.
