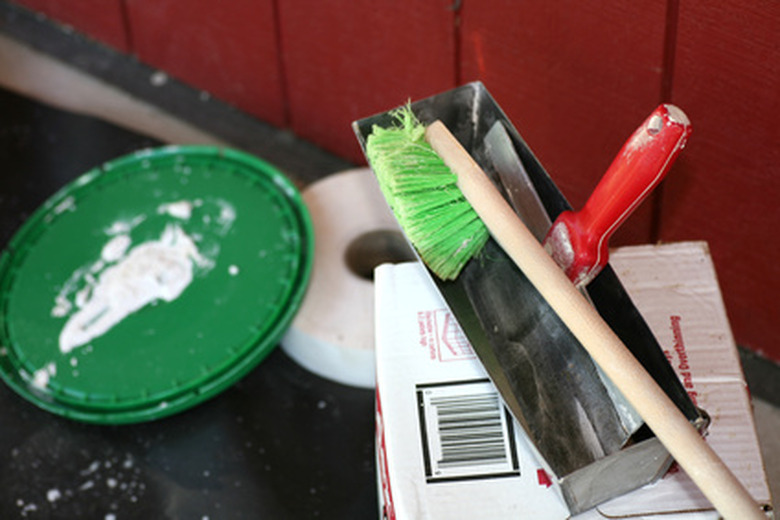
How To Convert A Garage Into Living Space
Things Needed
-
Measuring tape
-
Drywall knife
-
Drywall compound
-
Drywall sandpaper
-
Drywall tape
-
Safety glasses
-
Gloves
-
Electric drill
-
Drywall screws
-
Ladder
-
Hammer
-
Nails (multiple sizes)
-
Paint
-
2-by-4s
Tip
Plan the project completely and be sure you have all the necessary supplies before you begin any building or renovating. You don't want to get halfway into a conversion and realize you are missing something.
Warning
Always wear your safety glasses and any other necessary safety equipment while doing work in your garage conversion. Even the simplest tasks can become dangerous when safety is not a first priority.
There are many people out there looking to make more living space in their home. If you have a garage, this could be one of the easiest ways to add on to your home without expensive construction. Doing a garage conversion is fairly simple with the right tools. The average do-it-yourselfer can manage the project. This can give you the space you need to add a bedroom, living room or den, or even a game room or family room.
Preparation
Step 1
Check with your local building inspector to find out about local zoning laws regarding garage construction and conversion.
Step 2
Determine if there will be plumbing or electrical work in your conversion. These projects are best left to the professionals, but must be inspected by a licensed inspector if you do it yourself.
Step 3
Create a floor plan. The simplest garage conversion is to make it into one big room that can be used as you wish, usually as a family space or a bedroom. A living area likely will have one large open floor plan, where a bedroom may have separate rooms or wall dividers for privacy.
Step 4
Frame your garage door opening. You are not likely going to want to keep the garage door on your converted space. Instead, you want to frame this in with a wall and a door for outside access if you choose.
Step 5
Plan the garage floor. Since garage floors can be very cold, it can make the room uncomfortable and you can lose a lot of heat or air through this room, running up your electric bill. You can correct this problem by raising the garage floor off the concrete slab for insulation. Raise it using 2-by-4-inch lumber, according to how much insulation you need (higher subfloors add more insulation).
Placing the Walls
Step 1
Use drywall to cover the beams in the garage and give you a smooth appearance in the converted living space.
Step 2
Use drywall screws and a drill to secure the drywall into the studs of the garage. Place the screws about every 12 inches. You will need a ladder and another person to help you drywall the ceiling.
Step 3
Mark where you will have electrical outlets and use the drywall knife to cut out a hole for the outlets through the drywall.
Step 4
Repeat the steps until you have covered all the walls in the garage with drywall.
Step 5
Place drywall tape along all of the seams of the drywall.
Finishing and Painting
Step 1
Use drywall compound to cover the drywall tape and drywall screws. This will allow you to smoothly paint over it.
Step 2
Allow the drywall compound to fully dry and then use drywall sandpaper to smooth down the edges. When completed, you should have a smooth finish that you can rub your hands over without getting caught, snagged or cut.
Step 3
Paint the walls with a primer. This will be your base before painting your converted room in the final color you have chosen.
Step 4
Install the finished flooring, such as carpet or tile, after the painting is complete. This prevents spilled paint from ruining your new floor.
Step 5
If your garage has windows, find window coverings to go with the decor in the new converted space. Now you're ready to move in furniture.

