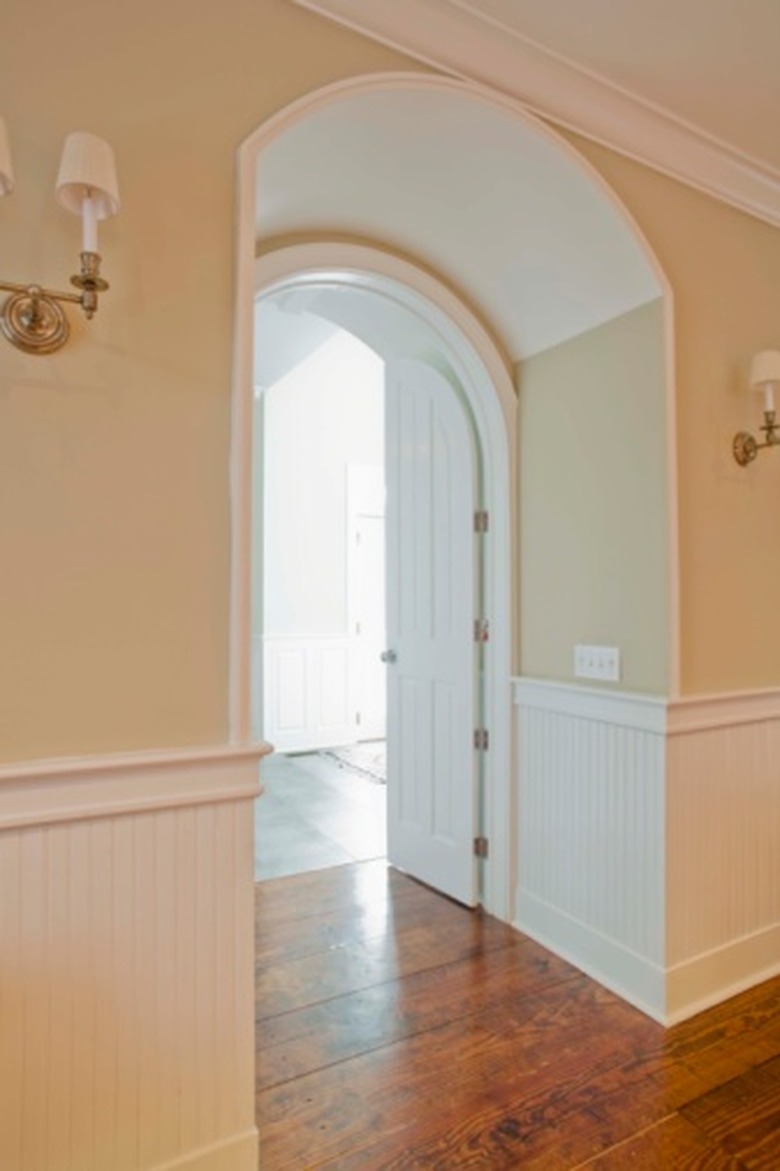
How To Square Off Rounded Archways
Things Needed
-
24-by-24-inch L-square
-
Pencil
-
Jigsaw
-
Tape measure
-
2-by-4 lumber
-
Table saw
-
Hammer
-
Drill with screwdriver bit
-
5-inch drywall screws
-
Plaster
-
2-inch putty knife
-
Drywall tape
-
Drywall sanding block
-
Paint
-
Brush
Archways are a common interior design element in Mediterranean style architecture. Rounded archways are also found around doors in older homes. The style of rounded archways is not generally preferred by every homeowner, which brings up the possibility of eliminating them from a home. Any novice builder can square off rounded archways in a short amount of time and create a more attractive doorway.
Step 1
Place L-square on the top left archway in the door opening. Line up the bottom arm on the L-square with the side of the door opening and line up the top arm of the L-square with the top point of the door.
Step 2
Draw a line along the interior edge of the L-square to create a 90-degree corner from the top center of the door opening to the side. Remove L-square.
Step 3
Repeat steps one and two on the top, right side of the door opening.
Step 4
Cut along the lines on both top edges using a jigsaw. Before cutting, make sure no electrical, gas, or plumbing lines run through these areas of the wall. After this is assured, cut slowly to avoid damaging the walls.
Step 5
Pull any insulation out of the immediate opening cut into the wall. You need a 2-inch depth around each wall area in order to place the 2-by-4 inside the cavities.
Step 6
Measure the distance from the top left corner to the bottom of the cut area. Mark this distance on a section of 2-by-4, and cut to size using a table saw.
Step 7
Place the 2-by-4 section into the wall between the drywall on both sides. Use a hammer to tap into place if needed. Use the drill with a screwdriver bit to drive two screws down into the 2-by-4 that runs below the newly installed section to secure it in place.
Step 8
Drive one screw every 12-inches through the existing drywall to secure the wood in place.
Step 9
Repeat steps six through eight on the top, right side of the door opening.
Step 10
Measure the distance across the top of the doorway, between the two newly installed 2-by-4s. Mark the measurement on a new 2-by-4 section and cut to size using a table saw.
Step 11
Place 2-by-4 section along the top door opening and angle two 5-inch screws at each end to join the top section to the two 2-by-4 sides. Drive two additional screws through each stud along the top.
Step 12
Cover the 2-by-4s lightly with plaster and place drywall tape over the 2-by-4s, overlapping the drywall on either side. Apply more plaster over the drywall tape using a putty knife. Cover any exposed screw heads. Allow plaster to dry for four to six hours or for the time indicated on the package. Sand plaster gently with a drywall sanding block. Re-apply plaster if necessary and repeat the application and sanding process. If you do not need a second layer of plaster, paint the newly finished area to match the walls in the room.
References
- "Extraordinary Interiors: Decorating with Architectural Salvage & Antiques"; Brian Coleman and Dan Mayers; 2005)
