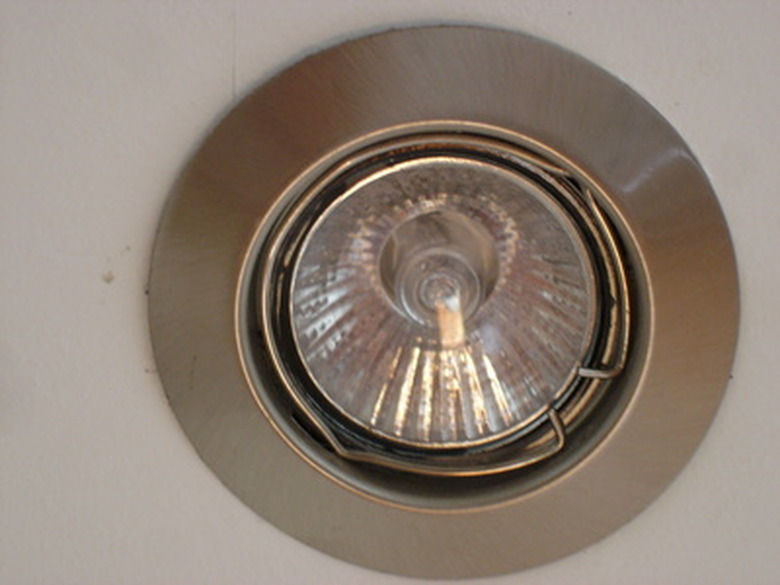
How To Replace Indoor Recessed Lighting Bulb
Warning
Do not over-tighten light bulbs as they may break.
Do not use a light bulb that is a higher wattage than your fixture is rated for. Doing this may result in damage to the fixture or a possible fire.
Recessed lighting adds a modern look to any home. Without bulky fixtures hanging below the ceiling, your room achieves a streamlined look that is appealing to many. Like any light fixture, the light bulb will eventually burn out and need to be replaced. Changing light bulbs in recessed lighting can be tricky because there is generally very little space between the bulb and the fixture itself. This makes it nearly impossible to get your fingers in to unscrew a stuck bulb. However, with a little creativity, you will be able to remove the bulb safely.
Step 1
Examine the light bulb and make sure it is cool to the touch. If it just burned out, it is likely still warm and will need to cool to room temperature before you proceed.
Step 2
Tear a 12-inch strip of duct tape. Press the tape firmly to the bottom of the light bulb.
Step 3
Take each end of the tape and fold it down and back toward itself to make a handle to grab onto.
Step 4
Grab the handle between your forefinger and thumb. Turn it counterclockwise to loosen the light bulb. The bulb should loosen in its socket.
Step 5
Grab the bulb and spin it the rest of the way out of the socket.
Step 6
Screw in a replacement bulb of equal wattage. Turn it clockwise to tighten.
Step 7
Turn the recessed light on to see that the new light bulb is operational.
