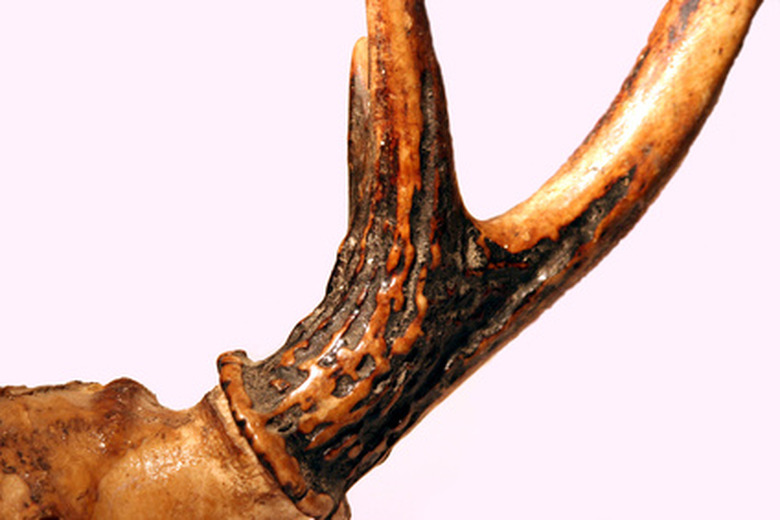
How To Drill Holes In Deer Antlers For Lamps
Things Needed
-
Oil soap
-
Brush
-
Protective goggles
-
Respiratory mask
-
Sandpaper, 120-grit
-
Power drill with a 3/8" flat wood bit
Tip
Use larger antlers to avoid having to work on the small, difficult angles of smaller antlers.
Warning
Keep antlers away from children as they could hurt themselves on the pointed ends.
When you go hunting often you may be left with several deer that are not suitable for shoulder mounting, but you may not want to discard the antlers. If you can collect enough of these antlers, there are several projects that utilize them to make rustic home furnishings and decorations. To make an antler lamp, you will need to drill several holes in order to connect the antlers together. The drilling is easy, but make sure you do it correctly for a good, clean hole.
Step 1
Clean the surface of the antler with an oil soap and a brush. Let dry thoroughly.
Step 2
Put on protective goggles and respiratory mask. You may breath in saw dust and even get them in your eyes during this project.
Step 3
Mark with a pencil the area on the antler where you plan to drill holes. File down a small spot where you want to drill using 120-grit sandpaper.
Step 4
Place the tip of a power drill bit where you want to start the hole, and start drilling into the antler. Use a 3/8" flat wood bit for drilling.
Step 5
Hold the antler firmly in the other hand, and let the drill pass through the antler.
