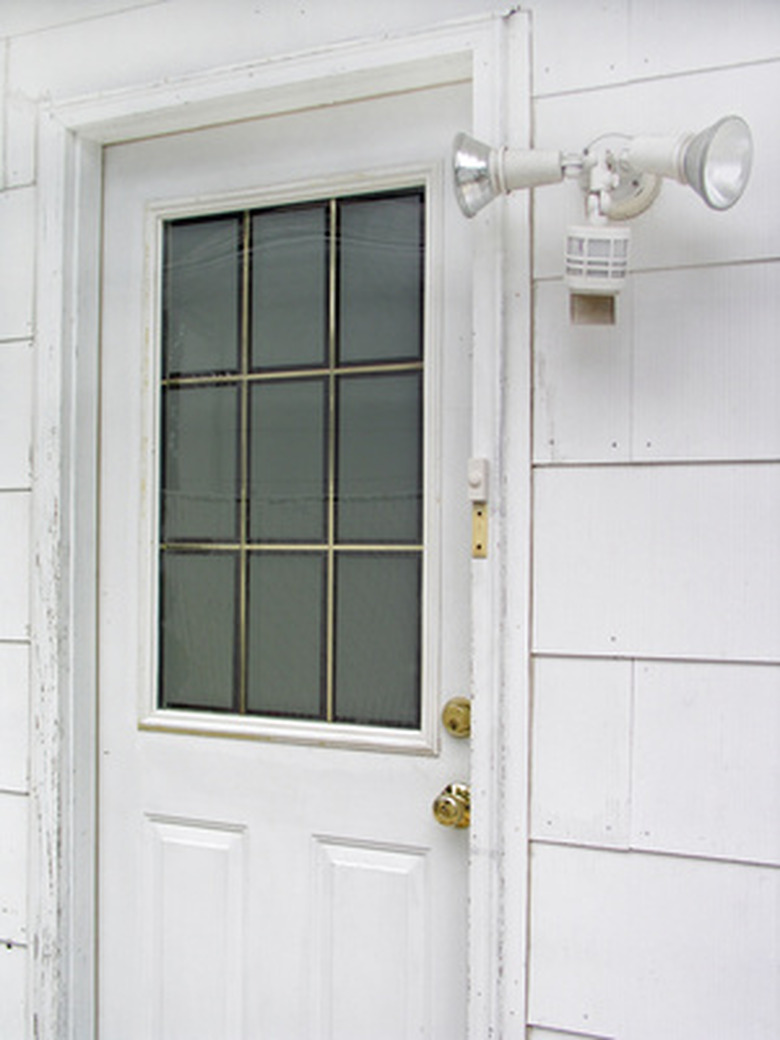
How To Understand Motion Sensor Floodlight Settings
Motion sensor floodlights have settings that allow you to change the sensitivity of the sensor. Whether you want your motion lights to turn on only when something approaches your house or when the sensor detects motion at a distance, you can set it according to your preference. To understand motion sensor settings, you need to test the sensitivity of the device to make sure the settings you choose are right for you.
Step 1
Make sure the switch that provides power to your motion floodlights is in the "Off" position.
Step 2
Slide the switch on the bottom of your motion sensor light fixture to "Test."
Step 3
Adjust the "Sensory Adjustment Dial," located next to the "Test" switch. Begin with the switch set to "Medium."
Step 4
Flip on the light switch to send power to your floodlights and stand out of the way of the motion sensor. The lights will go on for 30 seconds, then will turn off automatically if there is no movement detected by the motion sensor.
Step 5
Walk in front of your motion floodlights until the sensor detects your location and the lights turn on. Note the distance you are from the motion sensor to understand the "Medium" sensitivity.
Step 6
Change the "Sensory Adjustment Dial" to "Low" and walk in front of the sensor again. The "Low" setting only detects movement close to the motion sensor.
Step 7
Rotate the "Sensory Adjustment Dial" to "High" to understand the highest level of motion sensor sensitivity. Walk in front of the motion sensor to determine the longest distance at which the sensor will detect movement.
