How To Paint Metal Pipes
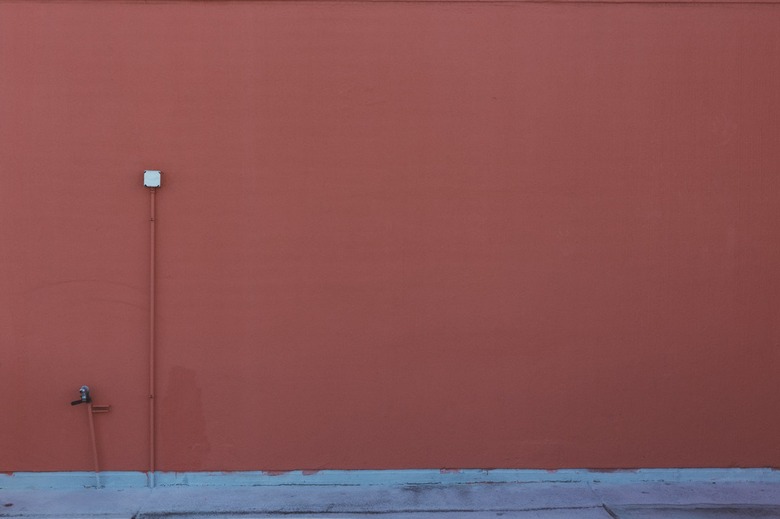
Exposed metal pipes are almost always a design problem, and many designers minimize their negative impact by painting them. If you do it the wrong way, though, peeling paint and bleed-through can make the problem worse. Whether the pipes are made from copper, galvanized metal, black iron or cast iron, the keys to proper sealing and adhesion are preparation of the material and priming. Once the primer has dried, you can apply the paint of your choice in the way that is most convenient. Spraying generally gives the most appealing results.
Preparing the Pipes
Preparing the Pipes
New pipes have a surface coating that you need to remove before priming. Older pipes may have lost the coating, but they may have developed a fine film of surface rust or oily residue that also need to come off to prevent peeling and flaking. The preparation process depends on the metal:
Galvanized pipes and ducts: New galvanized metal is coated with an oily film that gradually dries off as the metal ages, but underneath this coating is a passivator designed to inhibit the formation of white rust. Cleaning is a two-step process:
- Wash the surface of the pipe or duct with a degreasing soap solution. An ounce of household cleaner or dish detergent per gallon of warm water does the job.
- Let the surface dry, and then rub it down with a rag soaked in vinegar. Vinegar is a mild acid that etches the passivator and allows it to bond with a primer.
Galvanized pipes that have been in place for several years and have lost their coatings may have developed a fine layer of white rust. Wash this off with a rag soaked in vinegar. If you see any rusted metal, sand off the rust with 120-grit sandpaper, and treat the metal with a rust inhibitor.
Black and cast iron pipes: New black iron and cast iron pipes don't have a passivator, but they do have an oily surface coating to inhibit rust formation. It will prevent paint from adhering and needs to come off. You can do this by rubbing down the pipe with mineral spirits or acetone. You're bound to see a certain amount of rusted metal on older black iron and cast iron pipes. Sand this off, and treat the metal with a rust inhibitor prior to painting.
Copper pipes: New copper pipes come with neither an oily coating nor a passivator and technically need no treatment prior to priming. It's still a good idea to rub them down with acetone or mineral spirits prior to painting, though, to remove any oily deposits that may have formed.
Older copper pipes may develop a blue-green coating called verdigris. Paint won't stick to this coating, and there's no easier way to remove it than to physically scrub it off with steel wool or a wire brush. To make this job easier, scrub with a paste made from salt and lemon juice or vinegar.
Stripping Old Paint
Stripping Old Paint
You usually don't have to strip old paint from pipes before repainting, but when that becomes necessary, use a stripper than can handle the paint. Most indoor and outdoor latex paints will dissolve with one or two applications of environmentally friendly soy- or citrus-based strippers. When removing alkyd or urethane enamels, you may need to resort to a product that contains methylene chloride. Wipe down the surface of the pipe with acetone or lacquer thinner after stripping, and then sand off any remaining flakes with 120-grit sandpaper.
Priming and Painting
Priming and Painting
Once you've prepped the pipes you plan to paint, most of the work is done. All that's left is to apply a single coat of metal primer and one or two topcoats.
Priming — Many metal primers come in aerosol cans, and these are easier to use than brushable varieties. If you are painting pipes with 360-degree exposure, simply spray a single wet coat of primer on the metal and wait for it to dry, which should take about 10 minutes. When spraying is impractical, brush on a single coat of brushable metal primer with an appropriate paintbrush. Choose a primer that contains a rust inhibitor when painting ferrous metals, such as galvanized, black or cast iron.
Painting — It usually takes two coats to get complete coverage, whether you apply the paint by brush or spray. Apply the first coat as soon as the primer has dried. Wait for that coat to dry, and then sand lightly with 220-grit sandpaper and apply the second coat.
Tip
When painting pipes that get hot, such as radiator pipes or heating ducts, apply the paint when they are cold. Wait for the paint to cure for about 24 hours before turning on the heat. Be sure to use low-VOC paint to avoid fumes when the pipes get hot.
Warning
Use high-heat paint for stovepipes and other pipes that get hotter than 200 degrees Fahrenheit.
