Tips On Painting OSB
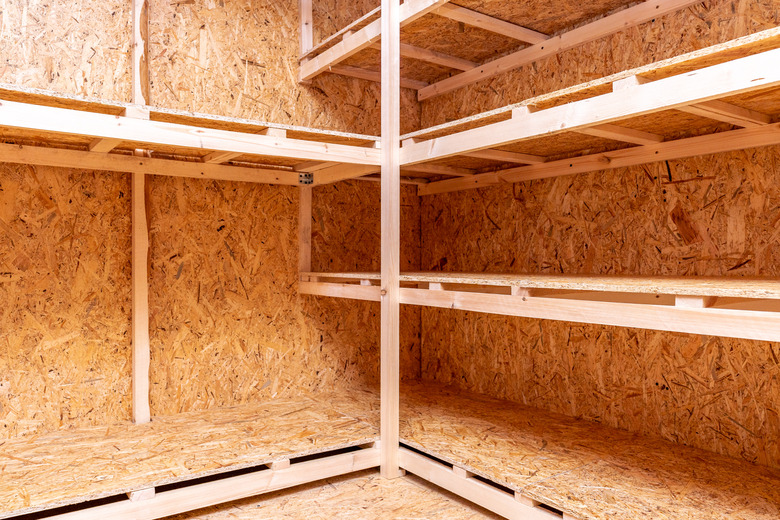
Oriented strandboard (OSB) is an engineering miracle that compares with plywood in structural strength and weather resistance, but it's nowhere near as attractive. It's constructed by compressing strands of wood into a homogenous surface, and while some people might appreciate the resulting haphazard appearance, most don't. For this reason, OSB is usually reserved for subfloors, wall and roof sheathing, and other applications in which it gets covered by something else.
When you use OSB for construction, you may sometimes opt not to cover it. For example, you may use it as a wall covering in the basement or garage, or you may opt to leave an OSB subfloor exposed in a utility space. In such cases, the best way to camouflage it is to paint it, and whether you're painting OSB sheathing or painting OSB in the garage, proper preparation and the right paint will guarantee the best results.
OSB Has Two Different Faces
OSB Has Two Different Faces
Like most grades of plywood, OSB has an A-face and a B-face. The A-face has been sanded flat, and it usually has a wax coating that helps it resist moisture. The B-face, on the other hand, has no coating, and it's usually mottled with tiny dimples. Generally, the A-side is visible, while the B-side is the one facing the framing.
Assuming the OSB has been installed in this way, you have to prepare the A-face for painting, and that means roughing up the wax surface and cleaning it. A once-over with a solution of trisodium phosphate (TSP) or a substitute in water will usually de-gloss the surface enough for painting, and an oil-based primer will provide a stable footing for a topcoat. Some painters recommend using only oil-based paint for the topcoat, but as long as you use oil-based primer, you shouldn't have any problem using acrylic latex paint.
Painting OSB Sheathing
Painting OSB Sheathing
Whether you're painting OSB sheathing hanging vertically on a wall or laid vertically on the floor, you'll want to start by washing it down with a solution consisting of 1/2 cup TSP per gallon of water. This will not only de-gloss the wax coating but it will wash off any accumulated oils and greases. After washing, go over the surface with clean water. You don't want the water to penetrate into the wood, so dry it off with a rag rather than waiting for it to evaporate.
Now that the surface has been prepared, apply a coat of oil-based, stain-blocking primer not just to seal the pores but to prevent the ink markings on the surface from bleeding through the topcoat. A single coat of primer is usually all you need, and when it dries, go ahead and apply one or two coats of oil-based paint (for exterior use) or acrylic latex wall or floor paint (for interior use). Apply the paint with a brush or roller or spray it on as you prefer.
Skim Coat the Dimpled Side for a Smooth Surface
Skim Coat the Dimpled Side for a Smooth Surface
If you really want to camouflage OSB and make it look like painted plywood, install it with the B-face (the dimpled side) out. This side has no wax coating, so you only need to wipe it down with a damp rag to prepare it for painting. After you've done that, apply one or two coats of oil-based primer.
When the primer dries, spread one or two coats of drywall joint compound over the entire surface and scrape it flat. This is called skim coating, and after you sand the final coat, you'll have a completely flat surface. Cover the joint compound with a coat of PVA primer and you can apply any topcoat you like. This technique won't work on the wax-coated A-face, but the dimples on the B-face make it ideal for skim coating.
