How Do I Get Lumps Out Of Latex Paint?
We may receive a commission on purchases made from links.
Latex paint can get lumpy for a number of reasons. On store shelves, it settles in the can, leaving the components to separate a little. In older paints, air exposure may start to dry out the paint, leaving skin or clumps behind. When paint is allowed to freeze and thaw, it can break down and develop chunks. Finally, paint may be contaminated with things such as dust, insects, or fibers from paintbrushes or rollers, all of which will end up as paint-covered blobs in the can. Whatever the cause, you certainly don't want to paint with lumpy paint, or your wall may end up looking like a blobby mess.
Removing Lumps in New Paint
Removing Lumps in New Paint
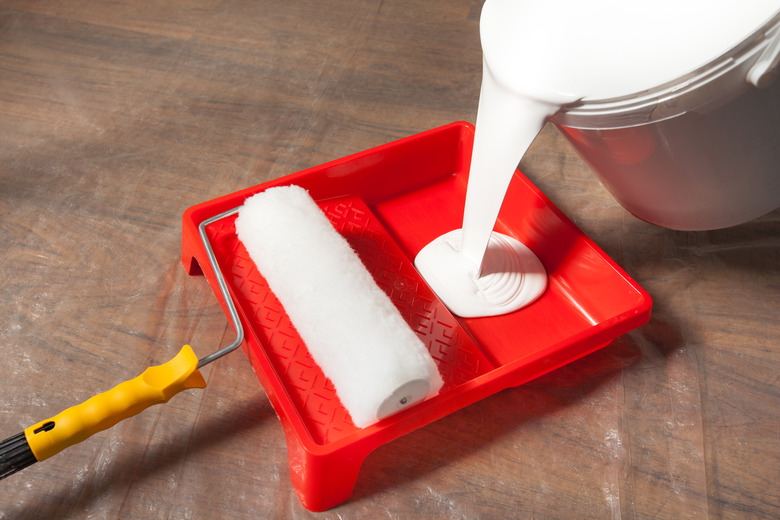
When you open a brand-new can of paint and notice it has lumps, chances are it is still good and has just separated a little. This is why you're always supposed to stir paint before use. Simply insert a drill-mounted paint stirrer and give it a few good stirs before pouring it into a paint tray.
If you still see chunks in the paint, it may have been exposed to freezing temperatures in transit or in storage. Because latex paint is water-based, it is particularly prone to separation when frozen. In this case, it's typically best to return the paint to the store and exchange it for a new can.
Removing Lumps From Older Paint
Removing Lumps From Older Paint
Most latex paints can be used for anywhere from two to 10 years after they are first opened, and if properly stored, paints may last even longer. If you open an older can of paint and notice some lumps, it isn't necessarily trash. To refresh a can of paint that has developed a skin on the top from air exposure, use a spoon or small cup to scrape the film off as much as possible.
Whether or not you had to remove the skin from the top of the paint, always give it a good stir just like you would with a new can before use. Remember that even in a brand-new can of paint, a small level of separation is normal and can easily be remedied by mixing the ingredients back together again.
If the paint is still lumpy after stirring, try using some tin snips to cut out a piece of aluminum screen big enough to cover the paint can. Then, continue to cut the screen very slowly, working around the edge until the screen can just barely fit inside the can. Drop the screen in the paint and allow it to sink to the bottom, where it will hold down all the lumpy debris at the bottom. When you're finished, remove the screen with a piece of bent wire and then safely dispose of the paint can. Rinse the screen clean and keep it with your painting supplies for the next can of lumpy paint you encounter.
How to Properly Store Paint
How to Properly Store Paint
Use a rubber mallet to fully close your paint can so no air can get in. Examine the sides and bottom of the can before storing it to ensure there are no cracks or dents that could allow in air. Store paint out of direct sunlight in a temperature-controlled room so it will not be subjected to UV damage or freezing weather.
