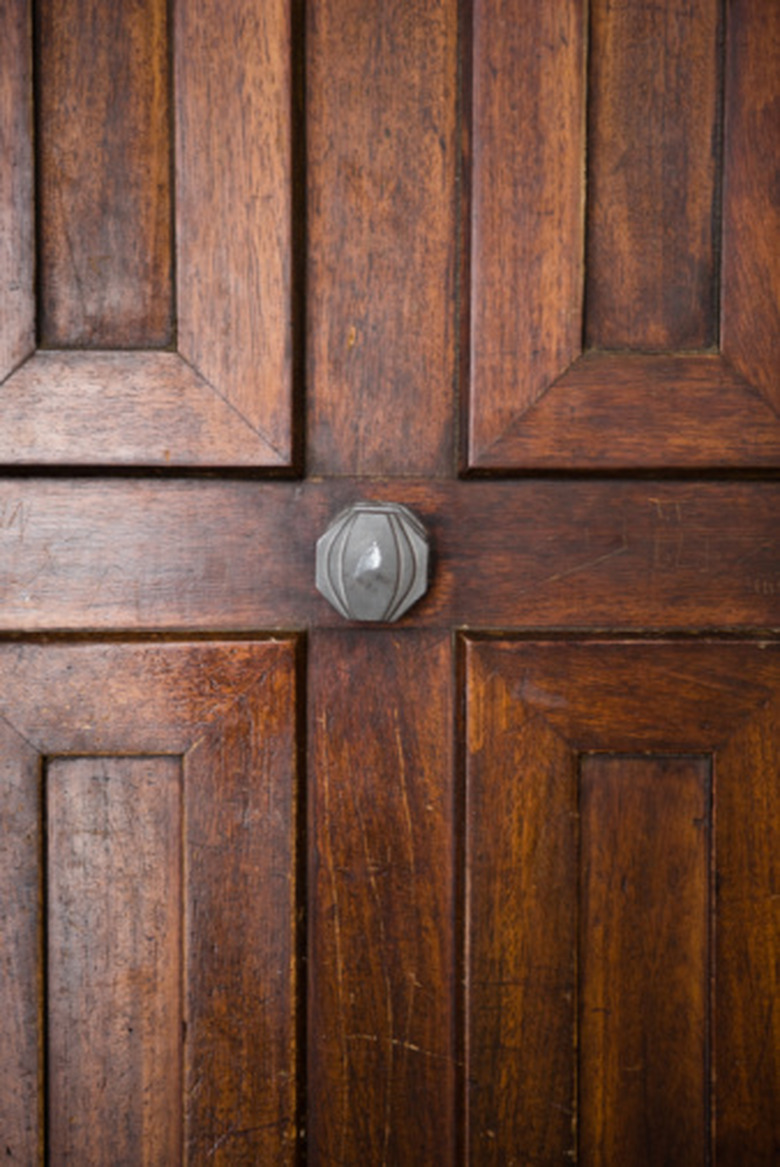
How To Stain Oak Dark
Things Needed
-
120 grade sandpaper
-
Feather duster
-
150 grade sandpaper
-
Paintbrush
-
Oil-based stain
-
Rag
-
Finish
Tip
Make sure to select a stain that is proven or recommended to work well on oak.
Oak is a strong, hard type of wood, known for its stability. You can use it for just about anything: interior trim, floors and furniture. Red and white oak are the most common types used in America, with white oak being the cheaper variety. Oak wood has a porous quality to it, which makes it very absorbent of staining materials. However, oak does have a very dramatic grain of the wood, which can sometimes give even the darkest stain a streaky effect or the look of highlights. Luckily, you can stain oak to look as dark as possible.
Step 1
Sand the oak with 120 grade sandpaper. If you use a sandpaper grade drastically higher than this, you risk sealing the grain up even more, making it resistant to accepting the stain. Run a feather duster across the oak wood.
Step 2
Sand the oak again with 150 grade sandpaper. Make smooth motions in the wood, following the direction of the grain, making sure you cover the surface area completely. Run a feather duster across the surface of the wood again.
Step 3
Wood stain comes in two versions, oil based and water based, and many colors. Oil based stains will soak into the wood more deeply and give a richer finish. Choose a color by comparing samples at the paint or home improvement store near you. You will normally find samples on different types of wood, including oak.
Step 4
Dip your paintbrush in your can of oil-based stain and stroke the paintbrush across the surface of the oak, exerting a steady pressure. The steadier the pressure that you exert on the wood, the deeper the resulting color of the wood will be. Make clean, up and down movements with your paintbrush, following the grain of the wood, until you cover the surface of the oak completely.
Step 5
Watch the stain as the wood absorbs it. The longer you leave the stain on the wood, the darker the color will be. Wait at least 15 minutes before wiping off the excess stain with a rag. Once you've wiped off all the excess stain, allow the wood to dry completely.
Step 6
Apply another coat of stain with your paintbrush, exerting a steady pressure with each stroke. Allow this stain to sit for at least 15 minutes or longer before you wipe off the excess stain with a rag. This will be your final coat, so wait until the wood starts to take on the shade that you want before you wipe off the excess stain.
Step 7
Apply a coat of finish once the final coat of stain has dried — at least 24 hours later.
References
- "Cabinets, Shelves & Home Storage Solutions: Practical Ideas & Projects"; Herb Hughes; 2004
- "New fix-it-yourself manual"; Reader's Digest; 1996
