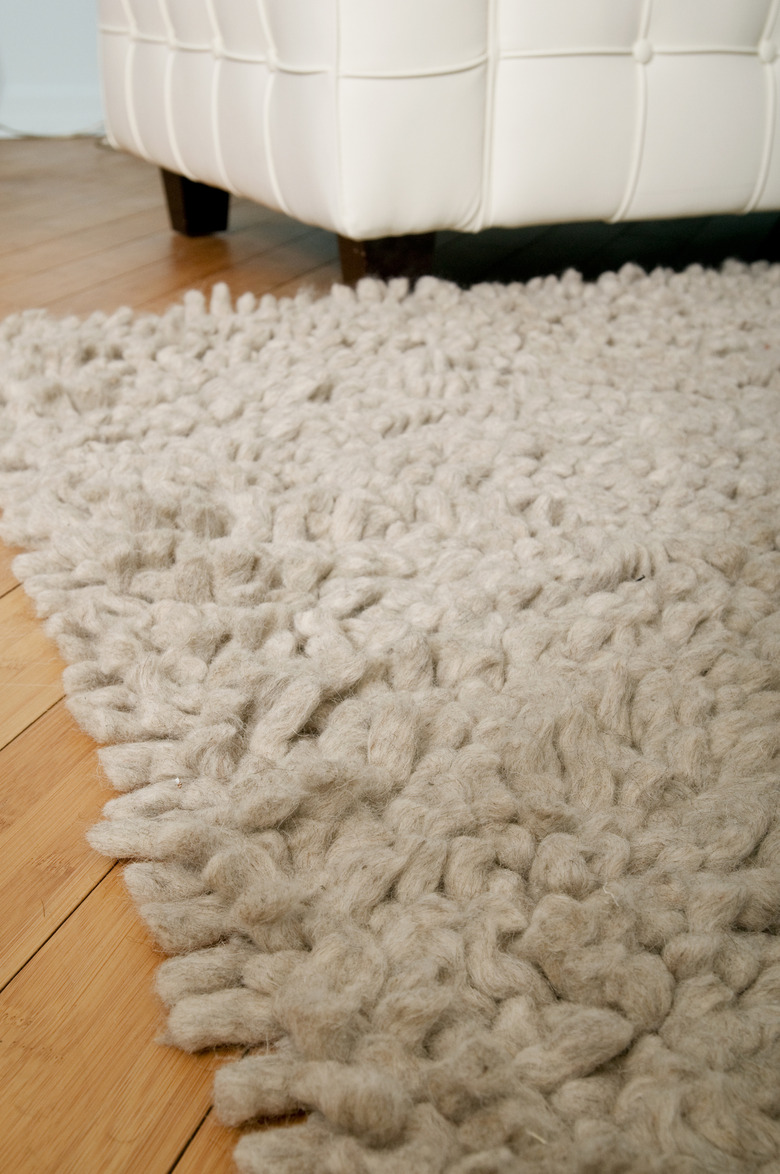
How To Make A No Sewing Rag Rug
Things Needed
-
Fabric remnants
-
Mesh canvas
-
Latch hook
-
Needle and thread
-
Crochet hook, size J minimum
Tip
Shaggy, raw edges of cloth strips unravel some during use, but it does not adversely affect the life of the rug. For a more refined look, fold the edges of the fabric strips as you work them in, or press them down before you roll them.
Warning
Choose a combination of fabrics that require the same washing instructions to prevent distortion and uneven shrinkage. Test for color fastness to prevent darker colors bleeding into lighter areas, if you plan to use them in an area where they are subjected to water, such as a mud room or bath. Add rug padding under area rugs to control slippage on bare floors.
Fabric rugs are economical to make from new and used materials such as bed sheets, tablecloths, T-shirts and fabric remnants. Early pioneer women crafted these rugs to warm up cold floors in homes without central heat, but today they are a colorful addition to the cozy atmosphere of a cottage in the country or at the seashore, or in a casual setting such as a family room, den or child's bedroom. Braided or plaited rugs are a staple in the Early American design style, but the hand sewing necessary to assemble them is time consuming. Several variations can be made without resorting to a needle and thread.
Hooked Rug
Step 1
Cut or tear cotton fabric into strips 1 to 2 inches wide and 5 inches long. Purchase a latch hool tool and canvas mesh for the backing in the appropriate size for your rug. These materials are available from craft stores or online from sellers of rug making supplies.
Step 2
Make your rug from fabrics that are similar in weight and fiber content, for a more consistent overall pattern — lightweight wool in various colors, cotton and cotton blends in solids and prints, variations of lightweight denim or chambray.
Step 3
Follow latch hook directions to attach fabric strips to the mesh backing to create a shag-like area rug that blends equally well with country or modern decor. To create finished edges, fold over five rows of the mesh canvas at each end of the rug and hook fabric through double mesh.
Crocheted Rug
Step 1
Cut or tear strips approximately 1 inch wide of medium-weight fabric, such as cotton or cotton blends. Join short lengths by hand or machine stitching to create a continuous strand. Roll strips into workable balls approximately 6 to 8 inches in diameter before proceeding. Each ball can be a different color, or a combination of colors and patterns.
Step 2
Crochet a 12-inch chain as a foundation for a 3-foot oval rug. Skip one chain; insert hook and make 3 single crochet in the next stitch. Working in back loops of the foundation chain, make one single crochet in each stitch down one side of the chain. Make three single crochet in the end to turn, and make a single crochet in each stitch down the other side. Continue to single crochet in rounds, increasing stitches as you work until the rug is the desired size. The crochet hook size varies according to the thickness of your fabric.
Step 3
Lie the rug flat periodically to maintain the circular shape; if the edges curl up, increase the number of stitches in a round until the rug lies flat. Attach the next ball of material as you work with hand stitching. A combination of many colors adds to the charm of the finished piece.
Woven Rug
Step 1
Cut the mesh canvas rug base to the measurements required for your rug. Cut or tear 2-inch-wide fabric strips for weaving. The size of the holes in the canvas varies, depending on the thickness of your fabric. The cloth should fill the hole and puff slightly around the space to eliminate gaps in the finished rug. Wrapping masking tape around the cloth strip to form a tip helps you pull the fabric through the mesh.
Step 2
Weave rag strips in and out through the mesh in one direction only. This technique allows you to create a reversible rug of any size.
Step 3
Join fabric strips as necessary with needle and thread to complete a row. Trim the ends about 2 inches from the canvas for a decorative fringe.
