How To Skim Coat Over Paint
Things Needed
-
Medium-grit sandpaper
-
Rag
-
Dish detergent (optional)
-
Broad knife
-
Joint compound
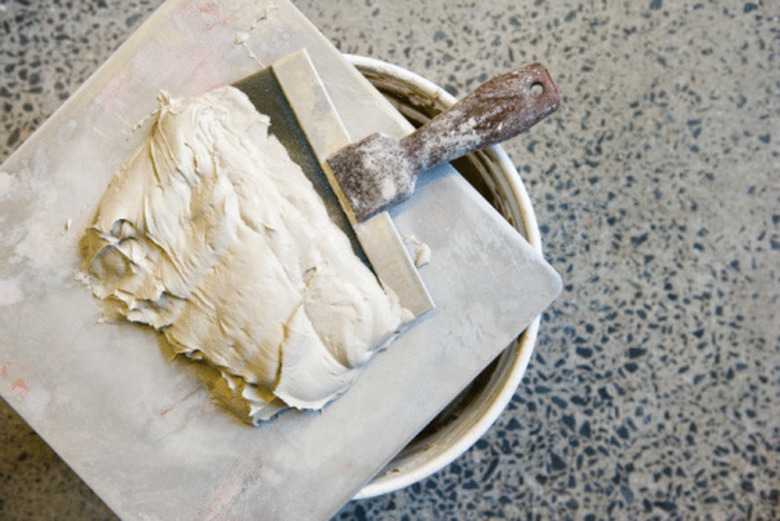
Skim coating is a quick and simple solution for repairing damaged walls. The skim coating process involves applying a thin coat of joint compound to a divot in a wall to fill and cover the imperfection. Once dry, the wall can be painted, wallpapered and otherwise decorated as normal. While skim coating is often used to repair drywall, this process can also help treated areas that have already been painted. With a few extra steps you can create the right surface for a smooth skim coat.
Step 1
Remove any peeling paint in the area where you will be skim coating.
Step 2
Lightly sand the surface with medium-grit sandpaper if the paint has a gloss or semi-gloss finish. This will create a slightly roughened surface that the compound can adhere to.
Step 3
Clean the wall with a damp rag to remove dust from sanding, as well as any other dirt and debris. If the wall is very dirty, you may need to use a mild dish detergent as well to get the surface clean. Wait for the damp surface to dry completely before proceeding.
Step 4
Spread joint compound onto the walls using a broad knife. For a large area, an 8- to 10-inch knife will work best. You can handle smaller imperfections with a 4-inch knife.
Step 5
Allow 30 minutes to an hour for the compound to dry. Lightly sand the surface to remove ridges or other imperfections. Apply a second skim coat and sand again if needed.
Step 6
Leave the skim coat to thoroughly dry overnight. Wipe down the area with a damp rag to remove dust. Paint or wallpaper over the repair as desired.
References
- Walls and Ceilings; Time-Life Books; 1996
- Ultimate Guide to Floors, Walls & Ceilings; Editors of Creative Homeowner; 2007
