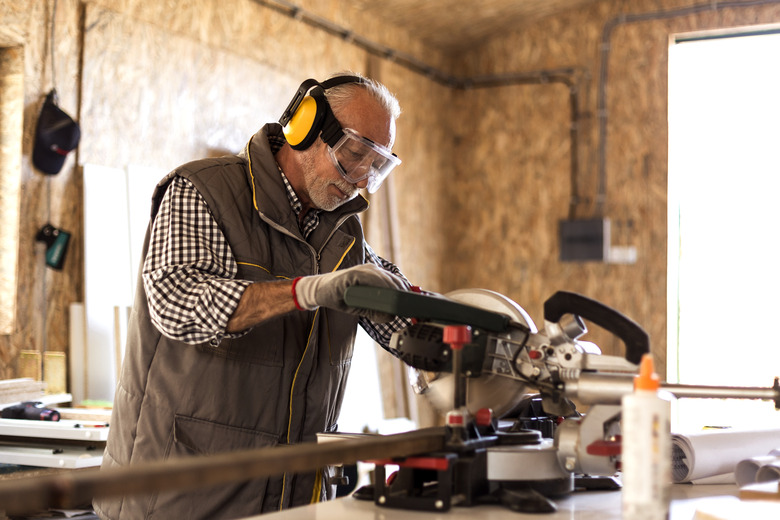
How To Figure Angles For Cutting Wood
Feeling stuck on how to cut angles in wood? The majority of woodworkers and carpenters rely on a hands-on approach for calculating angles, typically referring to them as miter angles. The average miter saw cuts most angles with ease. But you have a few different options when it comes to figuring out how to measure a corner angle and cut the wood for your project.
Standard Angles
Standard Angles
Cutting angles might seem intimidating to a beginner, but there are provisions for standard angles when you use a miter saw for the job. Almost every miter saw has a preset lock for the angles woodworkers use most often. The most common angles are 45, 30 and 22.5 degrees. If your project calls for one of the preset angles on your miter saw, the cuts will be much easier.
Degrees and Math
Degrees and Math
Cutting angles on wood takes a little math, but don't worry if your math skills are a little rusty. Accumulative angles should add up to 360 degrees. In other words, the angles surrounding a point total 360 degrees. Several smaller angles can go together to create the total 360 degrees. For example, two 45-degree angles add up to a 90-degree corner. Four 90-degree corners equal 360. The same idea applies to six-sided objects. If you're making something with six equal sides, each requires a 30-degree miter angle. Two 30-degree miters equal a 60-degree corner. Six corners at 60 degrees equals 360.
It's fine to use a calculator to figure the correct corner angles to cut for shapes with equal sides. The formula involves dividing 360 by the number of sides to calculate the corner angle. Then divide it by two to get the miter angle. If you're making a five-sided project with all sides equal, you divide 360 by five to get 72 degrees. So each joint or corner forms a 72-degree angle. Now divide that by two to get the miter angle for each of the two pieces that will form the 72-degree angle. Since 72 divided by two is 36, each piece would have a 36-degree miter cut.
Hands-On Approach to Cutting Angles
Hands-On Approach to Cutting Angles
The hands-on approach is the easiest and most accurate woodworking or carpentry angle calculator method. Even if your angles work out on a calculator, they likely won't fit without gaps. That's because walls, projects, cabinets, frames and objects are typically not square. Moldings twist, bend and warp. Saws are not 100-percent accurate, and operator error is common. So even though your angles should each be 30 degrees, for example, they may not fit exactly because of those discrepancies. The hands-on approach accounts for those differences.
Start by drawing a full-sized footprint of an angle on a piece of scrap wood. Use a straightedge to bisect, or cut in half, the corner diagonally. The diagonal line represents the miter angle. So if you have a 90-degree corner, you'll cut it in half with a line drawn with a straightedge to get two 45-degree miter angles. Make a model by placing two similar pieces of scrap wood on the drawing. Align the ends of them together, as if they already had miters. Transfer the diagonal line to the square ends of the scrap wood with a pencil. The line doesn't have to be perfect.
Cut test pieces to check your angles. Place one of the pieces on the bed of a miter saw. Swing the blade to the left or right to match the pencil line. Lock the blade, and make the cut. Make an identical cut on the other scrap piece using the same angle, only reversed to the left or right, as needed. Place the two pieces on the drawing, aligning them with it. Check the miter angle. If there's a gap on the inside, the angle is too sharp. If there's a gap on the outside, the angle is too shallow. Adjust the blade 1 or 2 degrees at a time, and cut your test pieces again until you get it right.
Using a Bevel Square
Using a Bevel Square
The bevel square, often referred to as an angle-finder, is a short, flat blade that swivels and locks on a handle. Adjust this tool to measure angles for carpentry by loosening the lock nut on the bevel square. Align the blade with any given angle on paper or scrap wood, or swivel the blade to match an angle on wood. Twist the nut to lock the blade in place once you have your angle.
Now you can transfer the angle onto the wood you're cutting. Swing the miter saw blade to the left or right, or swivel a miter gauge on a table saw to the left or right in the direction needed to match the angle on the bevel square. Lock the blade at the angle, and make the cut. Cut test pieces using scrap wood, and check the angle using the bevel square. Test pieces may seem like extra work, but they can save you money because you won't waste your good material if the angle isn't quite right.
Protractor Angle Option
Protractor Angle Option
You can also use a protractor to figure angles, but using one can be confusing for moldings and trim carpentry. Protractors read angles from the corner. Miter saws and miter gauges read angles from the fence. For example, the common 22.5-degree preset miter angle on a saw is exactly the same thing as a 67.5-degree angle taken off the corner with a protractor.
Cutting angles on wood takes practice, patience and a little math knowledge. Trying different methods helps you figure out which one works best for you and for your particular project.
