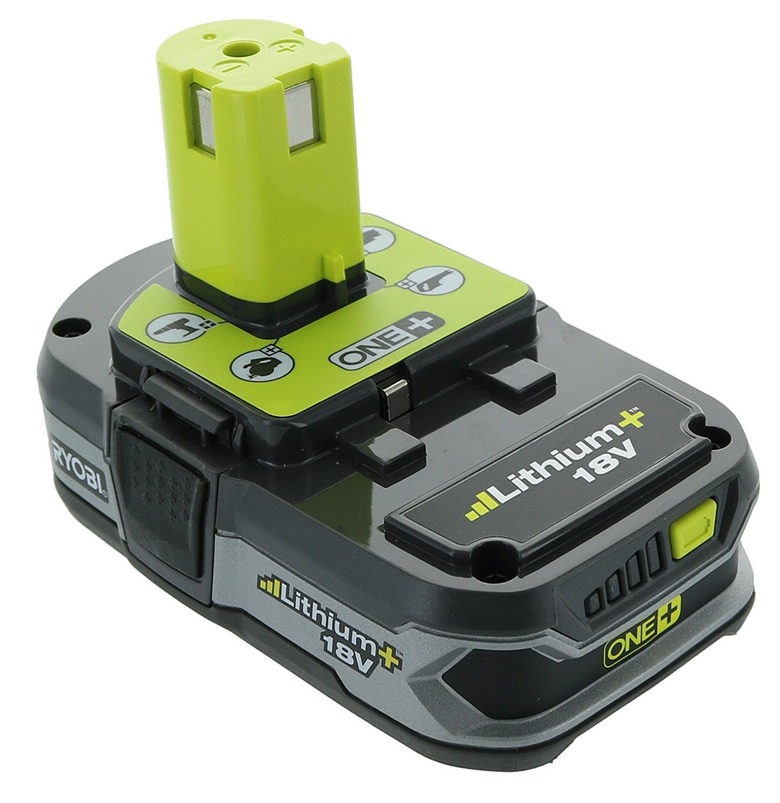
How To Fix Ryobi Batteries
We may receive a commission on purchases made from links.
Rechargeable batteries like those found in Ryobi power tools can suffer from battery crystallization, or memory. As batteries are discharged, the materials inside them crystallize, reducing the amount of material available to take a charge. This results in an effect known as battery memory. The crystals limit the amount of charge the battery will take, essentially "remembering" its previous charge level and preventing the battery from charging fully. If the problem is the battery and not the charger, you can likely fix this problem yourself through a simple charging and discharging process — and it makes sense to try, since replacement Ryobi batteries can cost a third of the price of a new tool. If the discharge method fails to refresh the battery, some of its power cells may need replacing.
Battery Discharge Repair Method
Step 1
Put your Ryobi battery into the charging unit. Turn on the charger, and let the battery charge fully.
Step 2
Turn off the charger, and remove the battery. Let it rest and cool down.
Step 3
Insert your battery into the appropriate power tool. Turn the tool on and let it run until it discharges the battery and stops.
Step 4
Turn off the Ryobi power tool once it stops running, and allow the battery to cool for about 10 to 15 minutes.
Step 5
Turn the Ryobi power tool back on and let it run until it stops again, before resting another 10 minutes. Repeat this process until the battery is too weak to turn the tool on at all.
Step 6
Put the battery on the charger, and let it charge until full. Remove the battery from the charger and insert it into the power tool. If the tool lasts longer during use, you've fixed your battery. If there's no improvement, you have dead cells in the battery pack that need replacing.
Cell Replacement Method
Step 1
Check the label on the Ryobi battery pack to find out the type of cells it has in it. If it says nickel cadmium (NiCad) or nickel metal hydride (NiMH), continue to fix your Ryobi battery. If it says lithium ion or lithium polymer, replace the entire battery or take the battery to a professional for repair.
Warning
Never attempt to repair lithium battery packs. They contain sensitive power surge devices which, if tampered with, could render your Ryobi battery dangerous.
Step 2
Charge your battery in the charger. When the charge is complete, remove the battery from the charger and remove its cover. The battery pack cover is held in place with small Phillips head screws on the bottom of the unit.
Step 3
Remove the cells from the battery compartment: Insert a slotted screwdriver under each cell, and gently lift them out. Line up the cells on your work surface.
Step 4
Check each cell's voltage using a voltmeter. Good cells retain their charge, while bad cells discharge quickly. Dispose of any cells that read less than 1.1 volts, and keep those that read between 1.1 and 1.2 volts.
Tip
Dispose of unwanted battery cells properly. Most municipalities have strict laws on recycling and disposing of used batteries.
Step 5
Purchase as many replacement sub-C batteries as you need, making sure the new batteries include a soldering tab. Solder the new and old batteries together to form a battery pack. If necessary, hot glue the batteries to each other to keep them stable and connected.
Warning
Batteries and heat are a dangerous combination. Do not attempt to repair your battery pack unless you have experience with solder and understand electrical circuits.
Step 6
Place the new battery pack into the battery case. Remember to replace any insulation, and hook the temperature sensor up to your new battery pack. Replace the battery pack's cover.
Step 7
Put your Ryobi battery pack back on the charger to let all the cells charge fully and equally.
