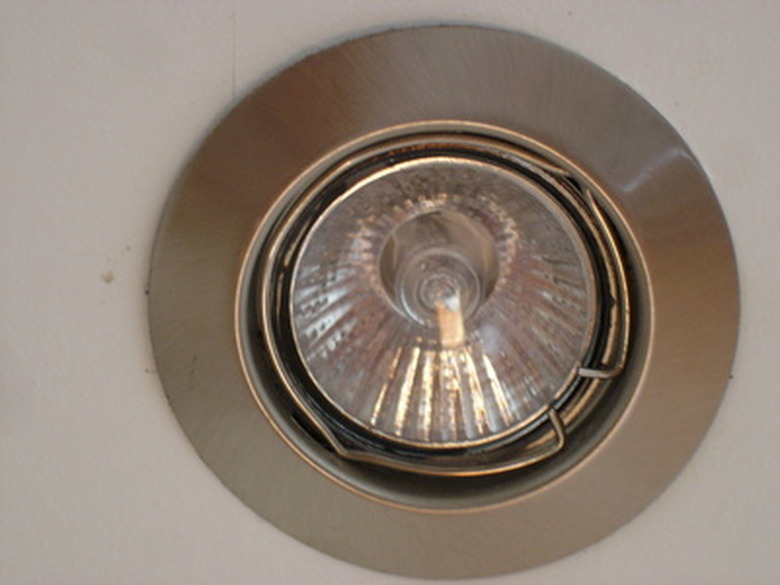
How To Remove A Recessed Can Trim
Things Needed
-
Step ladder
-
Screw driver
-
Clean rag
Tip
If the screw on the trim is not coming loose, use both hands with rags over your fingertips so you do not cut your hands up on the rings of the lights.
Warning
Use caution when working on a ladder. Falling can cause serious injury or death.
Recessed light trim is meant to accent the recessed lights and give them some depth. However, the trim impedes the ability to remove the bulbs when they burn out making the trim a frustrating aspect of the can light. There are two types of can light trim: Spring loaded and screw on. These two types of trim packages depend on the type of recessed light fixtures you have. In any case, they are easily removed and replaced once the bulbs are changed.
Screw In Recessed Light Trim
Step 1
Turn the light off that you are removing the trim from. Let the recessed light cool down for at least 15 minutes to prevent burning your hands.
Step 2
Climb up the step ladder and lightly touch the bulb and the outer trim to make sure it is cool enough to handle comfortably. Place the rag over your hand so that it is over your fingers and then push your finger against the inside of the can light while turning the trim counterclockwise. This will loosen the trim.
Step 3
Take the rag off your hand and remove the trim. Perform any repairs or bulb replacement. Wipe the trim down with the rag to clean the surface from dirt or fingerprints if the trim will be re-installed.
Spring Loaded Recessed Light Trim
Step 1
Turn the light off that you are taking the trim off of. Let the recessed light cool down for at least 15 minutes to prevent burning your hands.
Step 2
Climb up the ladder and insert the screwdriver under the edge of the recessed light trim being careful not to damage the ceiling. Pull the screwdriver down, keeping it straight so as to not pry against the ceiling. The side of the trim will become exposed and pop off along with the recessed light bulb. The bulb is also pushed into springs and will have to be removed by pulling hard on the end of the light bulb.
Step 3
Perform any repairs or bulb replacement. Wipe the trim down with the rag to clean the surface from dirt or fingerprints.
