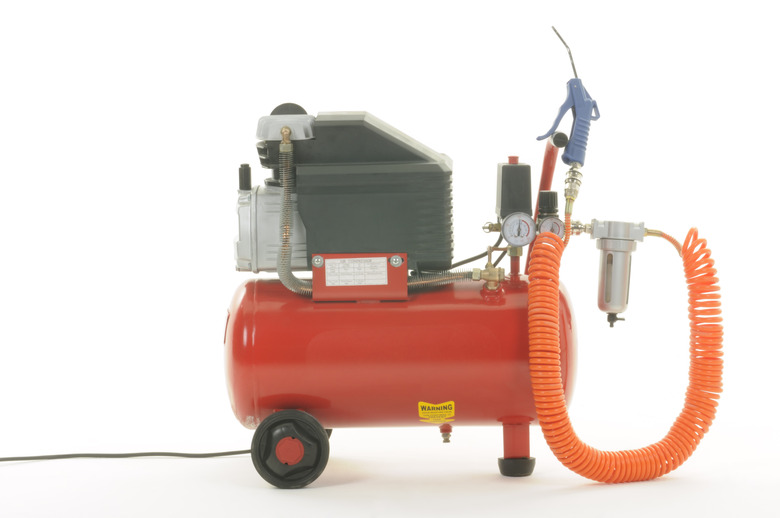
How To Wire A 230-Volt Air Compressor
If you want to operate a nail gun or an air sprayer, a 120-volt air compressor will suit your needs perfectly, but if you have a large-scale carpentry, painting or auto repair operation, you need a 230V air compressor. It has a larger tank and a larger, more powerful motor to fill it. The motor draws more current, and it runs more efficiently at 220, 230 or 240 volts than 120 volts. These voltage ratings are essentially equivalent, so the procedure for wiring a 220-volt compressor is identical to that for wiring a 230V or 240V one.
Read the Manual
Read the Manual
You shouldn't skip studying the manual for a large piece of machinery, such as a 230V air compressor, before installing it. Follow the instructions for choosing a location for it and securing it in place. When you're ready to connect it to power, check the manual for the minimum wire size because that varies with manufacturer and model. In most cases, the minimum size is 10 gauge. That's true for Husky 60 gallon air compressor wiring. However, the manufacturer of the Kobalt 60 gallon stationary air compressor recommends 12-gauge wire, even though that machine also runs on 230V power. The difference is due to the fact that the Kobalt machine draws less current.
Wiring the Switch to the Motor
Wiring the Switch to the Motor
Every air compressor has a pressure switch that monitors the tank pressure. It turns on the motor when the pressure falls below a preset value and turns off the motor when the pressure reaches the preset cutoff value. When you connect the machine to power, you'll connect the power leads to the switch, not the motor. In most cases, the switch is pre-wired to the motor.
If the switch isn't connected to the motor, consult the manual for the wiring diagram for the air compressor motor. You'll typically need three short strands of wire of the recommended gauge – one black, one white and one green or bare for the ground. Connect one of the brass MOTOR terminals on the switch to the corresponding brass SWITCH terminal on the motor using the black wire, then connect the other pair of brass terminals with the white wire. Finally, connect the ground terminals with the ground wire.
To make secure connections, crimp a fork-style brass connector onto both ends of each wire. Loosen each terminal screw enough to slide the fork underneath it, then tighten the screw down securely.
Connecting a 230V Air Compressor to Power
Connecting a 230V Air Compressor to Power
The compressor must be on a dedicated circuit controlled by a double-pole breaker with the amperage rating specified on the label affixed to the compressor. Working in the panel is dangerous, so if you aren't comfortable installing a breaker, don't hesitate to hire an electrician to do it. Run 3-conductor cable of the proper gauge from the panel to an outlet box situated as close to the compressor as possible. From there, you can hardwire the compressor directly to the panel or install a 230V receptacle so you can plug it in.
Three-conductor cable includes two hot wires, a neutral and a ground, but you may not need the neutral. Some compressors have only two LINE terminals and a ground. If this is the case, you'll have an extra wire. One way to deal with it is to leave the white wire disconnected from the neutral bus in the panel and cap both ends. Leave one end in the panel and one end in the electrical box that feeds the compressor. You can also, of course, simply use two-conductor cable.
To make the final connection, crimp a fork connector onto the end of each wire that connects to a terminal in the compressor. If you install a receptacle and purchase a power cord to plug into it, the wires will already have these connections. Feed the cable through the clamp connector in the switch housing. Connect the red and black wires to the two LINE terminals in the switch housing and the ground wire to the ground screw. If the compressor has a NEUTRAL terminal, connect the white wire to that. Tighten down the screws and give the cable a tug to make sure it's secure. Finish up by tightening the cable clamp on the switch housing to hold the cable securely and replacing the housing cover.
