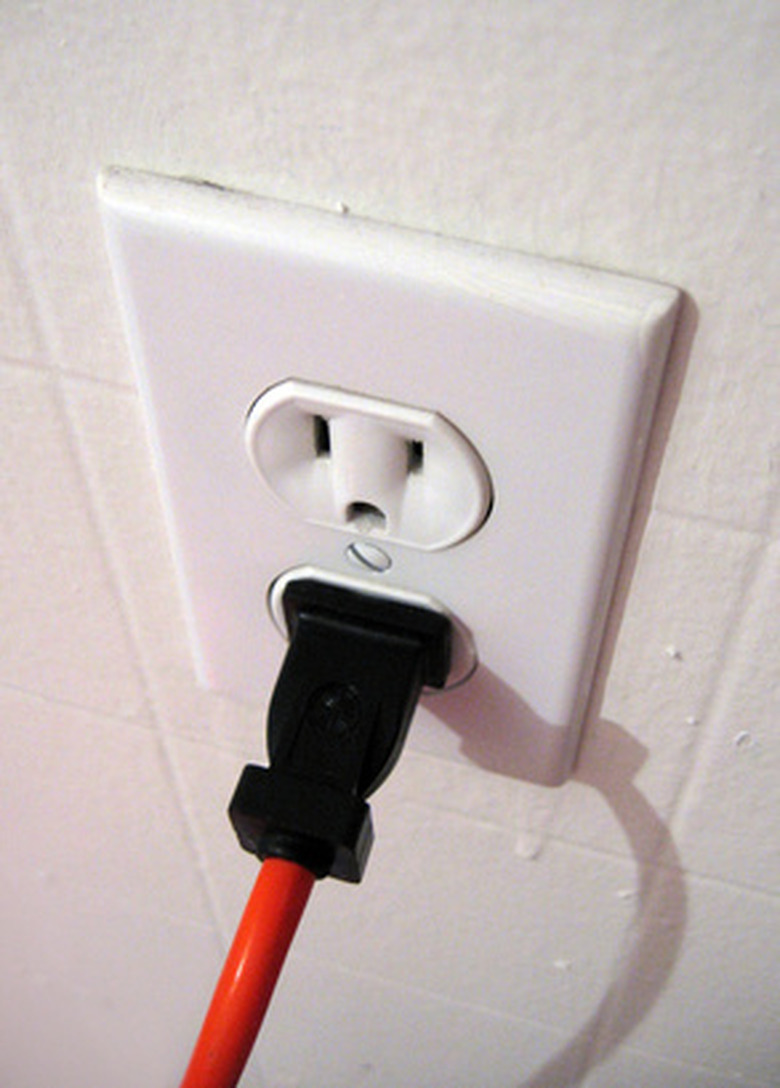
How To Wire A Plug To A Fluorescent Light
Things Needed
-
Electrical pliers
-
Length of 12/2 electrical cable
-
Three wire nuts
-
Screwdriver
-
Electrical tape
-
Three-prong grounding plug
Warning
Be sure to securely wrap the wires around the terminal screws of the plug so they do not come into contact with the other wires, or the cord will short-circuit.
Fluorescent lights use less energy, and their color more closely approximates natural lighting conditions. These characteristics make fluorescent lights popular choices for many indoor applications, including growing plants and lighting workshops. Having the fixture wired to a plug will allow it to be moved to where the light is needed, and used anywhere there is an electrical socket. Connecting a plug to a fluorescent light fixture is straightforward, but the terminals must be connected properly to avoid hazard from electrical shock. (See Reference 1.)
Step 1
Strip an inch of insulation from the back and white wires on the fixture and one end of the electrical cable with the electrical pliers. Attach the respective white (neutral) wires, black (hot) wires and bare (ground) wires together. Secure with the wire nuts. Wrap with electrical tape.
Step 2
Loosen the retaining screw on the face of the plug with the screwdriver. Remove the insulating plastic sheath, exposing the terminals of the plug.
Step 3
Connect the neutral (white) wire to the terminal of the plug with the wider prong. Connect the hot wire (black) to the terminal of the narrower prong. Connect the ground wire to the terminal of the rounded prong.
Step 4
Slide the shroud back over the terminals and secure in place with the retaining screw. Plug the light into the socket.
References
- Wiring 1-2-3: Steve Cory, 2005
