How To Use A Multimeter With 220 Or 110 Volts
Tip
Set your voltage level higher than you expect to read; you can always lower the range.
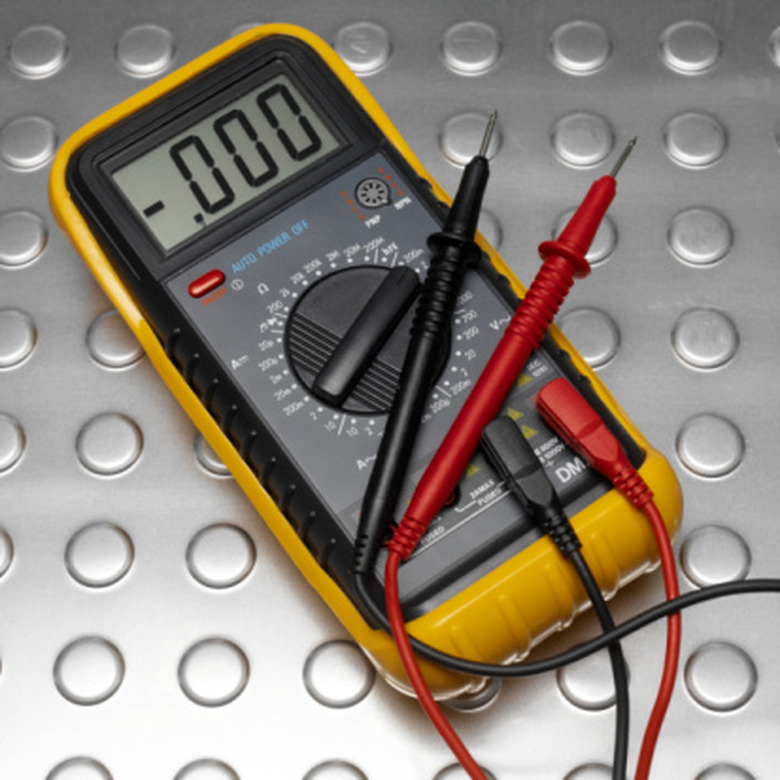
Trying to turn on an electrical appliance in your home, only to find that nothing happens, indicates you may need to check the outlet for voltage and current. A multimeter is a multi-purpose electrical troubleshooting tool that gives you a measurement of voltage at different ranges, as well as measuring resistance and current. The two most common voltage levels you'll test in a house are 110 volts and 220 volts.
Step 1
Locate the power outlet or component whose voltage you want to test. If you're testing a device, plug it into an outlet to provide electricity.
Step 2
Connect the test leads to the multimeter via their color-coded slots: the red lead goes into the "VA+" socket and the black lead goes into "COM," the ground socket.
Step 3
Turn on the multimeter and set the measurement dial to the AC voltage range you want to measure; 240 volts should be sufficient for any household need. AC voltage is represented by a waveform (~) on the dial.
Step 4
Hold the rubber grips and touch each multimeter lead to a separate contact point on the circuit. Test outlets by inserting a lead into the two top openings in the outlet.
Step 5
Record the voltage reading. Turn off the multimeter and unplug the leads when you're done.
