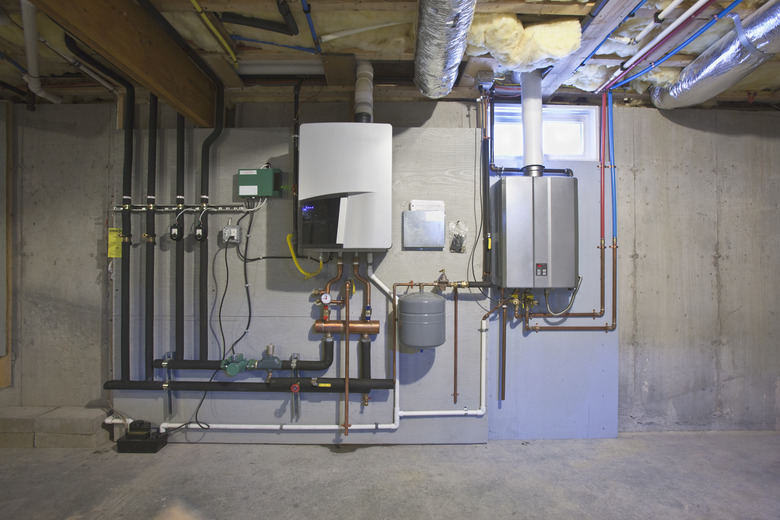
How To Wire An Electric Water Heater
We may receive a commission on purchases made from links.
Electric water heaters generally last from 10 to 15 years, so if you stay in your house longer than that, there's a good chance you'll have to replace yours, and that means, among other things, hooking up the wiring. You'll also be looking at a rewiring job if you replace an existing gas water heater with an electric one, and in this case, you'll have to install a new circuit breaker and run cable to the water heater as well as hook it up.
Almost all electric water heaters, including hybrid and tankless ones, are high-demand appliances that operate at 240 volts, so this wiring job isn't one that homeowners should do themselves, particularly if the job involves work in the electrical panel. It's good to know what's involved, though, so you have an idea of how much electrician labor you'll have to pay for. In most cases, it isn't much.
Circuit Breaker and Cable Requirements
Circuit Breaker and Cable Requirements
Water heaters generally draw a maximum current of 30 amps at 240 volts, so the minimum wire size required by the electric code is 10-gauge (usually designated AWG, which stands for American wire gauge). A conventional electric water heater doesn't have auxiliary equipment that runs on 120-volt power, so the cable supplying it just needs two conducting wires and a ground wire. The conductors are red and black, and the ground wire is bare. They are all bundled in the sheathing of a roll of 10/2 NM-B (nonmetallic) cable.
An appliance that runs on 240-volt power must be controlled by a dedicated double-pole breaker, which consists of two breakers joined together and which occupies two adjacent slots in the electrical panel. If you're installing an electric water heater for the first time, it's important to make sure your panel has room for a 30-amp double-pole breaker. If not, you either have to eliminate one or two circuits or upgrade your panel.
The Basic Wiring Procedure
The Basic Wiring Procedure
The cable supplying power to a water heater must be enclosed in metallic conduit, and this is attached to a plate on the main wiring terminal on the top of the water heater. If you're replacing an existing water heater, simply remove this plate to access the wiring. If you're installing an electric water heater for the first time, you feed the cable through the conduit and through the knock-out hole in the cover before attaching the conduit to the cover. This must all be done with the circuit breaker off.
To hook up the wiring to a new water heater, an electrician will first check the wires with a multimeter to make sure there is no voltage. The next step is to twist the black circuit wire to the black wire in the water heater terminal, twist the red ones together in the same way, and screw a wire cap onto each wire splice. Next the electrician wraps the ground wire around the ground screw in the terminal and tightens the screw and replaces the cover.
Wiring Tankless and Hybrid Water Heaters
Wiring Tankless and Hybrid Water Heaters
The procedure for wiring a tankless water heater is essentially identical to that for wiring one with a tank. The only difference — and it's a minor one — is that the wiring terminal is usually on the bottom or side of the unit, not the top. Always check the current draw of the unit (it's displayed on a label) to make sure you buy a circuit breaker with the right current rating.
A hybrid water heater heats water in two ways. It uses a 120-volt compressor like that on a refrigerator to keep the water warm, and it uses a 240-volt heating element to rapidly heat water when demand is high. Because of the 120-volt compressor, the unit has a neutral wire to split the 240-volt voltage in half. This means you need 10/3 cable — which includes a white neutral conductor — to supply it. You have an extra wire connection in the terminal (which is usually on the side of the unit), and you have to connect the neutral wire to the neutral bus in the panel.
Some super-efficient modern heat-pump water heaters don't have a resistive heating element and don't require 240-volt power. Connecting one of these to a 120-volt, 15-amp circuit may be as easy as plugging it in. When hardwiring, the procedure is similar to wiring an outlet: Connect the black wires, connect the white ones, screw on wire caps, connect the ground wire to the ground screw on the unit, and you're finished.
