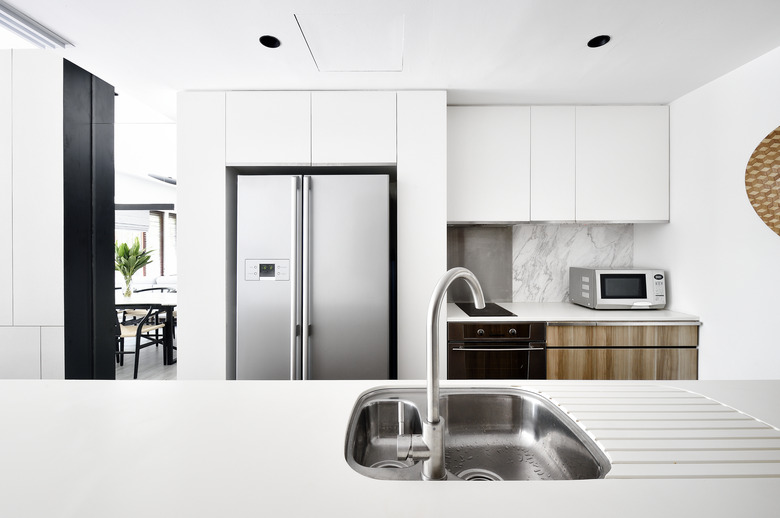
How To Replace The Socket In A Recessed Light
Replacing lightbulbs in your light fixtures can prove relatively simple if you already know what bulb to use. The difficult part comes when you put a brand new bulb in the socket and notice that the bulb is still not illuminating. You may wonder what the problem could be, however, odds are that you may need to change the socket of the light fixture for it to function again.
A Note on Safety
A Note on Safety
It is important to note that dealing with electrical wiring should usually be done or verified by a professional if you choose to do the work yourself. If doing the work yourself, please make sure to take all needed safety precautions, as dealing with electrical currents is always dangerous.
What Is Recessed Lighting?
What Is Recessed Lighting?
In case you are completely new to the term, recessed light is a technical term that refers to light fixtures that are installed to be flush with the ceiling. When selecting recessed lighting, you may choose from a can or canless feature. Replacing old can lights can cause a bit more of a headache, which is why many can light fixtures are not used as much anymore and are slowly being replaced by the canless light systems.
You know you are working with a can light when you remove the light fixture from the ceiling and find a large tubular section on the back of the fixture. A canless light fixture uses the light only and a small wiring box without the hassle of the large can addition on the back.
Replacing Can Lights
Replacing Can Lights
Replacing can lights can be quite difficult, but if you like the appearance that your can light fixture has, then it may be possible to save your fixture by simply replacing the socket. It seems simple to replace the socket of a lightbulb, however, it is still important to consider an electrician for the job.
If you are tackling the job yourself, make sure to cut off all electrical current to the fixture before beginning your project. Identify the neutral wire and the hot wire currently running to your socket. The neutral wire should be identified by a different feature, such as a different colored wire, a different colored terminal or the rubber covering around the wire will likely be ribbed while the hot wire casing will be smooth. Once you have unwrapped both wires from the old socket, simply coil them around the terminal of the new socket.
Make sure the hot wire and neutral wire are wrapped to the proper terminals. If the wires have been switched, the light will still work when plugged in, but you will be left with the socket remaining hot at all times even when the light is turned off. Once the socket has been properly replaced, fit it back into the fixture and replace the fixture in its spot.
LED Lighting Options
LED Lighting Options
If you are changing your light socket on your canned lights, you may want to consider changing your system as a whole to LED lighting for a more efficient lighting system. The Home Depot has a simple explanation on how to replace Home Depot recessed lighting with LED lighting and how to properly match a new fixture to your current recessed light house. You will need to assess your light housing and setup to determine if the light housing you wish to change is compatible with the conversion to LED lighting.
