Troubleshooting A Doorbell That Doesn't Work
We may receive a commission on purchases made from links.
An analog doorbell, which is the kind you find in most older homes, is a simple electric circuit that consists of three components: a transformer to step down 120-volt residential voltage to 16 volts, a pushbutton switch, and a chime that activates when you push the button. All the components are connected by low-voltage wires. Wireless doorbells are connected digitally, and when one malfunctions, it's usually because a battery needs to be replaced or a control needs to be reset.
When an analog doorbell doesn't work, it's possible that any one of these components is malfunctioning, but more commonly, there's a loose connection or broken wire somewhere in the circuit. Doorbell components in older homes have often been painted over, sometimes with several coats of paint, and the paint can act as an insulator and prevent electrical contact at any of the circuit components. It's fairly easy to diagnose poor connections as well as faulty doorbell components using a multimeter.
Start by Checking the Button
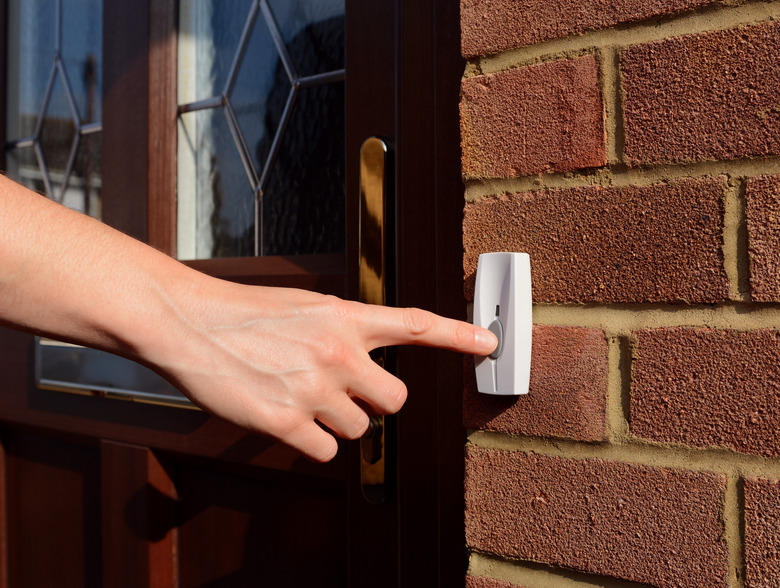
The doorbell button is usually the easiest component to access since it's mounted right on the door frame, so it's a good place to start diagnosis. If it's the type of button with an LED and the light is off, that's a sign that the button isn't getting power, so check the breaker in the main panel that controls the doorbell circuit to make sure it hasn't tripped. If there's no LED, unscrew the button, turn it over, and check the wire terminals with a multimeter. This is safe to do with the power on because the low voltage can't hurt you.
Set the meter to measure volts and then place one lead on one of the button terminals, the other lead on the other terminal, and push in the button. If electricity is flowing through the button, the meter will display a reading between 14 and 18 volts. If you don't get that reading, the button itself could be defective and may need to be replaced with a new one. Eliminate this possibility by replacing the button, which is very inexpensive. If you do that and there's no voltage, the transformer may not be sending a signal, so it's the next thing to check.
Check the Transformer
Check the Transformer
The transformer is a metal box about 2 inches square, and it's plugged into a wall outlet or hardwired to a 120-volt circuit. It should have wires attached to a pair of terminals on the front. One wire goes to the button and returns to the transformer from the chime, and the other wire comes directly from the chime. There should be 16 volts between the terminals, and you can check this with the meter in the same way you checked the button.
A transformer that doesn't register any voltage needs to be replaced, but if the voltage between the terminals is indeed 16 volts (or close to it), check the wire connections. The transformer may have been painted, in which case you should disconnect the wires, scrape off all the paint, and reconnect them. That may solve the issue, but if not, check the chime.
Open the Chime and Check the Mechanism
Open the Chime and Check the Mechanism
The chime is a square or rectangular box mounted on the wall somewhere, often in a closet or above a cabinet. Once you find it, remove the cover, locate the wire terminals, and have someone press the doorbell button and hold it down while you check for voltage across the terminals. If there's no voltage, check the connections, and if there's still no voltage, there's probably a break in a wire that you'll have to locate and fix. It's often easier to run new wires than it is to fix old ones, which are often hidden behind a wall.
If the chime is receiving power and still isn't working, something may be stuck. Try moving the chime lever manually to see if that restores operation. Rather than trying to fix a damaged chime, it's often easier to replace it with a new one. If you didn't particularly like the sound of the old chime, this will give you the opportunity to upgrade the sound.
