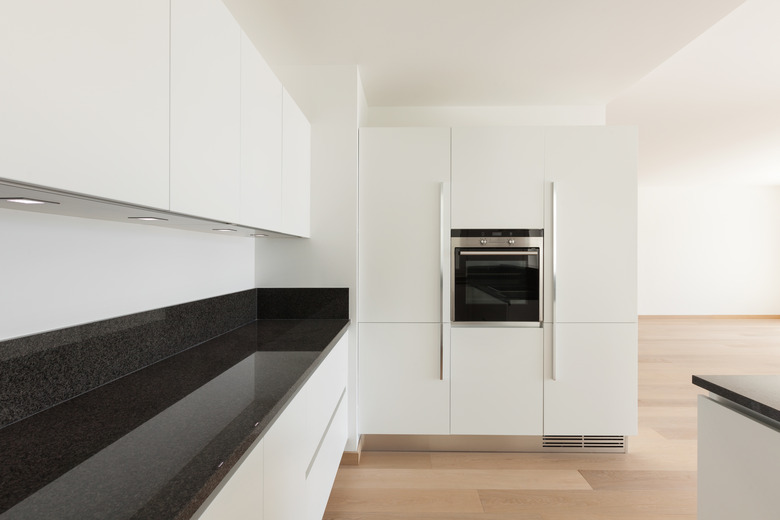
Steps To Remove A Whirlpool Built-In Oven
Many kitchens are tight on space needed for food preparation and storage, and built-in ovens are a helpful tool in keeping things open. If you are planning a kitchen renovation, however, or are looking to add a new oven with a larger footprint and more features, you might wish to remove your Whirlpool built-in oven. Once you have safely disconnected the utilities and removed all attached hardware, you should be able to move the oven with relative ease, according to Product Spy.
What Is a Built-In Oven?
What Is a Built-In Oven?
A built-in oven is just what it sounds like, though there are many Whirlpool oven models. The appliance is built right into a cabinet or shelving unit on the wall, rather than being a unit that stands alone. If you cannot move your oven by sliding it on the floor, chances are very good that it is built in. Fortunately, it is possible to remove a built-in oven without too much of a hassle.
How to Remove Wall Ovens
How to Remove Wall Ovens
The first step in removing a wall oven is to check whether it is an electrical oven or a gas oven. If it is purely electrical, the removal process will be a bit easier for you. If it is a gas oven, you'll likely need to disconnect electricity used in running the oven's controls, as well as disconnect the gas used to power it.
In either case, the first step is turn off power at the circuit breaker box. This is essential to protect your safety. Then, unplug the oven. Test it out to be sure it will no longer turn on. If you aren't sure how to turn power off at the breaker box, stop the removal process and call a repair technician for help.
Special Steps for Gas Ovens
Special Steps for Gas Ovens
If your oven is gas, you will now want to locate the shutoff switch for the gas supply to your oven. If you are at all unsure how to do this, you should consult a professional rather than attempting to proceed on your own. In most cases, the supply for natural gas will be in a nearby cabinet, behind the oven or under the oven. It may resemble a switch, a lever or a knob.
If you think you've shut off the gas properly, try to turn on the oven. If it won't turn on and you can't see the pilot light anymore, you've successfully turned off the gas supply to the oven.
Remove all Hardware and Utilities
Remove all Hardware and Utilities
Next, locate the hardware connecting your Whirlpool built-in oven to the wall. Most likely, this hardware will be a series of screws and brackets. Use a screwdriver or power drill to take the screws out and begin to slide the oven from its space.
Though you previously turned off the electricity to your oven and shut off the gas, if applicable, you will now need to disconnect the oven from any utilities. Your electrical supply will likely be situated within a compartment or box. If you are certain power is off to the unit, you can cut the wires leading from the box and cap them off.
To remove the gas supply from the oven, locate the coupling that attached the oven to the supply line. You'll most likely need to use a wrench to disconnect it. Once this is done, you can carefully slide the oven out of the cabinet the rest of the way. Contact your town, city or county for more information about appropriate disposal of your wall oven.
