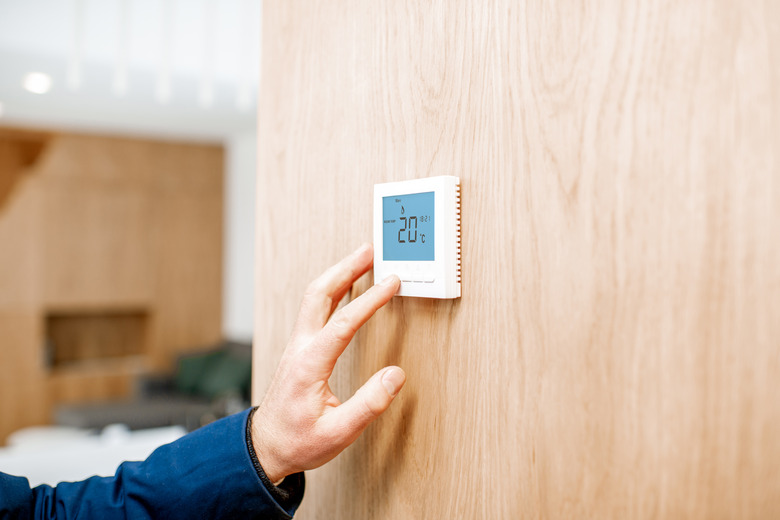
How To Replace A 6-Wire Thermostat
We may receive a commission on purchases made from links.
Six-wire thermostats are commonly seen with heating systems that have two stages of heat and one stage of air conditioning. A two-stage heat system means that when the thermostat calls for heat, the furnace will turn on using the low setting first. If the temperature set is not reached after a particular amount of time, the furnace will ramp up to a higher output of heat and will run at this higher setting until the temperature is reached. With a few tools and some clear guidelines, it is fairly easy to replace a six-wire thermostat. Just keep in mind, however, that a few safety precautions must be taken.
Electricity Safety Basics
Electricity Safety Basics
Before you begin work on any project that involves electricity, be sure to let anyone who might be around you know what you'll be doing. Ensure that everything you'll be interacting with on your project is unplugged or disconnected. It's imperative that you turn off the power to the unit at the circuit breaker box. It's also wise to post a warning sign on the breaker box so that no one coming along accidentally turns the main switch back on. Using tools with insulated handles is also a safe bet when you're working with a thermostat.
Thermostat Color Code
Thermostat Color Code
When it comes to thermostat wiring, you will find that most models follow a set color code that helps clarify which wire should be connected to which terminal. Usually, the red wire is connected to the "R" terminal, the white wire is connected to the "W" terminal, the green wire is connected to the "G" terminal, the yellow wire is connected to the "Y" terminal, the black wire is connected to the "C" terminal and the brown wire is connected to the "W2" terminal. Note that this is only the case on six-wire thermostat systems and that this may differ if you have a system that involves a different number of wires.
If you can locate your manufacturer instructions, refer to them. They often include a diagram of your thermostat model that may be helpful in your wiring. It is always a good idea to take note of where the wires terminate either by writing them down or taking a picture of the wiring.
Thermostat Wiring Basics
Thermostat Wiring Basics
Turn off power to the furnace and air conditioning units by switching the correct breakers off in the circuit breaker panel. Failure to take this step could result in a short circuit on the furnace control board.
Next, remove the old thermostat from the wall by gently pulling it off the wall plate. Disconnect each thermostat wire and label it with the correct letter of the terminal it will need to be connected to. Remove the old wall plate from the wall and mount the new thermostat wall plate using drywall anchors and screws. Connect each thermostat wire to the new thermostat. Make sure they are connected to the same lettered terminal that they were connected to on the old thermostat you removed.
Once you have finished, restore the power to the furnace and air conditioner. Set the thermostat to your desired setting and you're ready to go.
