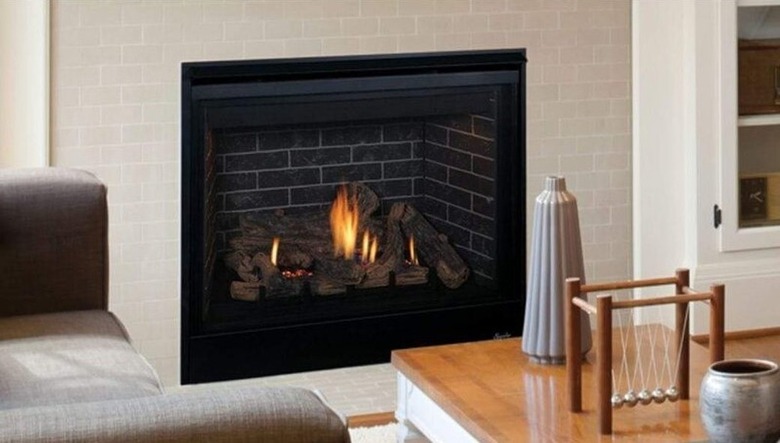
How To Change A Propane Fireplace To Natural Gas
A propane fireplace is nice, but when the propane is gone, so is your fire. You can avoid this issue by converting the fireplace to natural gas. Provided you keep paying the bill, your local natural gas company will keep the gas flowing and your fire crackling as long as you like.
Making the conversion isn't as difficult as you might think, and anyone with moderate DIY experience can get the job done. When in doubt, however, call a pro because a gas leak isn't worth the risk if you're uncomfortable.
Getting a Conversion Kit
Getting a Conversion Kit
The process of converting a propane fireplace to natural gas is fairly easy because you don't need to start from scratch. Many propane fireplace manufacturers sell kits that make the conversion extremely simple. The catch is getting the right one. You need to get the right kit for your fireplace model.
To find your model number, remove the decorative panel at the bottom of your fireplace and look for a metal plate. Called the rating plate, this plate provides crucial information about your fireplace, including the model and serial number. Once you have the model number, contact the fireplace manufacturer and ask about which conversion kit you need. Don't guess which kit you need and figure it will be close enough. It won't be, and you could create a dangerous gas leak.
How to Change a Propane Fireplace to Natural Gas
1. Prepare Your Work Space
To convert your fireplace, the first thing you must do is turn off the gas and electrical power to the unit. This will keep you safe while you work. Next, you'll want to remove the louvers over your fireplace door, the screen, and the door itself.
Next, address the firebox. You must remove any fake logs, glass beads, or stones from the fireplace. This makes your work space easier to navigate and will prevent any of the pieces from getting somewhere they shouldn't.
2. Replace the Burner Orifice
Once you've prepared your work space, the first step in your conversion is swapping out the current burner orifice. On some models, the burner orifice attaches to a fitting below the firebox. On others, you may need to remove the entire burner to access the orifice. Once you find it, disconnect the burner's gas line from it.
With the line disconnected, unscrew the LP orifice from its housing. Replace the LP orifice with the natural gas one included in your conversion kit. Before screwing it into place, apply a bit of thread sealer to the orifice. Once the orifice is back in place, reconnect the gas line flowing from the burner to the orifice.
3. Convert the Pilot
Find your pilot light and remove the hood by pulling it straight up. You'll then need to remove the pilot orifice. Replace it with the new pilot orifice that came with your kit. The pilot orifice is threaded, so you'll need an Allen wrench or a similar tool depending on the specifics of your fireplace model. With the new pilot orifice in place, push the pilot hood back into place.
4. Change the Control Valve
On some units, changing the control valve requires removing the entire control button panel. You'll unscrew the control assembly from the fireplace, unscrew the control tower from the controls, and then replace it with the new one. Other models make this much easier.
On these units, you can simply remove the cap from the hi-lo knob and unscrew the old orifice from the knob. Then, you can just push a new orifice into the knob and screw it into place.
5. Document the Change
When the job is done, make sure you document the conversion. You'll know exactly what you did, but future homeowners and servicemen won't, which can be dangerous. Most conversion kits come with labels that you can apply to the gas valve, rating plate, or somewhere equally visible. This will make it clear that your fireplace now runs on natural gas rather than propane.
