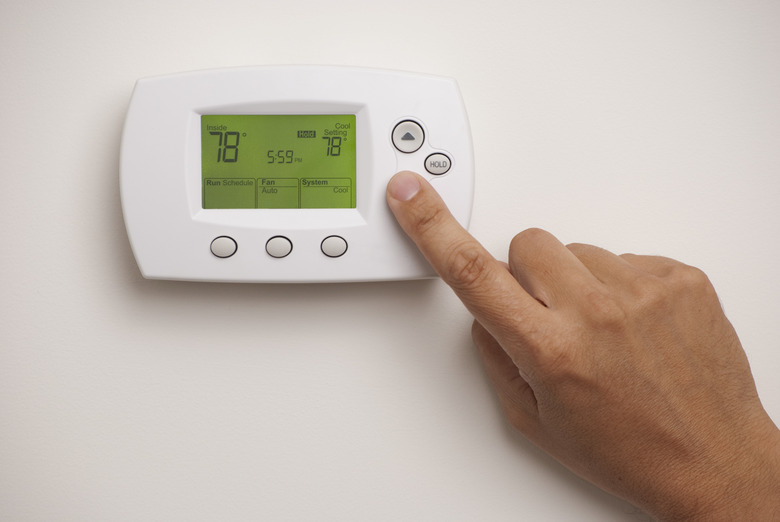
How To Remove A White-Rodgers Thermostat From The Wall
We may receive a commission on purchases made from links.
White-Rodgers has been a leading name in thermostats for almost as long as there have been furnaces, but these days, homeowners are increasingly changing out their old thermostats for models that connect wirelessly to mobile devices and laptops. The swap is easy to do because regardless of the increased functionality of the new thermostat, it will connect to the same wires as the old White-Rodgers thermostat and in the same way.
That makes keeping track of the wires the most important part of the job of removing the old thermostat. The wires are supposed to be color-coded, but you can't depend on the person who installed the thermostat having followed the color code, so each wire needs to be labeled before you disconnect it. As insurance, you should take a picture just in case one of the labels falls off.
Things Needed
-
Pen
-
Mobile device
How to Remove a White-Rodgers Thermostat
1. Turn Off the Power
Locate the breaker in the main panel that controls the furnace and switch it off. Thermostat wires carry only 24 volts of electricity, so they won't give you a bad shock, but if the wires touch each other, they could short out something in the furnace control panel, so it's best to play it safe.
2. Remove the Thermostat Cover
The cover is a snap-on cover, so give it a good tug, and it should come off.
3. Remove the Temperature Sensor Plate
On many thermostats, especially older ones, the temperature sensor is mounted on a separate plate. To remove it, locate the screws holding it and unscrew them with a Phillips or flat-head screwdriver.
If you're removing an older mechanical thermostat, you may see a vial of mercury in the sensor. Do not drop or break this vial and don't throw it in the trash. Call your local health department and ask how to properly dispose of it. Mercury is toxic, and it's a dangerous environmental pollutant.
4. Label the Wires
Note the letter next to each thermostat terminal and label the wire attached to that terminal with the same letter. Labels are often supplied with the new thermostat, but you can also use masking tape and a pen. This is a good time to take an insurance picture with your mobile device.
5. Disconnect the Wires
Loosen each terminal by unscrewing a screw or pushing on a lever and then pull out the wire. Bunch the wires together with a piece of tape to keep them together and make it easier for them to go through the hole in the base. Be careful not to let the wires fall into the wall. You'll have a hard time retrieving them.
6. Remove the Base Plate
Unscrew the screws holding the base plate to the wall and gently pull the base straight out while you feed the wires through the hole. If it will be more than a few minutes before you install the new thermostat, you may want to tape the wire bundle to the wall after removing the base plate to make double sure the wires stay where they are.
