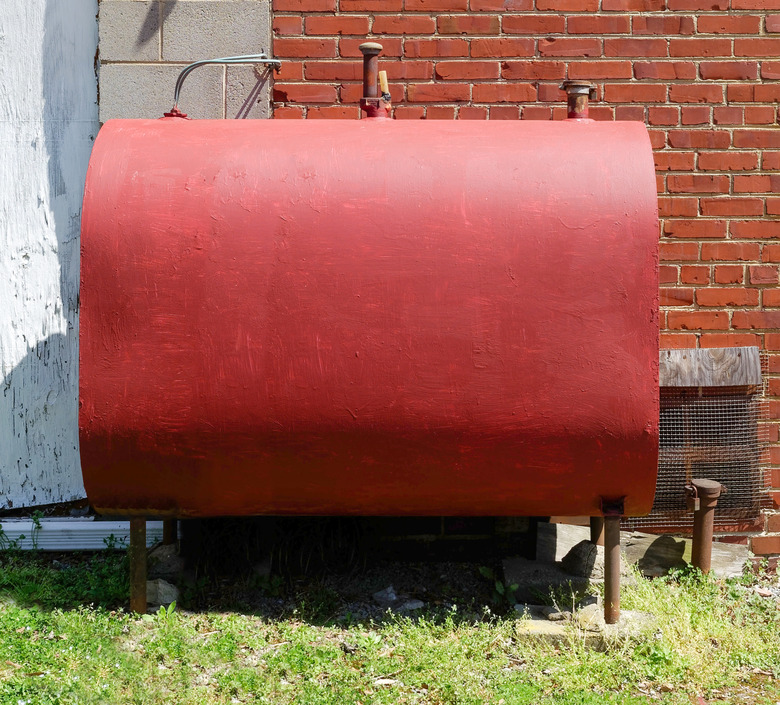
How To Clean A Heating Oil Tank
We may receive a commission on purchases made from links.
Not keeping your heating oil tank cleaned could lead to malfunctions. Waking up without heat in the winter months is not ideal, especially when you have a family. You can clean a heating oil tank on your own, but it's usually best to have a professional do the job.
Why Clean Heating Oil Tanks?
Why Clean Heating Oil Tanks?
Sludge can accumulate in any size and shape of heating oil tank over time. The problem with the sludge is it can clog the fuel line or the fuel filter. Sludge is a by-product of condensation that appears when the tank gets filled with oil that has a different temperature than the tank.
What happens is the difference in the two temperatures causes water vapor to condense, which leads to sludge formation. When you get fuel delivered to your tank, you can ask the technician if they notice any sludge. Usually, it's the technicians who notice the sludge before the homeowner.
Oil Tank Cleaning Frequency
Oil Tank Cleaning Frequency
To avoid any issues from sludge, schedule a fuel tank cleaning every three years. You may even be able to wait five years. The time frame depends on how much fuel you use annually, and the technician will help you determine an appropriate timeline for your tank.
Not only does it matter how much fuel you use each year, but you should also receive frequent tank cleaning if you experienced any loose vent caps that allowed any insects, moisture or air in the tank. Additionally, when you don't let the oil level fall too low, it can help prevent sludge from entering the supply line or oil filter.
Oil Tank Cleaning Considerations
Oil Tank Cleaning Considerations
Cleaning an oil tank is an important part of keeping your home heating system running, but it can become quite messy. You'll need the tank pumped out to perform the cleaning accurately. Handing this task off to the oil supplier is ideal. If you feel you have the necessary background experience and want to try cleaning your oil tank on your own, you'll need disposable containers, cleaning rags, air hose, water hose, denatured alcohol, TSP cleaner and a portable air pump.
Drain the Heating Oil Tank
Drain the Heating Oil Tank
First, you need to drain the tank. Grab a disposable container, and put it under the drain valve of the tank until all the oil is gone. A plastic container works best.
When all the fuel is out, ensure a lid is on the container, and place it away from you, so it doesn't spill. Now, place a separate container beneath the drain valve and spray some water in the tank. Keep spraying water into the tank until you see clear liquid draining out. Place the cap back on the valve.
Clean the Heating Oil Tank
Clean the Heating Oil Tank
The second step is to clean the tank. When your tank is empty, fill it up with water, along with some trisodium phosphate cleaner. For every 5 gallons of water, use 1 cup of cleaner.
Place an air hose into the tank and turn on your air pump. Let the solution work itself in the tank for 12 hours. Once the timeframe is up, open the drain valve and drain all the solution into a container. Next, spray the inside of the tank with water.
Dry the Heating Oil Tank
Dry the Heating Oil Tank
The last step is to dry your tank. You want to ensure you get rid of all excess moisture as it could ruin the quality of fuel. Grab 3 gallons of denatured alcohol and pour it into your tank at different angles, ensuring all the walls have coating inside the tank.
Next, place the air hose inside the tank and turn on the pump. Let the alcohol dry and run its process of absorbing all moisture. You can expect this process to take about an hour unless you have excess moisture. When all the moisture is gone, and your tank is completely dry, fill your tank back up with fuel.
If you need to dispose of old heating oil after cleaning, follow all local regulations. You'll likely need to take it to a designated drop-off location since it's hazardous waste.
