How To Clean An Old Wall-Mount Gas Heater
When the weather starts to turn and the cold creeps in, wall-mount gas heaters — sometimes called gas furnaces — are a space-saving answer to home heating and are ideal for small spaces. Modern wall heaters are powered by either electricity, a gas line or a propane tank. However, many homes still sport old wall-mount gas heaters. As the warm weather comes to an end, the surface and interior of the wall-mount gas heater must be cleaned before you switch it back on.
Why Clean the Heater?
Why Clean the Heater?
Wall-mount gas heaters operate by pulling air from the room and circulating it inside the chamber. Gas wall heaters are connected to a gas line that heats the air through combustion as it circulates and then blows the warm air back into the room. As with any appliance or furniture in your house, the heater will collect dust and debris over time. If there are pets in the house, pet hair can get sucked in with the dust as well.
While regular cleaning is important for the longevity of a wall heater when it is in use, cleaning often takes a back seat during the warm months of the year when the heater is left dormant.
If a wall heater is turned on after collecting dust, debris and pet hair during warm weather, the heater will warm the debris in addition to the air. This can create an unpleasant smell, inhibit the heater's performance or become a fire hazard.
Before You Begin
Before You Begin
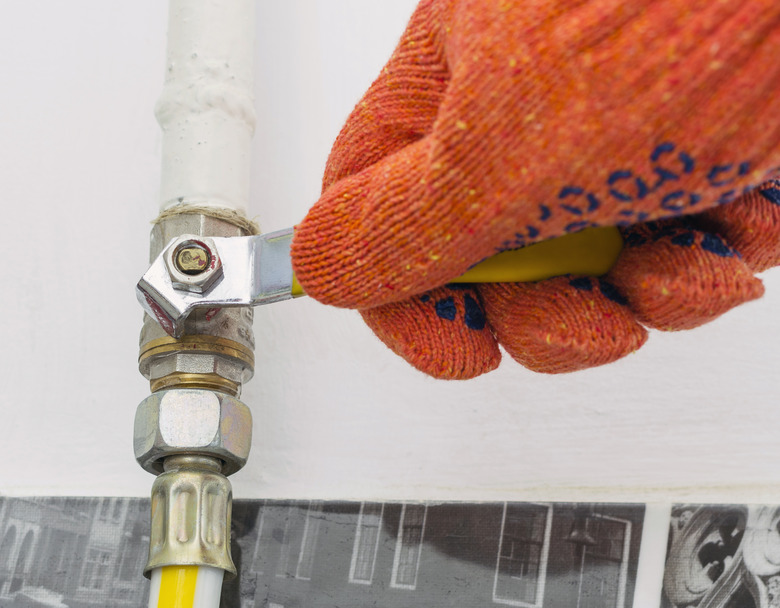
As a safety precaution, cut the power supply to the wall-mount gas furnace before cleaning. This way, you ensure that the heater is switched off, and you'll avoid accidental injury from coming in contact with hot coils. Locate the gas supply valve and rotate the valve to its off position. Make sure that the pilot light is off before proceeding.
Cleaning an Old Wall-Mount Gas Heater
Cleaning an Old Wall-Mount Gas Heater
Start the process by wiping down the exterior of the wall-mount furnace with a duster or a damp rag. Once it is wiped clean, it is time to start on the inside.
With a screwdriver, remove the screws from the front panel. Typically, wall heaters have only two screws located at the bottom of the panel; however, some heaters could have more at the corners or along the sides. Use a vacuum cleaner with a hose attachment, preferably with a brush at the end, to carefully remove the dust from the interior surface.
Pilot Light and Main Burner Intake
Pilot Light and Main
Burner Intake
Once the interior surface is adequately vacuumed, turn your attention to the pilot light assembly. This is where the small flame that lights the main burners would be located. Roughly 2 inches down from this point is the oxygen depletion sensor (ODS), a device with two small holes.
Over time, the ODS can collect dust and debris, inhibiting its ability to sense the amount of oxygen in the room. Using a can of compressed air, flush the hole to free it of debris. Next, locate the main burner air intake by following the gas supply tube to where it meets the main burner. At this point, you should see a gap between the opening and burner. With the compressed air, flush the gap.
Before you close the heater, flush the burner port holes to ensure they are free of dust, debris and pet hair. Once you are satisfied, return the front panel to its proper position and reattach it with the screws. Then you can restore the power, open the gas supply valve and turn on the wall heater.
