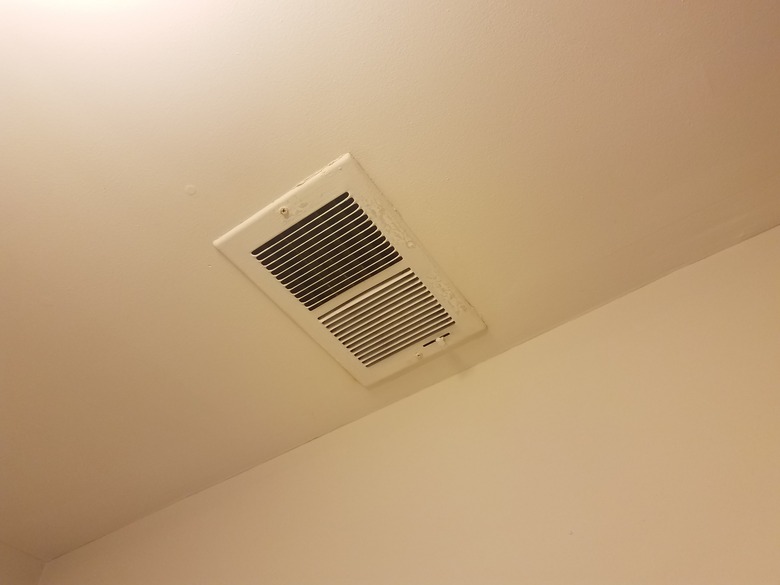
How To Move An A/C Vent
Air conditioning, or A/C, vents are used to circulate air from the central A/C blower to rooms throughout your house to keep it cool. If you find that one of these vents is in an inconvenient location or isn't cooling a room properly, you can move it to a new location with a few steps. In the long run, it may even help you save money on your A/C bill.
Because there is no wiring involved, the process is fairly simple, but prepare yourself for crawling around in tight spaces, such as attics or crawl spaces. You should also plan to wear a dust mask and goggles when working in insulation-filled attics to avoid breathing in insulation fibers.
Things Needed
-
Screw
-
Sandpaper
-
Duct tape
How to Move an A/C Vent
1. Pick Your New Vent Location
Pick a spot where you want to move the A/C vent to. This will depend on your personal needs and the overall layout the room. Drive a screw through the ceiling or wall in this position to mark the spot. Place plastic sheeting underneath to help with a speedier cleanup process when you are finished.
2. Map Out Ductwork
Map out the current A/C ductwork by going up into the attic or crawl space. Find the ductwork that leads to the A/C vent that you wish to move and mark it with colored tape. Locate the screw sticking up through the ceiling or wall and mark this with tape for reference.
3. Turn Off Power
Turn off the power to the A/C unit at the main circuit breaker. This is an important safety step.
4. Disconnect Old Ductwork
Disconnect the current ductwork from the old vent. There are two main types of ductwork: rigid and flexible. Flexible ductwork is mostly found in newer homes and is much easier to work with. To disconnect this type of duct, loosen the clamp holding it to the vent and pull it off the collar. You'll often find rigid ductwork in older homes. To disconnect rigid ductwork, you will need to loosen the clamps along the duct or cut apart the duct tape holding it together.
5. Measure and Cut the Drywall
Measure the inside diameter of the ductwork with a measuring tape. Using the screw through the drywall as the center point, transfer this measurement to the drywall. Use a keyhole or jigsaw to cut through the drywall. Sand down any rough edges gently.
6. Add Vent Collar
Slip a vent collar through the hole in the ceiling or wall. Secure with pieces of tape.
7. Reconnect the Ductwork
Connect the vent collar for the new vent to the A/C blower where the duct for the old vent was connected. If you do not have flexible duct, now may be a good time to convert to this option. Carefully use a sharp knife to cut the duct apart. Secure the blower end and the collar end with clamps.
8. Replace Grille Cover
Connect the vent grille through the ceiling or wall to the collar, securing it with screws and a screwdriver. When you are finished, you'll have to seal up the previous vent location.
