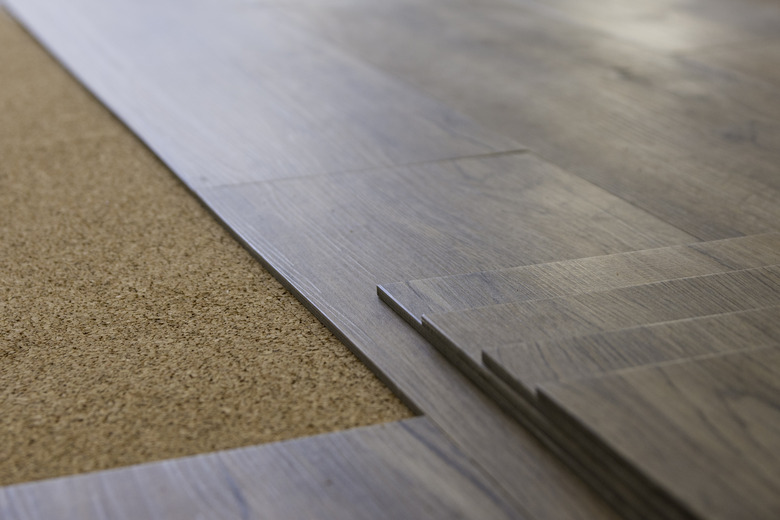
How To Seal A Vinyl Tile Floor
Vinyl tiles are a popular floor finish for kitchens and bathrooms. In many cases, the tiles are self-sticking, making it easy for homeowners to do the installation themselves without needing to hire any outside help. Vinyl tiles come in a wide variety of colors and patterns that fit with any decor and aesthetic, and the simple application process makes it an ideal floor finish for even the most novice of DIYers. However, managing the cleanliness of the tiles can be tricky, which is why sealing a vinyl tile floor is recommended.
What's Vinyl Floor Sealer?
What's Vinyl Floor Sealer?
While researching vinyl tiles or planks, you've likely heard mention of vinyl floor sealer or vinyl composite tile (VCT) sealer – a solution that creates a barrier between the vinyl tiles or planks. Think of it as a protective coating that seals the top layer of the tiles and then binds them to one another.
Although laying vinyl tiles or planks is relatively easy, the nature of the process means that there are seams between the tiles or planks. These seams can collect dirt, debris and moisture. This debris, aside from being unsanitary and difficult to clean, can cause the tiles to loosen and even peel upwards. Vinyl tile sealer also prevents staining and protects the actual surface of the tile from dirt and damage.This makes applying vinyl flooring seam sealant to your freshly laid vinyl tile flooring an important step for protection and durability.
Why Apply Vinyl Floor Sealer?
Why Apply Vinyl Floor Sealer?
The choice to use vinyl planks or tiles is, for most people, an economic one. Vinyl tiles are an affordable way to cover the floor. This is all the more reason to do the job right and protect the tiles once they're laid. Not protecting the tile can result in the need to replace and retile the floor, which would be a more costly and labor-intensive job than simply doing it right the first time.
Vinyl flooring seam sealant can be found online and at most hardware stores. Applying vinyl floor sealer isn't a complicated process, but like so many other processes in the realm of home improvement, it takes time and can be tedious. A poor job or lazy sealer application will result in a subpar sealing job. This can cause the seams of your tiles or planks to become clotted with debris, creating more work for you in the long run.
How To Prep Vinyl Floors for Sealing
How To Prep Vinyl Floors for Sealing
Before applying vinyl floor seam sealant, there's some preparatory work to be done. And doing this correctly is critical to the success of the sealing process.
Begin by clearing the floor of any dust, debris or dirt. Use a soft bristle broom to sweep the floor and gather up any large debris. Next, use a microfiber cloth to sweep the surface of the floor and gather up any remaining bits of dust that may be invisible to the naked eye. Finally, use a vacuum to go over the seams in the tiles and the planks, and suck out anything that may have gotten stuck between them.
How to Apply Vinyl Plank Seam Sealer
How to Apply Vinyl Plank Seam Sealer
Coat a lambswool floor finishing pad in a layer of the vinyl sealer of your choice, and move it back and forth across the tiles. Work slowly and carefully to ensure smooth coverage, and pay close attention to the seams. Slowly moving across the floor also helps to avoid air bubbles making their way into the sealant.
Continue the process until the entire floor is covered. Allow the floor to dry overnight, per manufacturer's instructions. Once it has dried, gently sweep the first coat with a microfiber cloth to gather any dust that may have accumulated overnight. Then, apply a second coat in the same manner as the first. If a third coat is recommended, repeat the process on the third day.
