How To Load Staples Into A Stanley SharpShooter Stapler
We may receive a commission on purchases made from links.
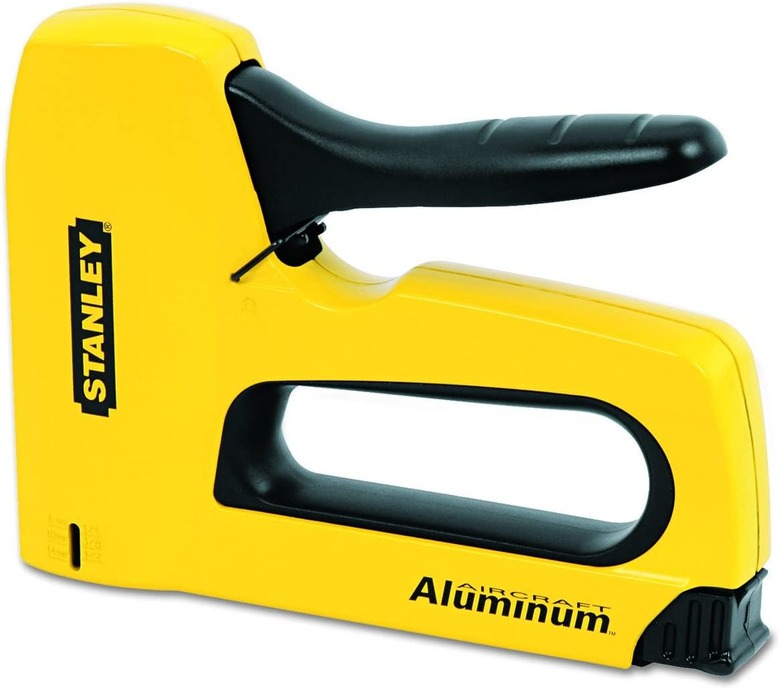
When it comes to tools that make you feel surprisingly powerful, a good staple gun is near the top of the list. A heavy-duty staple gun, like the Stanley SharpShooter, is a game changer for DIY work around the house. From upholstery to flooring underlay, it's amazing how quickly things can get done with a good staple gun — provided you can reload the staples. You wouldn't be the first person to get flummoxed with reloading a staple gun, but it's not as complicated as it first seems.
About the Stanley SharpShooter
About the Stanley SharpShooter
The SharpShooter line from Stanley includes a heavy-duty hammer tacker, a staple gun combo with a brad nail gun, and other popular items. You may be able to fit other brands of narrow crown staples into the Stanley SharpShooter, but incorrect staples can jam and fail. In fact, whether your staples are the right ones is important if you're troubleshooting a misfiring staple gun. Some owners grumble about the challenge of finding the right staples but say the staple gun works great once they do get the right ones. With 1,500 to 5,000 and more staples per pack, it's easy to stock up once you find the right ones.
Stanley advises using the Stanley SharpShooter TRA700 series of staples or Arrow T-50 heavy-duty narrow crown staples. The staple guns will take 1/4-inch to 9/16-inch staples. The staple gun accommodates a full stick of staples for less fussing and more DIYing between reloads.
Reloading Stanley SharpShooter Staple Guns
Reloading Stanley SharpShooter Staple Guns
There's a locking lever under the trigger or handle, so engage the lock before fiddling with the staple drawer and any other time you're not using it. You don't want any misfires. Be sure you have the recommended staples or they may not fit.
1. Open the Staple Drawer
On the back side of the stapler, there's a black heel, which is the latching cover of the staple drawer. Simply push it straight in and then angle it down by 45 degrees. There's a latching "nose" hidden on the top of this heel, and when you push it in and angle it down, the lock disengages so you can slide the drawer out.
2. Load the Drawer
Unlike a lot of other staple guns where the staples go in the slide-out drawer, the SharpShooter differs. Once the drawer is pulled out, you place the staples into the exposed belly of the SharpShooter. This unit takes an entire row of staples. First turn the staples so the "legs" will face away from the staple gun. Then put the flat side of the staples into the gun flush against it. Now, you simply have to close it.
3. Close the Drawer
Closing the drawer is the reverse of opening it except you need to push a bit harder because the spring gets super compacted with the full drawer of staples. Once you push all the way in, angle the latch or "nose" back up into the chamber, ensuring it engages and locks back in place. Now disengage the safety lock before use and you're ready to DIY.
Warning
Engage the handle lock between uses to avoid accidental discharge.
