How To Determine The Shower Faucet Type
Most of us pay little attention to our shower faucets until it's necessary to do so. This is a good thing and means the shower faucet or, more accurately, the shower valve, is doing its job most of the time. However, when a problem like a shower faucet leak or an annoying tub faucet drip happens, we may feel caught off guard. That's when the need for old shower valve identification comes in.
Rest assured that shower and tub faucet problems are often easily solved and typically stem from the most important shower faucet part: the shower valve. Your shower valve lives behind the scenes and is controlled by you using the shower handles or other controls.
To remedy shower valve trouble, a few things need to happen:
- Identifying the type of faucet and valve your shower (or shower and tub combination) uses
- Taking the faucet apart
- Determining which valve type is behind it
- Locating the correct replacement parts
- Putting it all back together
Types of Shower Valves
Types of Shower Valves
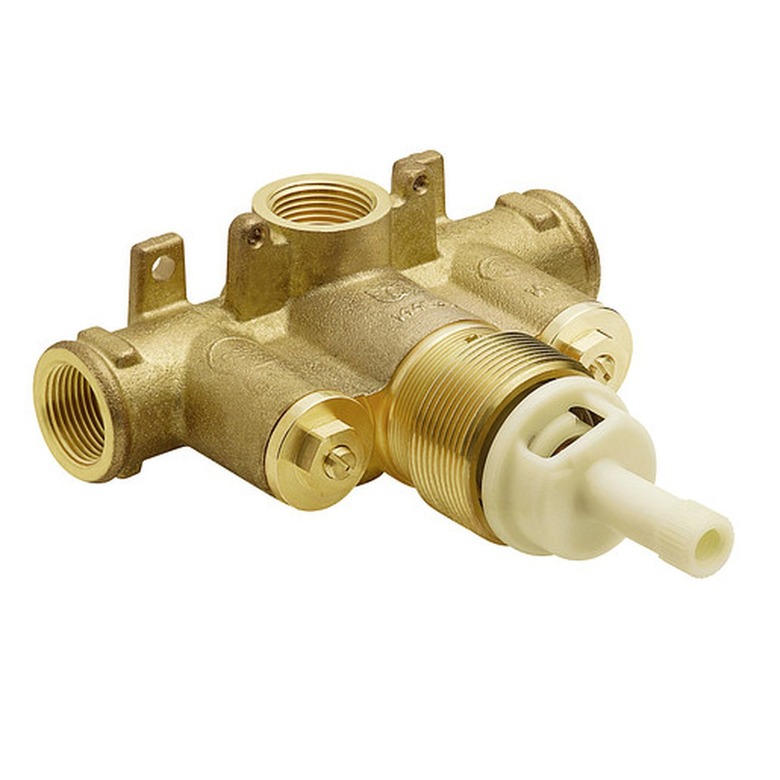
Shower valves, the part inside the wall that does all the work, come in several varieties. In many cases, you can identify the shower valve type by the layout of the shower handle or handles. Knowing which shower valve is behind your shower controls is essential for finding replacement parts or, during a shower removal, replacing the trim and handles. Here are common types you're likely to find.
Mixing Valve
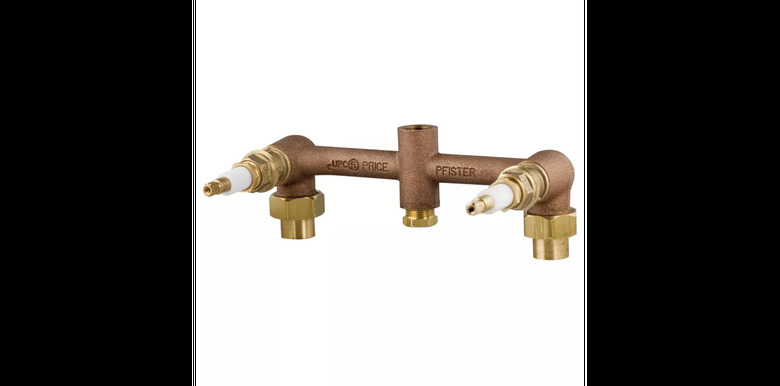
Old mixing valve types of shower and tub faucets are outdated due to their lack of ability to prevent scalding. In many places, they are no longer allowed by code. The temperature of the water coming from a mixing valves is controlled by the user only; there is no safety device to prevent the delivery of very hot water. Mixing valves are most commonly found on old faucets with separate hot and cold handles. Water can be diverted away from the tub spout to the shower with a diverter handle or a diverter plunger on the tub spout.
Diverter Valve
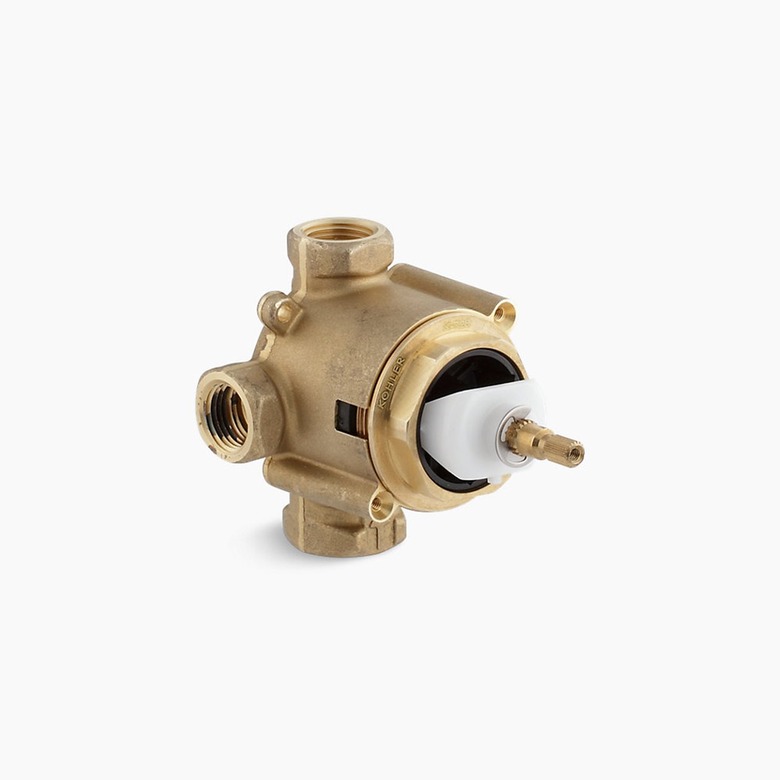
There are several types of diverter valves that direct water where you want it to go in a shower and tub combination. You may find them as part of a three-handle shower faucet or a shower-only single-handle faucet. The most common diverter valves are 2-way and 3-way valves. A 2-way valve uses a single handle to control water temperature and another to point the water to the tub or shower. A 3-way valve includes separate hot and cold controls and a central diverter handle.
Pressure-Balancing Valve
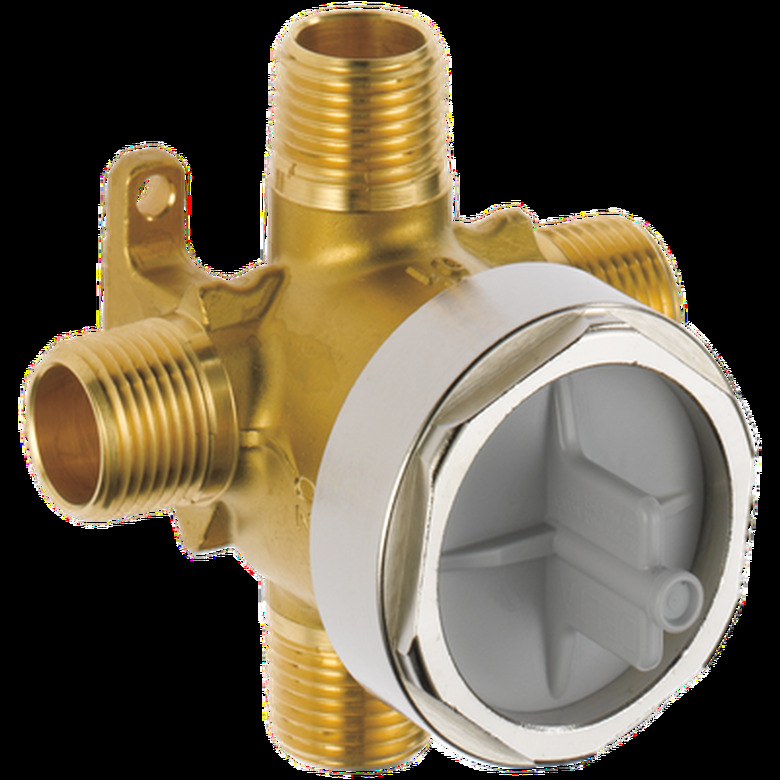
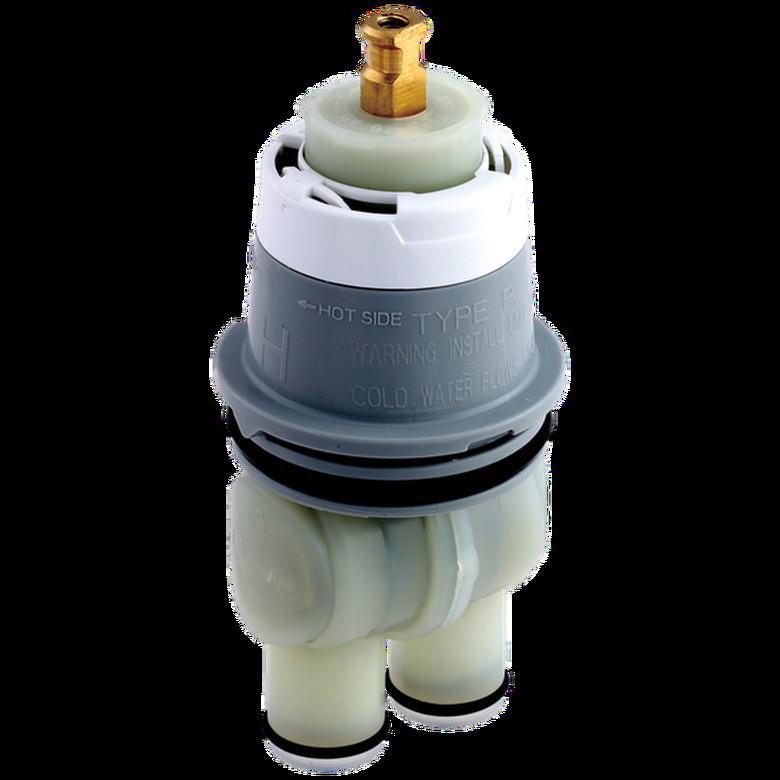
The most commonly found shower valve in modern homes is the pressure-balancing valve. These valves are designed to adjust to changes in water pressure from both the hot and cold water lines to prevent scalding, such as occurs when the shower is going and someone flushes a toilet in the house. They consist of single-handle temperature control and a separate diverting mechanism.
Thermostatic Valve
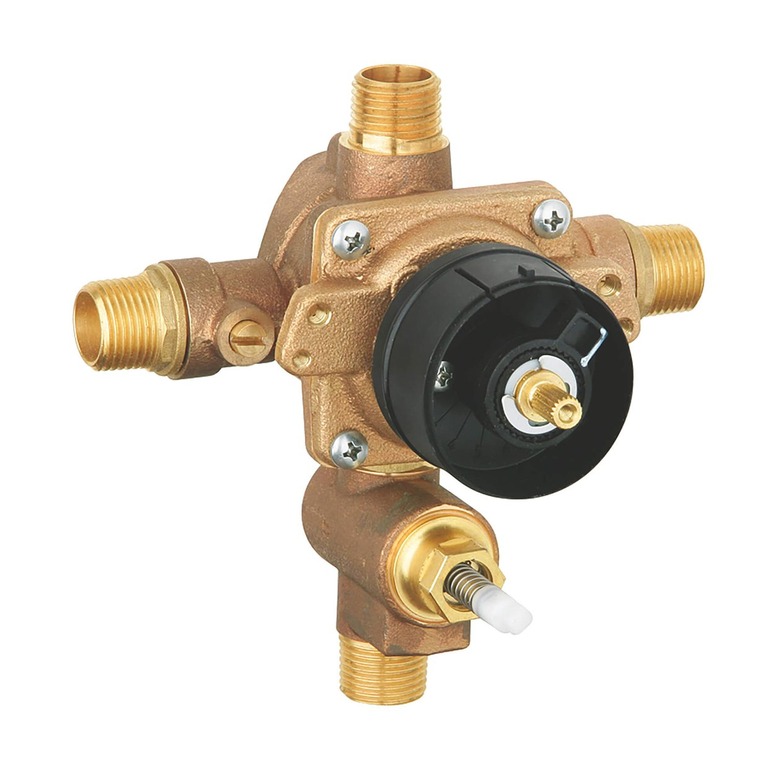
Thermostatic valves are similar to pressure-balancing valves in that they balance water pressure to prevent scalding. However, these valves also control the flow rate automatically based on temperature.
Thermostatic valves also allow the user to control the flow rate and the water temperature independently. Many faucets with thermostatic valves can be preset to the desired rate and water temp.
Transfer Valve
Transfer valves are the new kid on the block. These valves allow the operator to control several water outlets simultaneously. Transfer valves are often integral to digital shower controls.
How to Identify an Old Shower Valve
How to Identify an Old Shower Valve
Shower valve styles and parts vary among manufacturers. For this reason, repairing a hidden leak or silencing a shower or tub drip requires identifying the type and brand of shower valve you're working with.
1. Determine the Faucet Type
You can determine the type of faucet your shower has by looking at the number of handles and water outlets. Note whether you have a tub and shower combination, shower only, or a multiple showerhead setup. Also, note the number of handles that make up your shower faucet and confirm the function of each.
You may have two handles, one that controls hot and the other that controls cold water. There may also be a third handle that diverts the water to the tub or shower, or you could have a single-handle faucet to control the shower's flow and temperature.
2. Identify the Manufacturer
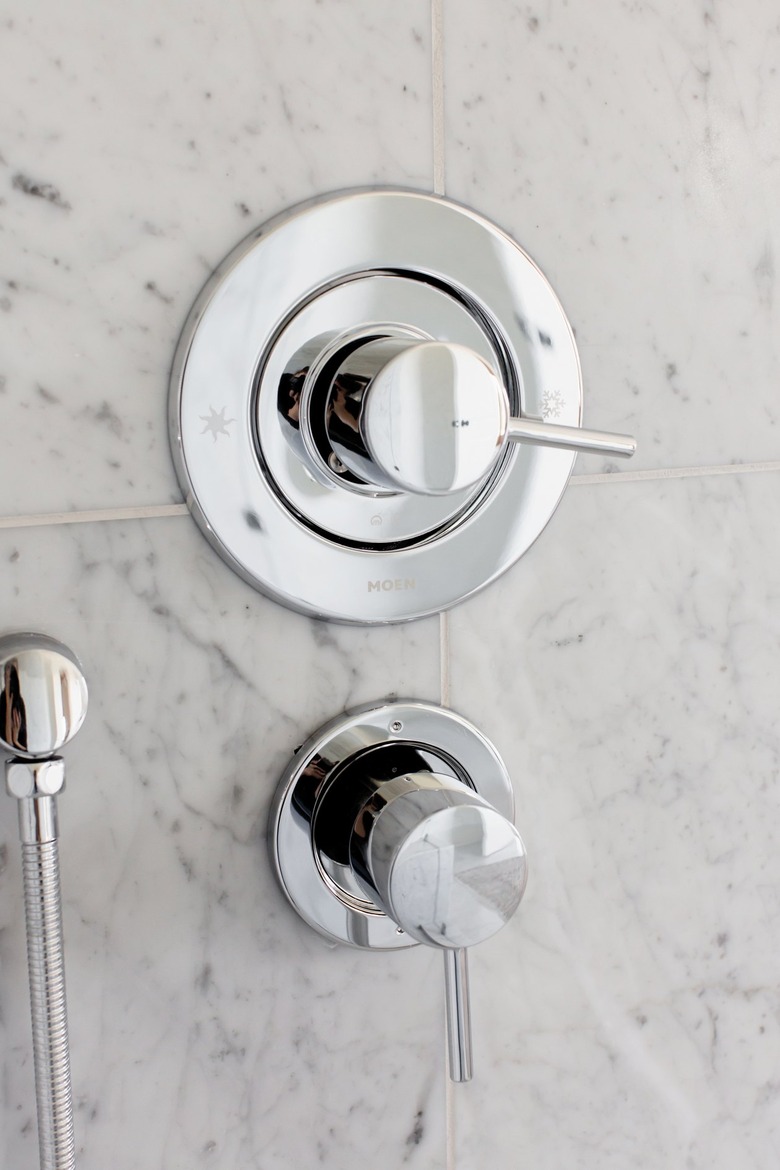
Identifying the manufacturer may be as simple as reading the name on the trim plate. In other cases, you may have to investigate deeper.
Somewhere on the faucet will be a brand name identifier printed, engraved, or etched onto a part. Look on the inside of handles, escutcheon plates, and faucet trim. The name could be quite small, so cleaning and using a flashlight may be necessary.
If you can't locate a brand name on an older shower faucet, you're next step will be to identify the manufacturer by what's inside. After removing the handle and cartridge (see instructions below), take it to the store to compare with other types or search for a match online using parts catalogs from major faucet manufacturers.
Gather information such as the cartridge's length, the broach's shape (where the handle connects), and the number of splines on the broach, if any.
3. Find Replacement Parts
Once you determine the brand and type of cartridge or stem, you can order replacement parts online from major faucet manufacturer websites or at local hardware, plumbing, or home center stores. Local retailers usually carry a number of cartridges to fit major brands of faucets. Often it's worth it to shop a few stores — bring the old cartridge with you for comparison — to try to find a match.
What Brand of Faucet Do I Have?
|
Brand |
How to Identify |
|
American Standard |
Logo on sticker on faucet or etched onto the trim around the handle |
|
Delta |
Series number embossed on escutcheon plate below handle |
|
Moen |
The letter "M" or the brand name on faucet |
|
Kohler |
The letter "K" or the brand name on faucet |
How to Remove a Shower Faucet Cartridge—Two-Handle Faucet
How to Remove a Shower Faucet Cartridge—Two-Handle Faucet
When replacing one cartridge or stem on a two-handled faucet, it's not a bad idea to simply change them all at the same time. Depending on the faucet type, that may mean changing the cartridges for the hot and cold water as well as for a diverter.
1. Turn Off the Water
Locate the shutoff valves dedicated to the shower and turn them both off. If there are no dedicated valves, turn off the main water supply to the house at the main shutoff valve.
2. Remove the Handles
Depending on the type of handle your shower faucet has, you may have to pry off a center plastic piece to locate each handle screw. Otherwise, look for and hex-head or Philips screw on the side of the handle. Remove the screws and pull the handles straight back and off. Remove the escutcheons as necessary by gently prying or unscrewing them from the valve body. An escutcheon may be edged with caulk; cut through this carefully with a utility knife.
3. Remove the Stems or Cartridges
Behind the handles, you'll find either stems or cartridges. Remove stems by loosening them with a shower valve socket and pulling them straight out. Cartridges may be held in place with a metal retaining clip that you can pry off with a flat screwdriver. You can then remove the cartridge by pulling it out with pliers. If you can't remove the cartridge with pliers, you'll need a brand-specific cartridge-pulling wrench to get it out. Repeat for the other handle or handles.
How to Remove a Shower Faucet Cartridge—Single-Handle Faucet
How to Remove a Shower Faucet Cartridge—Single-Handle Faucet
Single-handle shower faucets have cartridges — not valve stems — that you access by removing the faucet handle, escutcheon, and trim (as needed). Many cartridges can be removed with pliers, but some need a cartridge pulling wrench that matches the faucet brand and model.
1. Turn Off the Water
Locate the shutoff valves dedicated to the shower and turn them both off. If there are no dedicated valves, turn off the main water supply to the house at the main shutoff valve.
2. Remove the Handle and Escutcheon
Locate the hex-head or Philips screw on the side of the handle. Remove the screw, then pull the handle straight off. Locate and remove the mounting screw or screws on the escutcheon plate and remove them and the plate. An escutcheon may be edged with caulk; cut through this carefully with a utility knife.
You may or may not have to remove a trim ring from the valve body, but it's usually easiest to simply remove it by pulling it straight out or unscrewing it from the valve body.
3. Remove the Cartridge
Pry off the retainer clip from the cartridge, using a small flat screwdriver. Remove the cartridge by gripping its end with pliers and pulling straight out, or use a cartridge-pulling wrench that fits your faucet.
Signs You Need a New Shower Cartridge
Signs You Need a New Shower Cartridge
There are a few common symptoms that tell you it's time to replace a shower faucet cartridge.
- A consistent drip that continues well after you've turned the shower off
- A handle that feels sticky
- A handle that is hard to turn
- A handle that turns okay, but when you turn it on no water comes out
When to Call a Professional
When to Call a Professional
Replacing a shower valve cartridge usually fixes any of the common problems noted above. However, if you do replace the cartridge successfully and the problem persists, it's probably time to call a plumber for help. Everyday use and hard water deposits can cause a number of problems with shower valves and handles, often resulting in a need for replacing the faucet. If the valve has gone bad, the entire faucet — including the trim and showerhead — should be replaced, and this is a job for a pro.
