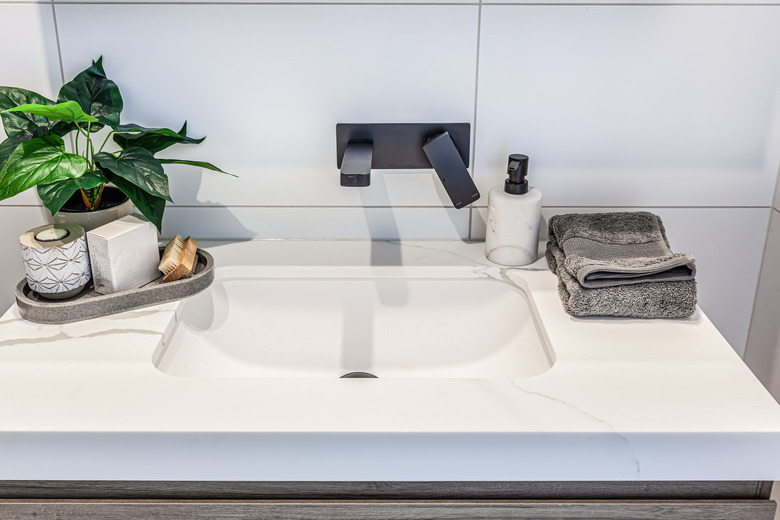
How To Repair Cracked Resin On A Bathroom Vanity Sink Basin
We may receive a commission on purchases made from links.
If your bathroom sink basin develops a crack from lots of wear and tear, you may be able to repair it instead of replacing the sink. It's important, however, to repair cracked resin (solid surface) sinks as soon as possible to prevent leaks and to prevent further damage to the sink. You may be able to use a two-part epoxy to fix some cracks. Solid surface repair kits are also available, but some deep cracks require a professional to fix the damage.
Two-part epoxy or repair kits can be bought online or at some local counter-top shops. The repair kits come in a variety of colors, so your sink should look almost new when you are done.
Two-Part Epoxy Resin Repair
1. Wear Protective Gear
Put on all protective gear, including work gloves, safety glasses and a respirator. A primary ingredient in epoxy products is sodium hydroxide (NaOH), which can burn your skin. And if you breathe the fumes, NaOH can cause irritation in your nasal passages and upper respiratory tract.
2. Remove Sink Dirt and Grime
Clean the cracked area of the solid surface sink with a degreaser and cleaning cloths. The sink must be free of all dirt, grime, soap scum for the resin repair to set properly.
3. Sand the Cracked Area
Place 400 grit sandpaper into an orbital sander. Sand the area, first with the 400 grit sandpaper; repeat the process with 240 grit and then 120 grit sandpaper. Vacuum up all loose debris. Clean the area again with degreaser.
4. Mix the Two-Part Epoxy
Cut off the end of the two-part epoxy tube. Squeeze the plunger until an even amount of hardener and catalyst comes out. Place this epoxy onto a small piece of cardboard or plastic. Mix the two epoxy components together, using a small stir stick or wooden craft stick.
5. Apply the Epoxy to Sink
Apply the epoxy to the cracked area. Work it in place, using the stir stick, until the crack is full and even on the top. Let it dry overnight.
6. Buff the Sink
Buff out the repaired area, using the orbiter sander, a buffing wheel and buffing/rubbing compound. Let it dry for several hours.
Solid Surface Repair Kit
1. Follow Steps 1–3 Above
Follow Steps 1 to 3, in Section 1 (above).
2. Open Kit and Separate Components
Separate the components in the surface repair kit. The kit will include a bonding agent, stir stick, small container, catalyst, spreader tool, color match paint and detail brush.
3. Apply the Repair Agent
Apply the bonding agent to the cracked area. You may have to brush it on; some kits have a spray can version. Let it dry several hours in a well-ventilated area.
4. Apply the Catalyst
Apply the catalyst, using the spreader tool or spray it on if applicable. Let it dry for several more hours.
5. Choose Paint Color and Apply
Test the paint you believe to be the best match by applying a small amount to the sink area. If you need to adjust the color, mix in some white paint. Apply with the fine, detail brush. Let it dry overnight.
