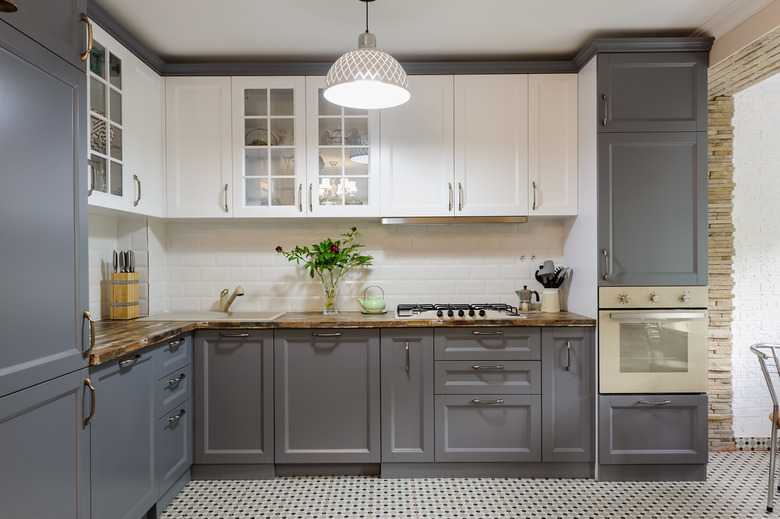
How To Make Old Cabinets Look New Without Staining?
A kitchen cabinet makeover is an excellent way to refresh the look of the room without spending a fortune. Replacing the cabinets is a costly and often unnecessary expense — more so if the old cabinets are in good shape. Instead, give the cabinets a completely new look by changing the hardware, painting on a new color or even adding decorative trim and crown moldings.
Replace or Paint the Hardware
Replace or Paint the Hardware
In some cases, simply replacing or painting the hardware can give the cabinets a completely new and contemporary appearance, especially if the cabinets themselves don't look like they belong in another century. Seek out hardware the pairs well with the finish and style of the kitchen appliances. Sleek silver-toned hardware looks good in a modern kitchen with stainless steel, black or white appliances, for instance. Silvery hardware looks good on just about any cabinet finish color, too.
Before purchasing the hardware, measure the distance between screw holes on drawer pulls, as well as the length and diameter of the screws. Take a sample pull, knob and hinge with you to a home improvement store, if necessary, to find suitable replacements.
When updating kitchen cabinets on a budget, painting rather than replacing the hardware offers another way to save a lot of money. This works best when the shape and style of the hardware still suits the kitchen, but the hardware finish is worn or an outdated color. Remove and clean the hardware thoroughly before painting it. Also, be sure to paint the screw heads that pair with hinges, as well as any other screw heads that may be visible once reinstalled onto the cabinets.
Redo Kitchen Cabinets with Paint
Redo Kitchen Cabinets with Paint
Refurbishing old kitchen cabinets with a fresh paint color gives them a completely different look. This can be done whether the cabinets are made of wood, laminate or fiberboard, or if they have been previously varnished or painted. Painting kitchen cabinets requires some serious cleaning effort, so skimping on this laborious part of the process results in paint that doesn't stick properly or that peels off in a short time.
A cleaning product like trisodium phosphate (TSP) comes in handy for removing greasy buildup, especially on cabinets near the stove. Remove the cabinet hardware and doors, noting which doors and pieces belong to which cabinets for easier replacement after painting. Be sure to clean the hardware, as well, so it looks nice when you reassemble things after painting.
After you've cleaned everything, sand the cabinets with a fine sandpaper while wearing a dust mask. Vacuum dust away, then use a tack cloth to remove any remaining dust. Apply a stain-blocking primer or an acrylic urethane primer designed for cabinetry. Acrylic urethane cabinet paint is also an excellent choice after the primer dries, as it dries to a hard and durable finish.
A Touch of Trim
A Touch of Trim
Give basic, boxy cabinets a custom-crafted look by adding trim or crown molding. A starter or riser molding atop the cabinets increases the height of the crown molding, according to Cabinets.com. The combination of crown and riser molding gives cabinets a more elaborate look. Light-rail molding, which mounts along the bottom front edge of wall-mount cabinets, offers a convenient way to add and hide light fixtures for both ambient and task lighting.
Decorative trim can also be added to door fronts to give them a completely different look. Create the look of Shaker door cabinet doors by adding flat wood strips around the perimeter of each flat door, much like a simple picture frame.
