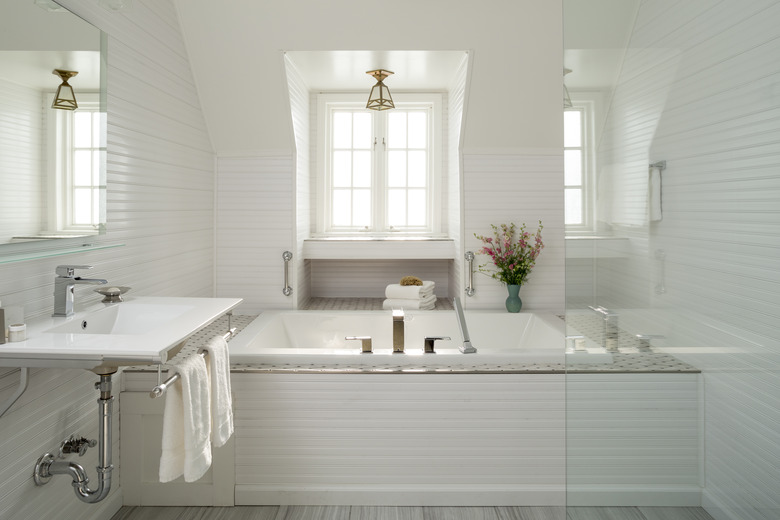
How To Remove A Delta Tub Spout
We may receive a commission on purchases made from links.
There are times when you may need to remove a Delta tub spout. For example, if you encounter a leak around the spout, you will be able to remove it with just a few tools and some elbow grease.
Depending on the age of the tub or the condition of the spout, you'll be able to make repairs or you may have to replace it altogether. There are two types of spouts from Delta: screw-on spouts and slip-on spouts. You can check which type you have by looking for the set screw underneath the spout.
Remove a Screw-On Spout
Remove a Screw-On Spout
Before doing anything with the Delta tub spout, turn off the water supply to the bathtub. The shutoff valve for the tub's water flow is typically behind the wall. If you remove a tub spout while the water is still flowing, you'll have a flood in your bathroom, which can be incredibly damaging.
1. Protect the Spout From Scratches
Cover the spout with a soft cloth so the finish isn't scratched during removal.
2. Loosen and Unscrew the Spout
Turn the screw-on spout counterclockwise slowly using a pipe wrench. When the spout is loose enough, unscrew it the rest of the way using your hand to avoid any damage to the finish. You can then remove the spout from the wall.
3. Remove Old Caulk and Plumber's Tape
Remove the old caulk using a chemical caulk remover and a putty knife. Apply the chemical remover on the caulk, let it sit for a while so that the caulk softens. Once the caulk has softened, you can scrape it off with the putty knife. The plumber's tape can be removed by moistening it and scraping it off with an old toothbrush or wire brush.
4. Reinstall the Spout
Replace the plumber's tape you removed before you reinstall the spout. This will prevent leaks. Tightly apply the tape on the nipple before replacing the spout.
Once you've performed the necessary work, you can reinstall the spout. You will need to use the pipe wrench to secure the spout. Don't forget to cover the spout with a soft cloth to prevent scratching it. Screw the spout back on by turning it clockwise slowly. You can begin the process using your hand to prevent damage and then use the pipe wrench to make sure the spout is tightened properly.
5. Add New Caulk
Add new silicone caulk after the spout has been reinstalled. Apply it using a caulk gun and smooth it out along the area where the spout meets the wall. Do not turn the water on to use the tub until the caulk has dried completely.
Remove a Slip-On Spout
Remove a Slip-On Spout
As with removing a screw-on spout, you should always turn off the water supply before attempting to remove a tub spout.
1. Remove the Set Screw
Look for the set screw underneath the spout, close to the wall. A slip-on spout utilizes a set screw to remove it from the wall. An Allen wrench can be used to remove this screw. Turn the Allen wrench counterclockwise to unlock the screw. Cover the drain with a towel in case the screw falls when you remove it.
2. Slide Spout Away From Wall
Slide the spout away from the wall gently when you've completely removed the screw from the spout. With the spout off the wall, you can now repair or clean it as necessary.
3. Remove Old Caulk and Plumber's Tape
Remove old caulk and plumber's tape before reinstalling the spout. You will need a chemical caulk remover and a plastic putty knife to complete this step. Simply apply the caulk remover on the old caulk, let the old caulk soften and then scrape it away with the putty knife.
If there is plumber's tape on the connection, you will need to remove it. You can do so by wetting the tape and scraping it off with a wire brush or old toothbrush. Clean the area where the old caulk was removed and let it dry completely before applying the new caulk.
4. Reinstall the Spout
Apply new plumber's tape before reinstalling the spout. This will prevent any leaks. Wrap the tape tightly around the nipple before replacing the spout. Slide the spout back onto the wall when you're finished repairing or cleaning it and reinsert the screw that holds the spout on the wall. Use the Allen wrench to tighten the screw so the spout is secured to the tub correctly.
5. Apply New Caulk
Purchase silicone caulk to use when reinstalling the spout and use a caulk gun to ensure that the caulk is applied evenly to the areas around the spout that connect to the wall. Allow the caulk to dry completely before turning the water on to use the tub.
