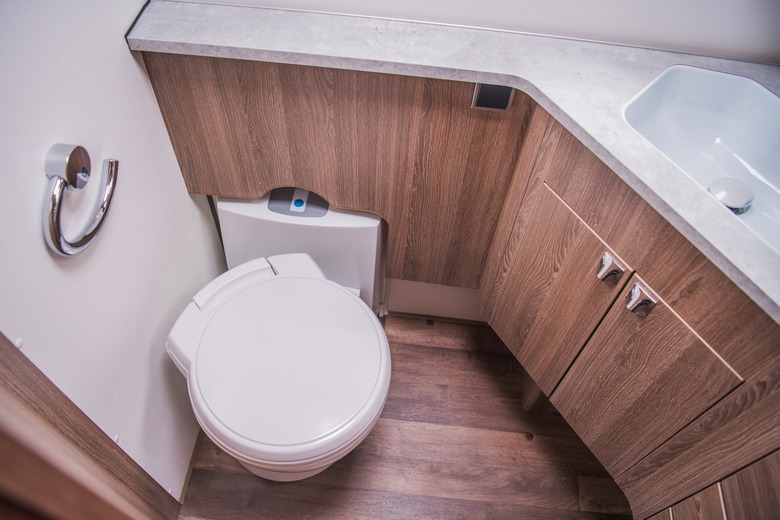
How To Replace The Gasket In A Thetford RV Toilet
We may receive a commission on purchases made from links.
Thetford manufacturers a commonly used line of RV toilets. The gasket provides a watertight seal between the toilet and the flange. If the gasket fails to do its job, a leak will result from underneath the toilet. Fixing the leak is a job that an RV owner can accomplish alone. Be certain to fix this problem as soon as you notice it to prevent any possible water damage.
Drain the Toilet
Drain the Toilet
If your toilet isn't flushing, start by shutting off the water pump that is on board the RV. Or shut off the valve that connects the RV to the city water supply. Check your vehicle owner's manual for detailed instructions on how to do this properly. Press the toilet's flush lever by hand, or step on the foot pedal, to flush the toilet. Keep the lever or pedal pressed down to drain all the water out of the bowl.
Unscrew the water supply line from the water valve/elbow on the rear of the toilet. Twist the screw counterclockwise, using an adjustable wrench, and disconnect the line from the toilet. If you're having any trouble, check the owner's manual of the toilet for detailed instructions and illustrations.
Remove the Toilet
Remove the Toilet
Thetford manufactures many different models of RV toilets, including the Aqua Magic Bravura, Aqua Magic Style Plus, Aqua Magic Aurora, Aqua Magic Galaxy, and the Aria Classic, Aria Deluxe 1 and Aria Deluxe II. Again, make sure you follow any specific instructions in your owner's manual.
Remove any shroud from the base of the toilet. Remove the two O-rings, and remove the shroud. Remove the bolt caps that are installed over the two closet bolts in the toilet base. Using a wrench, remove the nuts from each of the closet bolts.
Lay newspaper on the floor nearby. Lift the toilet straight up, off the flange and flange bolts. Invert the toilet on top of the newspaper. Wipe with a rag what is remaining of the old gasket off the bottom of the toilet. Press the replacement gasket in place around the discharge outlet on the toilet bottom, with the gasket's lip side down.
Place Toilet on New Gasket
Place Toilet on New Gasket
Remove the rag from the flange and with the rag wipe the flange clean of any residue from the old gasket. Position the toilet above the flange, aligning the holes in the toilet base with the flange bolts. Lower the toilet onto the flange, dropping it straight onto the toilet. Press down on the toilet with your body weight. Make sure you do not pinch the flange as you set the toilet down on it, or it will damage the seal.
Install the nuts on the flange bolts. Hand-tighten each nut, and use the adjustable wrench to alternately tighten each nut until the nuts are snug. Do not overtighten. Install the bolt caps. Install any shroud onto the toilet.
Connect the water line to the rear of the toilet, tightening the connection with a wrench. Turn on the RV's water supply. Flush the toilet and check for any leaks from underneath or behind the toilet, at the water line connection. When you lubricate the seal, Thetford suggests you use a toilet seal lubricant or drain valve lubricant to prevent the seal from deterioration.
