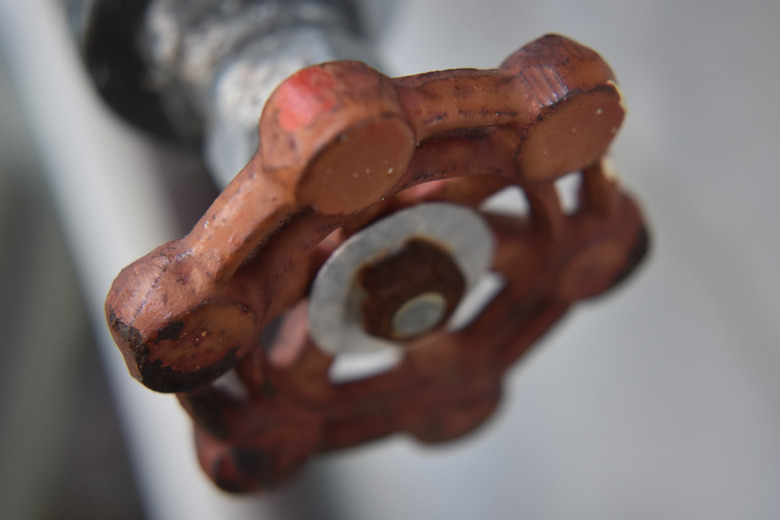
How To Replace Valve Stem Packing
The drip is maddening and may cost oodles of money if it is ignored any longer. Replacing a valve stem packing is a relatively simple process. It's an age-old problem with modern fixes that can be done in minutes depending on the situation at hand.
What Is Packing?
What Is Packing?
Designed to control leakage coming from the stem and bore parts of a valve, packing is a vital part of the package that has played a part in the system for thousands of years. Packing has been pushed down and slathered on pipes and fittings for more than 5,000 years. It started with what people had in lying around in abundance, such as horse hair and rendered animal fat for lubrication. In the last three decades, packing has become a major environmental issue that has brought technology to this seemingly simple and valuable valve asset.
Packing completely blocks or reduces voids that can adversely affect the valve stem and the bore of the stuffing box. This seal is effective when the stress that is applied to the packing is greater than the pressure of the piece being sealed. Modern packing is a Teflon-impregnated string or graphite-soaked string. Washers also can seal out water for faucets as it presses against the valve's seat.
Which Packing Is Best?
Which Packing Is Best?
Water that flows through a spout drop by drop usually needs a washer that can be bought at most home improvement stores or even dollar stores. Spouts that spew liquids in major or minor plumbing around the home may require tape, fiber insulation or natural batting to stem the issues at the valve stem. Packing places pressure where the valve can't reach, making the spout a secure portal or the valve a solid structure.
How to Accomplish a Fresh Pack
How to Accomplish a Fresh Pack
Once you have identified the correct mechanical or compression packing material, put the time in to get a good hold. The point of valve packing is to get a good seal. Measure first to avoid issues later. If the handles are spewing liquid, they need a good packing.
Remove the old packing and replace with new packing according to the manufacturer's instructions. Shut off the water supply to the line that feeds to the leaking valve. The packing cap can be located just below the handle. The packing material is behind the bonnet nut. Fresh packing should be wrapped around the stem counterclockwise three times.
Put the bonnet nut back on and secure with a wrench to ensure from future leaks. Before you close down this project, tighten all nuts and bolts, making sure the packing material is tightly wound. If you over-tighten the tape or other material, it can cause problems with leaks and breaks in the line over time.
