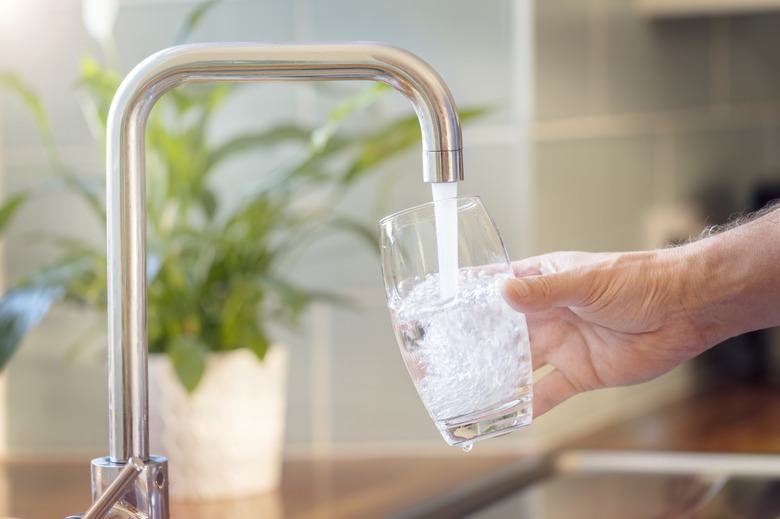
How To Increase Water Pressure In Kitchen Water Faucets
If you're expecting a generous gush of water when you turn on the kitchen faucet, but instead get a measly trickle, the first thing to do is check other faucets in the house. If they have the same problem, check with the neighbors, and if they also have low flow in their faucets, check with the water company. There may be some work happening on the water lines.
Low Water Pressure Sources
Low Water Pressure Sources
A whole-house reduction in water flow for a house on a well can usually be traced back to the pressure pump. If the gauge reads a pressure lower than about 40 psi and the pump is running, there's a leak in either the pump or the water lines. That's usually a job for a plumber, and you need one ASAP. If the problem is isolated to the kitchen faucet, you can forget about the plumber, because you'll probably be able to make the repair yourself. There's probably a clog somewhere, and you'll be able to increase water pressure in the sink by clearing it.
Check the Aerator First
Check the Aerator First
Most kitchen faucets have an aerator, which is a screen-like fitting screwed onto the spout. According to Plumbing Supply, the aerator's primary purpose is to oxygenate the water flow by breaking it into thousands of tiny streams, and its secondary purpose is to restrict water flow. Sometimes, the aerator does this secondary task too efficiently.
You can usually unscrew the aerator with your fingers, but sometimes you have to use pliers. Some faucets have a cache aerator recessed into the spout, and if you can't turn it with your fingers, you may need a special tool, available at most hardware stores. Try the faucet with the aerator off, and if the flow is normal, you've found the culprit and can decide whether to clean it overnight in a bowl of vinegar to dissolve scale, replace it or leave it off altogether.
When It's Not the Aerator
When It's Not the Aerator
If you have a new faucet with low water pressure, there's a good chance a piece of plumbing tape or some other debris left over from the installation process is stuck inside. If the faucet has been in service for a while, there may also be debris inside it, but the debris probably comes from the pipes or the water. There's a chance, though, that the blockage is back in the pipes, and there's an easy way to tell.
Turn off the shut off valves and disconnect the hoses, then put a bucket under each one, turn it on and check the flow. If there's plenty of pressure, the blockage is in the faucet. If the pressure is low, you may be able to clear the blockage by backflushing the pipes. If you have old pipes, the blockage is probably caused by rust from the pipes, and if you notice low flow only in the hot water pipes, suspect rust from the water heater.
After backflushing the pipes, you should flush the water heater. If you have galvanized pipes, have a plumber inspect them. They may be at the end of their service life, and if so, they will continue to produce rust, and they could start leaking.
Read more: How to Backflush Water Pipes
Blockage in the Faucet
Blockage in the Faucet
Once you've pinpointed the blockage to somewhere in the faucet, your job is easy. Turn off the water, unscrew the faucet handles, unscrew the valve retaining nuts and remove the valves. Soak them overnight in vinegar to dissolve hard water deposits that can restrict water flow.
While the valves are out, flush the valve housing by turning on the hot and cold water in turn and letting water stream out from the valve housing. Don't forget to remove any internal rubber gaskets before you do this. When you replace the clean valves in the flushed-out housing, you should notice normal water flow.
Read more: How to Flush a Water Heater
